Makita XML09PT1 - Manuals
User Manual Makita XML09PT1


Summary
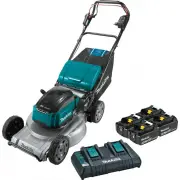
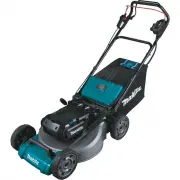
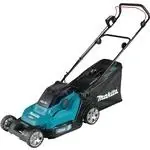
2 ENGLISH ENGLISH (Original instructions) SPECIFICATIONS Model: XML09 Mowing width (blade diameter) 534 mm (21″) No load speed 2,300 /min Maximum speed 2,800 /min Part number of replacement mower blade 191D52-7 Dimensions (L x W x H) L: 1,655 mm to 1,740 mm (65″ to 68-1/2″) W: 590 mm (23-1/4″) H: 99...
5 ENGLISH 5. Do not handle charger, including charger plug, and charger terminals with wet hands. 6. Do not charge lawn mower in rain, or in wet locations. 7. When replacing batteries, all batteries should be replaced at the same time. Mixing fresh and discharged batteries could increase internal ce...
6 ENGLISH Tips for maintaining maximum battery life 1. Charge the battery cartridge before completely dis- charged. Always stop tool operation and charge the battery cartridge when you notice less tool power. 2. Never recharge a fully charged battery cartridge. Overcharging shortens the battery serv...
Makita Lawnmowers Manuals
-
 Makita CML01Z
User Manual
Makita CML01Z
User Manual
-
 Makita DLM382CM2
User Manual
Makita DLM382CM2
User Manual
-
 Makita DLM382PM2
User Manual
Makita DLM382PM2
User Manual
-
 Makita DLM382Z
User Manual
Makita DLM382Z
User Manual
-
 Makita DLM432Z
User Manual
Makita DLM432Z
User Manual
-
 Makita DLM460Z
User Manual
Makita DLM460Z
User Manual
-
 Makita DLM462Z
User Manual
Makita DLM462Z
User Manual
-
 Makita DLM530Z
User Manual
Makita DLM530Z
User Manual
-
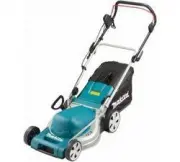
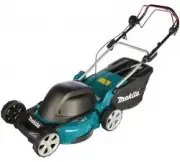
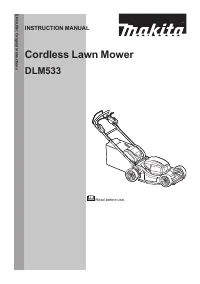 Makita DLM533Z
User Manual
Makita DLM533Z
User Manual
-
 Makita ELM3300
User Manual
Makita ELM3300
User Manual
-
 Makita ELM3320
User Manual
Makita ELM3320
User Manual
-
 Makita ELM3700
User Manual
Makita ELM3700
User Manual
-
 Makita ELM3720
User Manual
Makita ELM3720
User Manual
-
 Makita ELM4100
User Manual
Makita ELM4100
User Manual
-
 Makita ELM4120
User Manual
Makita ELM4120
User Manual
-
 Makita ELM4121
User Manual
Makita ELM4121
User Manual
-
 Makita ELM4600
User Manual
Makita ELM4600
User Manual
-
 Makita ELM4601
User Manual
Makita ELM4601
User Manual
-
 Makita ELM4612
User Manual
Makita ELM4612
User Manual
-
 Makita ELM4613
User Manual
Makita ELM4613
User Manual