Beurer KS 800 - Manuals
Beurer KS 800 Scale – User Manual in PDF format online.
Manuals:
User Manual Beurer KS 800


Summary
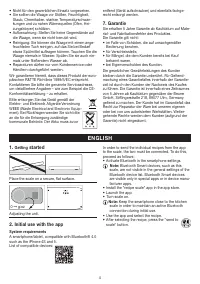
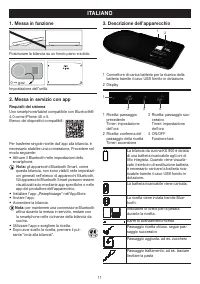
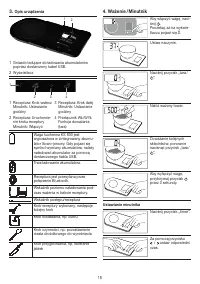
2 1. Inbetriebnahme Waage auf einen ebenen und festen Untergrund stellen. 0 ➞ g:oz Einheit einstellen. – Lassen Sie die Waage auch im ausgeschalteten Zustand in dieser Einheit. Nur wenn die Waage sehr lange (einige Monate) nicht benutzt wird empfiehlt es sich, die Waage auf „0“ zu stellen. Akku vor ...
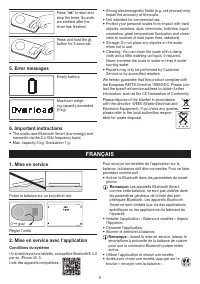
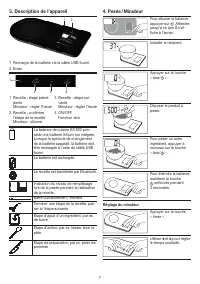
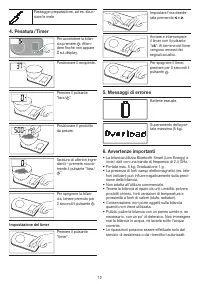
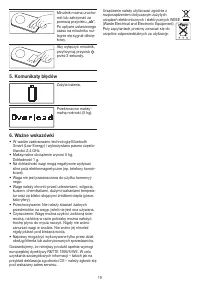
3 Füllstandsanzeige bei Wiegevorgang während des Rezeptes. Fortschrittsbalken / RezeptRezeptschritt noch nicht bestätigtRezeptschritt abgeschlossen, es folgt nächster SchrittZugabeschritt, z.B. Zucker Handlungsschritt, z.B. Hefeteig gehen lassen Vorbereiten-Schritt, z.B. Äpfel schälen 4. Wiegen / Ti...
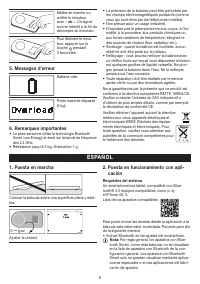
4 • Nicht für den gewerblichen Einsatz vorgesehen. • Sie sollten die Waage vor Stößen, Feuchtigkeit, Staub, Chemikalien, starken Temperaturschwan- kungen und zu nahen Wärmequellen (Öfen, Hei- zungskörper) schützen. • Aufbewahrung: Stellen Sie keine Gegenstände auf die Waage, wenn sie nicht benutzt w...
Beurer Scales Manuals
-
 Beurer BF 180
User Manual
Beurer BF 180
User Manual
-
 Beurer BF 185
User Manual
Beurer BF 185
User Manual
-
 Beurer BF 195
User Manual
Beurer BF 195
User Manual
-
 Beurer BF 20
User Manual
Beurer BF 20
User Manual
-
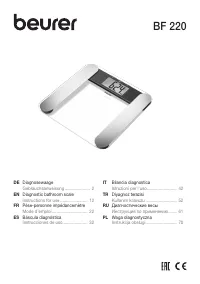 Beurer BF 220
User Manual
Beurer BF 220
User Manual
-
 Beurer BF 300
User Manual
Beurer BF 300
User Manual
-
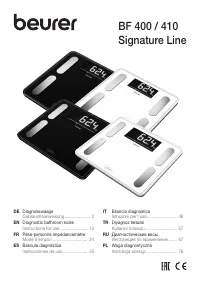 Beurer BF 400 Signature Line
User Manual
Beurer BF 400 Signature Line
User Manual
-
Beurer BF 410 Signature Line
User Manual
-
 Beurer BF 480
User Manual
Beurer BF 480
User Manual
-
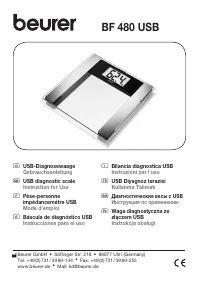 Beurer BF 480 USB
User Manual
Beurer BF 480 USB
User Manual
-
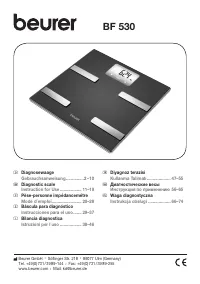 Beurer BF 530
User Manual
Beurer BF 530
User Manual
-
 Beurer BF 600
User Manual
Beurer BF 600
User Manual
-
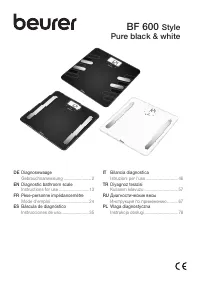
 Beurer BF 600 Pure
User Manual
Beurer BF 600 Pure
User Manual
-
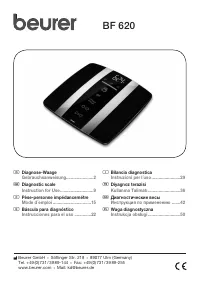 Beurer BF 620
User Manual
Beurer BF 620
User Manual
-
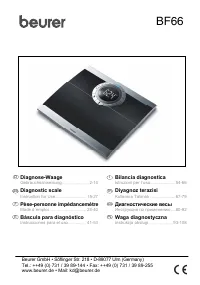 Beurer BF 66
User Manual
Beurer BF 66
User Manual
-
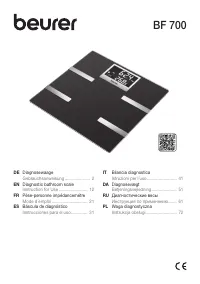 Beurer BF 700
User Manual
Beurer BF 700
User Manual
-
 Beurer BF 750
User Manual
Beurer BF 750
User Manual
-
 Beurer BF 800
User Manual
Beurer BF 800
User Manual
-
 Beurer BF 850
User Manual
Beurer BF 850
User Manual
-
 Beurer BF 950
User Manual
Beurer BF 950
User Manual