Makita XRU24Z - Manuals

User Manual Makita XRU24Z


Summary
2 ENGLISH ENGLISH (Original instructions) SPECIFICATIONS Model: XRU24 No load speed (without cutting tool) 7,800 /min Overall length 1,228 - 1,436 mm (48-1/4″ - 56-1/2″) Nylon cord diameter 1.65 mm (1/16″) Applicable cutting tool and cutting diameter Nylon cutting head (P/N: 191Y39-5) 260 mm (10-1/4...
5 ENGLISH 19. Take a rest to prevent loss of control caused by fatigue. We recommend to take a 10 to 20-minute rest every hour. 20. Hold the power tool by insulated gripping surfaces only, because the cutting attachment may contact hidden wiring. Cutting attachments contacting a “live” wire may make...
6 ENGLISH 11. When disposing the battery cartridge, remove it from the tool and dispose of it in a safe place. Follow your local regulations relating to disposal of battery. 12. Use the batteries only with the products specified by Makita. Installing the batteries to non-compliant products may resul...
Makita Grass Trimmers Manuals
-
 Makita BC231UDZ
User Manual
Makita BC231UDZ
User Manual
-
 Makita BC300LDZ
User Manual
Makita BC300LDZ
User Manual
-
 Makita CRU03Z
User Manual
Makita CRU03Z
User Manual
-
 Makita DUR181RF
User Manual
Makita DUR181RF
User Manual
-
 Makita DUR181Z
User Manual
Makita DUR181Z
User Manual
-
 Makita DUR189Z
User Manual
Makita DUR189Z
User Manual
-
 Makita DUR190LZX3
User Manual
Makita DUR190LZX3
User Manual
-
 Makita DUR190UZX3
User Manual
Makita DUR190UZX3
User Manual
-
 Makita DUR192LZ
User Manual
Makita DUR192LZ
User Manual
-
 Makita DUR369LZ
User Manual
Makita DUR369LZ
User Manual
-
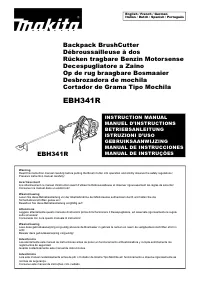 Makita EBH341R
User Manual
Makita EBH341R
User Manual
-
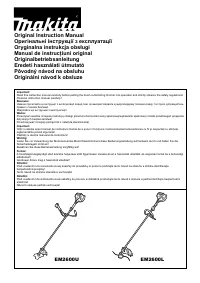 Makita EM2600U
User Manual
Makita EM2600U
User Manual
-
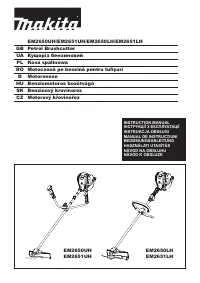 Makita EM2651UH
User Manual
Makita EM2651UH
User Manual
-
 Makita EM4350RH
User Manual
Makita EM4350RH
User Manual
-
 Makita GRU01M1
User Manual
Makita GRU01M1
User Manual
-
 Makita GRU01M1-BL4040
User Manual
Makita GRU01M1-BL4040
User Manual
-
 Makita GRU01M1-T-03866
User Manual
Makita GRU01M1-T-03866
User Manual
-
 Makita GRU01Z
User Manual
Makita GRU01Z
User Manual
-
 Makita GRU03M1
User Manual
Makita GRU03M1
User Manual
-
 Makita GRU03Z
User Manual
Makita GRU03Z
User Manual