Makita XRU15PT1 - Manuals
User Manual Makita XRU15PT1


Summary
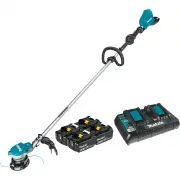
2 ENGLISH ENGLISH (Original instructions) SPECIFICATIONS Model: XRU15 Handle type Loop handle No load speed (at each rotation speed level) Nylon cutting head 3: 6,500 /min 2: 5,300 /min 1: 3,500 /min Overall length (without cutting tool) 1,758 mm (69-1/4″) Nylon cord diameter 2.0 - 2.3 mm (0.08 - 0....
5 ENGLISH 17. Cutting elements continue to rotate after the motor is switched off. 18. Do not operate power tools in explosive atmo- spheres, such as in the presence of flammable liquids, gases or dust. Power tools create sparks which may ignite the dust or fumes. 19. Take a rest to prevent loss of ...
6 ENGLISH 10. The contained lithium-ion batteries are subject to the Dangerous Goods Legislation require- ments. For commercial transports e.g. by third parties, forwarding agents, special requirement on pack- aging and labeling must be observed. For preparation of the item being shipped, consult - ...
Makita Grass Trimmers Manuals
-
 Makita BC231UDZ
User Manual
Makita BC231UDZ
User Manual
-
 Makita BC300LDZ
User Manual
Makita BC300LDZ
User Manual
-
 Makita CRU03Z
User Manual
Makita CRU03Z
User Manual
-
 Makita DUR181RF
User Manual
Makita DUR181RF
User Manual
-
 Makita DUR181Z
User Manual
Makita DUR181Z
User Manual
-
 Makita DUR189Z
User Manual
Makita DUR189Z
User Manual
-
 Makita DUR190LZX3
User Manual
Makita DUR190LZX3
User Manual
-
 Makita DUR190UZX3
User Manual
Makita DUR190UZX3
User Manual
-
 Makita DUR192LZ
User Manual
Makita DUR192LZ
User Manual
-
 Makita DUR369LZ
User Manual
Makita DUR369LZ
User Manual
-
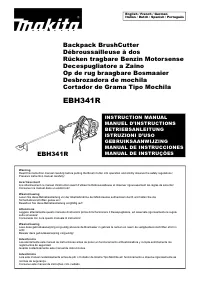 Makita EBH341R
User Manual
Makita EBH341R
User Manual
-
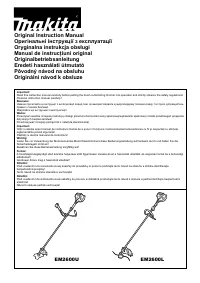 Makita EM2600U
User Manual
Makita EM2600U
User Manual
-
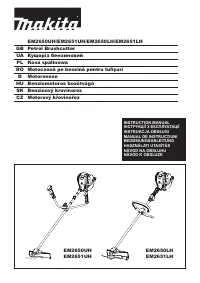 Makita EM2651UH
User Manual
Makita EM2651UH
User Manual
-
 Makita EM4350RH
User Manual
Makita EM4350RH
User Manual
-
 Makita GRU01M1
User Manual
Makita GRU01M1
User Manual
-
 Makita GRU01M1-BL4040
User Manual
Makita GRU01M1-BL4040
User Manual
-
 Makita GRU01M1-T-03866
User Manual
Makita GRU01M1-T-03866
User Manual
-
 Makita GRU01Z
User Manual
Makita GRU01Z
User Manual
-
 Makita GRU03M1
User Manual
Makita GRU03M1
User Manual
-
 Makita GRU03Z
User Manual
Makita GRU03Z
User Manual