Makita RU03ZX - Manuals

User Manual Makita RU03ZX


Summary
2 ENGLISH ENGLISH (Original instructions) SPECIFICATIONS Model: RU03 No load speed (without cutting tool) 10,000 /min Overall length (without cutting tool) 835 - 1,185 mm (32-7/8 - 46-3/4″) Nylon cord diameter 1.65 mm (1/16″) Applicable cutting tool and cutting diameter Nylon cutting head (P/N 19885...
4 ENGLISH 3. Check damaged parts before further use of the tool. A guard or other part that is damaged should be carefully checked to determine that it will operate properly and perform its intended function. Check for alignment of moving parts, binding of moving parts, breakage of parts, mounting, ...
5 ENGLISH WARNING: Use of this product can create dust containing chemicals which may cause respiratory or other illnesses. Some examples of these chemicals are compounds found in pesti- cides, insecticides, fertilizers and herbicides.Your risk from these exposures varies, depend- ing on how often y...
Makita Grass Trimmers Manuals
-
 Makita BC231UDZ
User Manual
Makita BC231UDZ
User Manual
-
 Makita BC300LDZ
User Manual
Makita BC300LDZ
User Manual
-
 Makita CRU03Z
User Manual
Makita CRU03Z
User Manual
-
 Makita DUR181RF
User Manual
Makita DUR181RF
User Manual
-
 Makita DUR181Z
User Manual
Makita DUR181Z
User Manual
-
 Makita DUR189Z
User Manual
Makita DUR189Z
User Manual
-
 Makita DUR190LZX3
User Manual
Makita DUR190LZX3
User Manual
-
 Makita DUR190UZX3
User Manual
Makita DUR190UZX3
User Manual
-
 Makita DUR192LZ
User Manual
Makita DUR192LZ
User Manual
-
 Makita DUR369LZ
User Manual
Makita DUR369LZ
User Manual
-
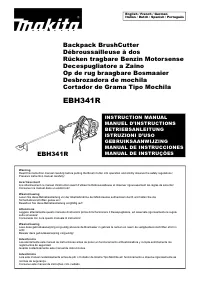 Makita EBH341R
User Manual
Makita EBH341R
User Manual
-
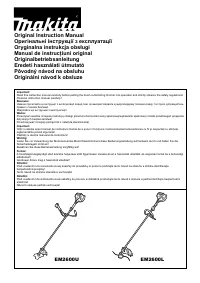 Makita EM2600U
User Manual
Makita EM2600U
User Manual
-
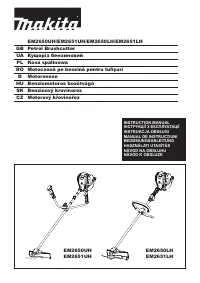 Makita EM2651UH
User Manual
Makita EM2651UH
User Manual
-
 Makita EM4350RH
User Manual
Makita EM4350RH
User Manual
-
 Makita GRU01M1
User Manual
Makita GRU01M1
User Manual
-
 Makita GRU01M1-BL4040
User Manual
Makita GRU01M1-BL4040
User Manual
-
 Makita GRU01M1-T-03866
User Manual
Makita GRU01M1-T-03866
User Manual
-
 Makita GRU01Z
User Manual
Makita GRU01Z
User Manual
-
 Makita GRU03M1
User Manual
Makita GRU03M1
User Manual
-
 Makita GRU03Z
User Manual
Makita GRU03Z
User Manual