Makita GUX01Z - Manuals

User Manual Makita GUX01Z


Summary
2 ENGLISH ENGLISH (Original instructions) SPECIFICATIONS Model: GUX01 No load speed (without attachment) Low 0 - 5,700/min Medium 0 - 8,200/min High 0 - 9,700/min Overall length (without battery cartridge) 1,001 mm (39-1/2″) Rated voltage D.C. 36 V - 40 V max Net weight 5.3 kg - 11.6 kg (11.7 lbs - ...
3 ENGLISH No load speed with attachment Model Rotation speed Low Medium High EM403MP, EM405MP 0 - 4,200 /min 0 - 6,000 /min 0 - 7,100 /min EM407MP Upper blade 0 - 220 /min 0 - 310 /min 0 - 370 /min Lower blade 0 - 470 /min 0 - 670 /min 0 - 790 /min EM409MP 0 - 4,200 /min 0 - 6,000 /min 0 - 7,100 /mi...
5 ENGLISH 9. When using the tool, do not wear cloth work gloves which may be entangled. The entangle- ment of cloth work gloves in the moving parts may result in personal injury. Battery tool use and care 1. Recharge only with the charger specified by the manufacturer. A charger that is suitable for...
Makita Grass Trimmers Manuals
-
 Makita BC231UDZ
User Manual
Makita BC231UDZ
User Manual
-
 Makita BC300LDZ
User Manual
Makita BC300LDZ
User Manual
-
 Makita CRU03Z
User Manual
Makita CRU03Z
User Manual
-
 Makita DUR181RF
User Manual
Makita DUR181RF
User Manual
-
 Makita DUR181Z
User Manual
Makita DUR181Z
User Manual
-
 Makita DUR189Z
User Manual
Makita DUR189Z
User Manual
-
 Makita DUR190LZX3
User Manual
Makita DUR190LZX3
User Manual
-
 Makita DUR190UZX3
User Manual
Makita DUR190UZX3
User Manual
-
 Makita DUR192LZ
User Manual
Makita DUR192LZ
User Manual
-
 Makita DUR369LZ
User Manual
Makita DUR369LZ
User Manual
-
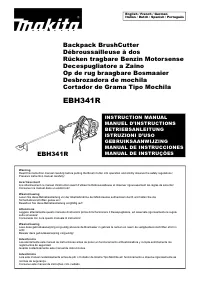 Makita EBH341R
User Manual
Makita EBH341R
User Manual
-
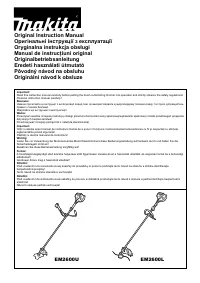 Makita EM2600U
User Manual
Makita EM2600U
User Manual
-
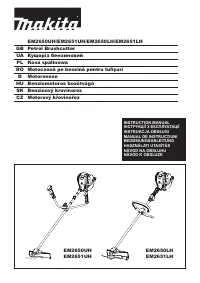 Makita EM2651UH
User Manual
Makita EM2651UH
User Manual
-
 Makita EM4350RH
User Manual
Makita EM4350RH
User Manual
-
 Makita GRU01M1
User Manual
Makita GRU01M1
User Manual
-
 Makita GRU01M1-BL4040
User Manual
Makita GRU01M1-BL4040
User Manual
-
 Makita GRU01M1-T-03866
User Manual
Makita GRU01M1-T-03866
User Manual
-
 Makita GRU01Z
User Manual
Makita GRU01Z
User Manual
-
 Makita GRU03M1
User Manual
Makita GRU03M1
User Manual
-
 Makita GRU03Z
User Manual
Makita GRU03Z
User Manual