Makita GRU04M1 - Manuals
User Manual Makita GRU04M1


Summary
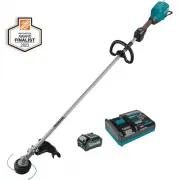
2 ENGLISH ENGLISH (Original instructions) SPECIFICATIONS Model: GRU04 Handle type Loop handle No load speed (at each rotation speed level) 3: 0 - 6,000 /min 2: 0 - 4,600 /min 1: 0 - 4,000 /min Overall length (without cutting tool and battery) 1,803 mm (71″) Nylon cord diameter 2.0 mm (0.08″) Applica...
6 ENGLISH 6. Use only the manufacturer's recommended replacement parts and accessories. 7. Inspect and maintain the tool regularly, espe- cially before/after use. Have the tool repaired only by our authorized service center. 8. Keep handles dry, clean and free from oil and grease. Keep all cooling a...
7 ENGLISH 11. When disposing the battery cartridge, remove it from the tool and dispose of it in a safe place. Follow your local regulations relating to disposal of battery. 12. Use the batteries only with the products specified by Makita. Installing the batteries to non-compliant products may resul...
Makita Grass Trimmers Manuals
-
 Makita BC231UDZ
User Manual
Makita BC231UDZ
User Manual
-
 Makita BC300LDZ
User Manual
Makita BC300LDZ
User Manual
-
 Makita CRU03Z
User Manual
Makita CRU03Z
User Manual
-
 Makita DUR181RF
User Manual
Makita DUR181RF
User Manual
-
 Makita DUR181Z
User Manual
Makita DUR181Z
User Manual
-
 Makita DUR189Z
User Manual
Makita DUR189Z
User Manual
-
 Makita DUR190LZX3
User Manual
Makita DUR190LZX3
User Manual
-
 Makita DUR190UZX3
User Manual
Makita DUR190UZX3
User Manual
-
 Makita DUR192LZ
User Manual
Makita DUR192LZ
User Manual
-
 Makita DUR369LZ
User Manual
Makita DUR369LZ
User Manual
-
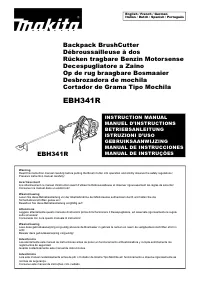 Makita EBH341R
User Manual
Makita EBH341R
User Manual
-
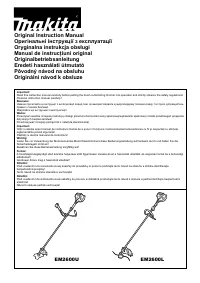 Makita EM2600U
User Manual
Makita EM2600U
User Manual
-
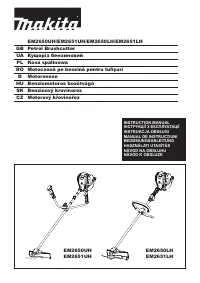 Makita EM2651UH
User Manual
Makita EM2651UH
User Manual
-
 Makita EM4350RH
User Manual
Makita EM4350RH
User Manual
-
 Makita GRU01M1
User Manual
Makita GRU01M1
User Manual
-
 Makita GRU01M1-BL4040
User Manual
Makita GRU01M1-BL4040
User Manual
-
 Makita GRU01M1-T-03866
User Manual
Makita GRU01M1-T-03866
User Manual
-
 Makita GRU01Z
User Manual
Makita GRU01Z
User Manual
-
 Makita GRU03M1
User Manual
Makita GRU03M1
User Manual
-
 Makita GRU03Z
User Manual
Makita GRU03Z
User Manual