Makita CML01Z - Manuals
User Manual Makita CML01Z


Summary
2 ENGLISH ENGLISH (Original instructions) SPECIFICATIONS Model: CML01 Mowing width (blade diameter) 534 mm (21″) No load speed Normal mode 2,800 /min Soft no-load mode 2,300 - 2,800 /min Noise reduction mode 2,300 /min Part number of replacement mower blade 191D52-7 Dimensions (L x W x H) L: 1,630 m...
5 ENGLISH 10. Do not wet the terminal of battery with liquid such as water, or submerge the battery. Do not leave the battery in the rain, nor charge, use, or store the battery in a damp or wet place. If the terminal gets wet or liquid enters inside of bat- tery, the battery may be short circuited a...
6 ENGLISH 17. Unless the tool supports the use near high-voltage electrical power lines, do not use the battery cartridge near high-voltage electri- cal power lines. It may result in a malfunction or breakdown of the tool or battery cartridge. 18. Keep the battery away from children. SAVE THESE INST...
Makita Lawnmowers Manuals
-
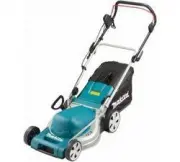
 Makita DLM382CM2
User Manual
Makita DLM382CM2
User Manual
-
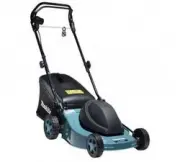
 Makita DLM382PM2
User Manual
Makita DLM382PM2
User Manual
-
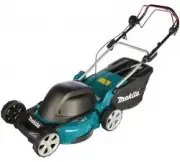
 Makita DLM382Z
User Manual
Makita DLM382Z
User Manual
-
 Makita DLM432Z
User Manual
Makita DLM432Z
User Manual
-
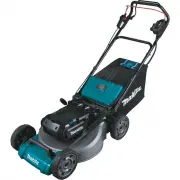
 Makita DLM460Z
User Manual
Makita DLM460Z
User Manual
-
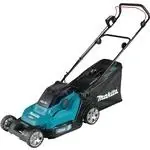
 Makita DLM462Z
User Manual
Makita DLM462Z
User Manual
-
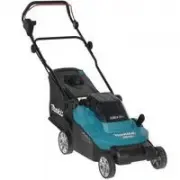
 Makita DLM530Z
User Manual
Makita DLM530Z
User Manual
-
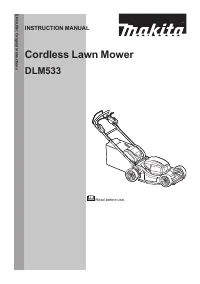 Makita DLM533Z
User Manual
Makita DLM533Z
User Manual
-
 Makita ELM3300
User Manual
Makita ELM3300
User Manual
-
 Makita ELM3320
User Manual
Makita ELM3320
User Manual
-
 Makita ELM3700
User Manual
Makita ELM3700
User Manual
-
 Makita ELM3720
User Manual
Makita ELM3720
User Manual
-
 Makita ELM4100
User Manual
Makita ELM4100
User Manual
-
 Makita ELM4120
User Manual
Makita ELM4120
User Manual
-
 Makita ELM4121
User Manual
Makita ELM4121
User Manual
-
 Makita ELM4600
User Manual
Makita ELM4600
User Manual
-
 Makita ELM4601
User Manual
Makita ELM4601
User Manual
-
 Makita ELM4612
User Manual
Makita ELM4612
User Manual
-
 Makita ELM4613
User Manual
Makita ELM4613
User Manual
-
 Makita ELM4620
User Manual
Makita ELM4620
User Manual