Karcher 1.324-608.0 - Manuals

User Manual Karcher 1.324-608.0


Summary
2 English Contents Safety instructions . . . . . . . . . . . . 3 Description of the Appliance . . . . . 8 Proper use . . . . . . . . . . . . . . . . . . 9 Environmental protection . . . . . . . 9 Assembly . . . . . . . . . . . . . . . . . . . 10Start up . . . . . . . . . . . . . . . . . . . . . 10Op...
English 3 Please read and comply with these original in- structions prior to the initial oper- ation of your appliance and store them for later use or subsequent owners. Apart from the notes contained herein the general safety provi- sions and rules for the preven- tion of accidents of the legislato...
4 English 몇 WARNING The appliance may only be connected to an electric sup- ply that has been installed by an electrician in accordance with IEC 60364. The appliance may only be connected to alternating cur- rent. The voltage must corre- spond with the type plate of the appliance. Safety class...
Karcher Pressure Washers Manuals
-
 Karcher 1.106-115.0
User Manual
Karcher 1.106-115.0
User Manual
-
 Karcher 1.106-123.0
User Manual
Karcher 1.106-123.0
User Manual
-
 Karcher 1.106-159.0
User Manual
Karcher 1.106-159.0
User Manual
-
 Karcher 1.174-909.0
User Manual
Karcher 1.174-909.0
User Manual
-
 Karcher 1.328-010.0
User Manual
Karcher 1.328-010.0
User Manual
-
 Karcher 1.603-361.0
User Manual
Karcher 1.603-361.0
User Manual
-
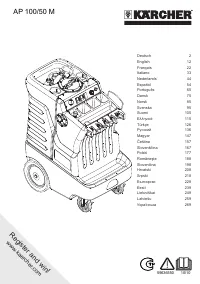 Karcher AP 100 50 M
User Manual
Karcher AP 100 50 M
User Manual
-
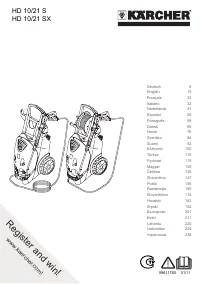 Karcher HD 10 21 4 S
User Manual
Karcher HD 10 21 4 S
User Manual
-
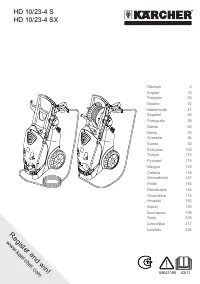 Karcher HD 10 23 4S
User Manual
Karcher HD 10 23 4S
User Manual
-
 Karcher HD 10/25 S PLUS*EU-II 1.286-202
User Manual
Karcher HD 10/25 S PLUS*EU-II 1.286-202
User Manual
-
 Karcher HD 10/25-4 SX Plus 1.286-501
User Manual
Karcher HD 10/25-4 SX Plus 1.286-501
User Manual
-
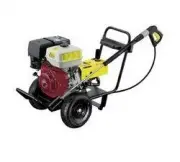
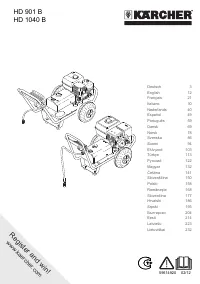 Karcher HD 1040 B
User Manual
Karcher HD 1040 B
User Manual
-
 Karcher HD 1050 B 1.810-987
User Manual
Karcher HD 1050 B 1.810-987
User Manual
-
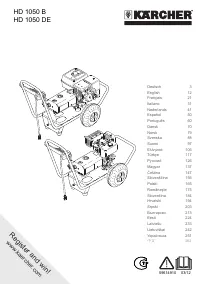 Karcher HD 1050 DE
User Manual
Karcher HD 1050 DE
User Manual
-
 Karcher HD 4/8 Classic
User Manual
Karcher HD 4/8 Classic
User Manual
-
 Karcher HD 5/11 P 1.520-960
User Manual
Karcher HD 5/11 P 1.520-960
User Manual
-
 Karcher HD 5/12 C 1.520-120
User Manual
Karcher HD 5/12 C 1.520-120
User Manual
-
 Karcher HD 6 16 4 M
User Manual
Karcher HD 6 16 4 M
User Manual
-
 Karcher HD 6/13 C (CX)
User Manual
Karcher HD 6/13 C (CX)
User Manual
-
 Karcher HD 6/15 C 1.150-903
User Manual
Karcher HD 6/15 C 1.150-903
User Manual