Smeg ALFA625HR-2 - User Manual
Smeg ALFA625HR-2 Oven – User Manual, read for free online in PDF format. We hope this helps you resolve any issues you may have. If you have further questions, please contact us through the contact form.
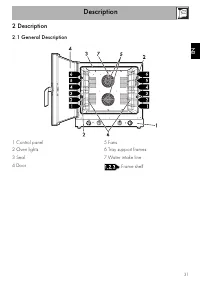
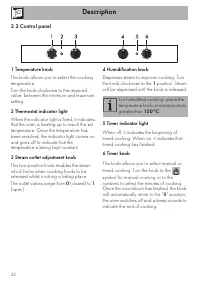
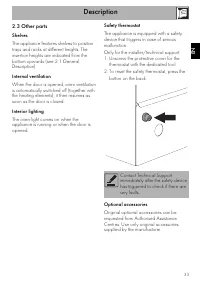
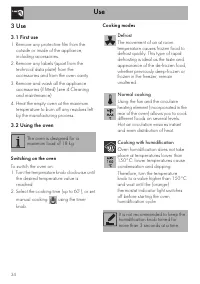
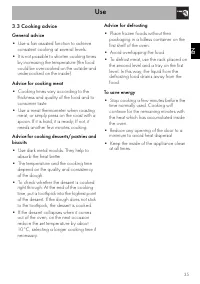
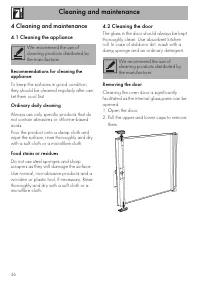
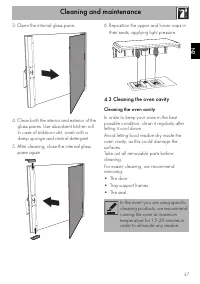
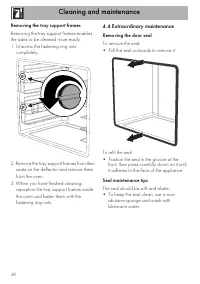

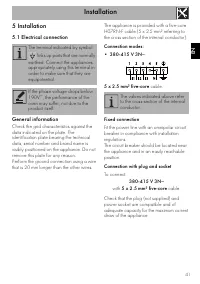
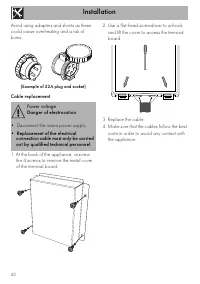
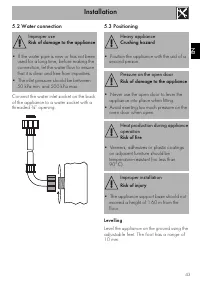
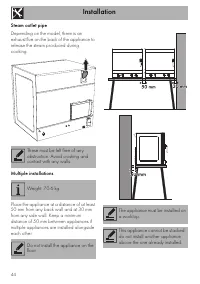
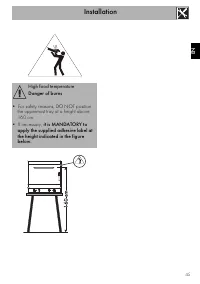

Table of Contents:
- Page 2 – Instructions; General safety instructions
- Page 4 – Risk of damaging the appliance
- Page 5 – For this appliance; Identification plate; • The identification plate bears the; Manufacturer liability; • Failure to comply with the instructions in; Appliance purpose; it along with the plug.
- Page 6 – How to read the user manual; Danger of suffocation
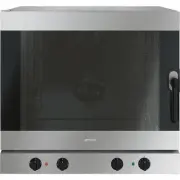
- Page 7 – Description; General Description; Control panel
- Page 8 – will be dispensed until the knob is released.
- Page 9 – Shelves
- Page 10 – Use; Remove any protective film from the
- Page 11 – General advice
- Page 12 – Cleaning and maintenance; Cleaning the appliance; Ordinary daily cleaning; Cleaning the door; Removing the door
- Page 13 – Clean both the interior and exterior of the; Cleaning the oven cavity
- Page 14 – Removing the tray support frames; Extraordinary maintenance; Removing the door seal
- Page 15 – Replacing the internal light bulb
- Page 16 – If the appliance is not working properly; Regular Maintenance
- Page 17 – Installation; Electrical connection; Fixed connection
- Page 18 – Cable replacement
- Page 19 – Improper use
- Page 20 – Steam outlet pipe
- Page 21 – High food temperature
Contents
25
EN
1.1 General safety instructions
1.7 How to read the user manual
4.5 If the appliance is not working properly
We advise you to read this manual carefully, which contains all the instructions for
maintaining the appliance’s aesthetic and functional qualities.
For further information on the product: www.smegfoodservice.com
TRANSLATION OF THE ORIGINAL INSTRUCTIONS
"Loading the manual" means you need to wait until the file loads and becomes available for online reading. Some manuals are very large, and the time they take to appear depends on your internet speed.
Summary
Instructions 26 1 Instructions 1.1 General safety instructions Risk of personal injury • During use the appliance and its accessible parts become very hot. • Never touch the heating elements during use. • Keep children under the age of eight at a safe distance unless they are constantly supervised. ...
Instructions 28 Risk of damaging the appliance • Racks and trays have to be inserted into the side guides until they come to a complete stop. The mechanical safety locks that prevent the rack from being taken out accidentally must face downwards and towards the back of the appliance. • Use wooden or...
Instructions 29 EN For this appliance • Do not rest any weight or sit on the open door of the appliance. • Take care that no objects are stuck in the doors. • Have the condition of the components checked regularly by Technical Support. • The A-weighted sound pressure level is below 70 dB (A). 1.2 Id...