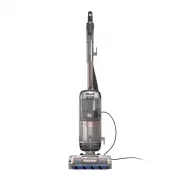
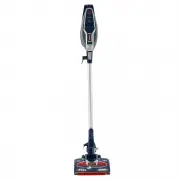
Shark NV352 - Manuals
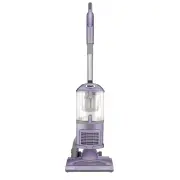
Shark NV352 Vacuum – User Manual, Manual, Troubleshooting Guide in PDF format online.
Manuals:
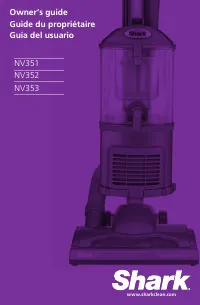
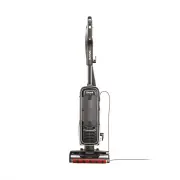
User Manual Shark NV352


Summary
TOL L FREE: 1-800-798-7398 2 WHEN USING AN ELECTRICAL APPLIANCE, BASIC SAFETY PRECAUTIONS SHOULD ALWAYS BE OBSERVED, INCLUDING THE FOLLOWING: READ ALL INSTRUCTIONS BEFORE USING YOUR SHARK NAVIGATOR ® LIFT-AWAY ® . POLARIZED PLUG: To reduce the risk of electric shock, this appliance has a polarized p...
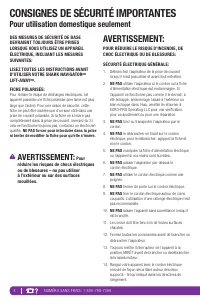
4 N U MÉRO S A NS FR A IS: 1-800-798-7398 DES MESURES DE SÉCURITÉ DE BASE DEVRAIENT TOUJOURS ÊTRE PRISES LORSQUE VOUS UTILISEZ UN APPAREIL ÉLECTRIQUE, INCLUANT LES MESURES SUIVANTES: LISEZ TOUTES LES INSTRUCTIONS AVANT D’UTILISER VOTRE SHARK NAVIGATOR MD LIFT-AWAY MD . FICHE POLARISÉE: Pour réduire ...
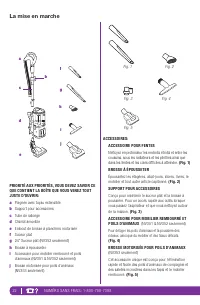
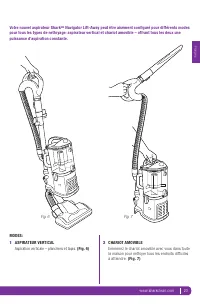
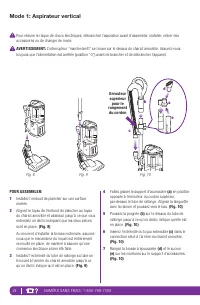
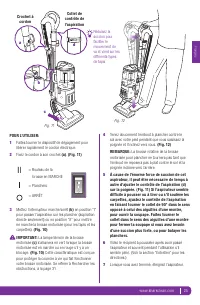
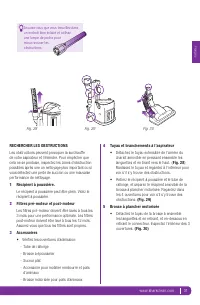
5 w w w.sharkclean.com Fra nç ais CONNEXIONS DE TUYAU: 1. NE PAS l’utiliser si le débit d’air est restreint. Si les conduits d’air, le tuyau ou les accessoires sont obstrués, éteignez l’aspirateur. Retirez toutes les obstructions avant de redémarrer l’appareil. 2. Tenez l’extrémité du tuyau et les o...
Manual Shark NV352


Summary
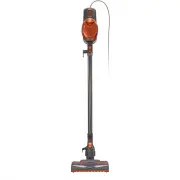
INTRODUCTION The motherboard controls the power to the vacuum. If your vacuum is not turning on, yourmotherboard may need to be replaced. Follow these instructions to access the motherboard forreplacement. TOOLS: Phillips #2 Screwdriver (1) Metal Spudger (1) Soldering Iron (1) Shark NV352 Motherboar...
Step 1 — Roller Brush Lift the latches on both sides of the vacuum to release the dust canister. Remove the dust canister from the vacuum by lifting it up. Step 2 Lay down the vacuum to access thebottom panel of the roller brushcompartment. Shark NV352 Motherboard Replacement Draft: 2017-12-15...
Step 3 Using the metal spudger, pry the two small wheels located at the two bottom corners of thevacuum to remove them. Step 4 Remove the eight 19mm Phillips #2 screws from the plastic cover. Remove the two 14 mm Phillips #2 screws from the upper section of the plastic cover. Shark NV352 Mothe...
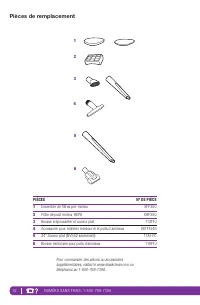
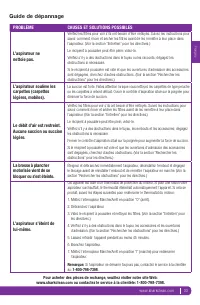
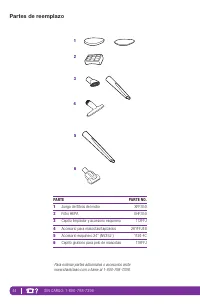
Troubleshooting Guide Shark NV352


Shark Vacuums Manuals
-
 Shark AZ1002
User Manual
Shark AZ1002
User Manual
-
 Shark AZ2002
User Manual
Shark AZ2002
User Manual
-
Shark AZ2002
Manual
-
 Shark AZ3002
User Manual
Shark AZ3002
User Manual
-
 Shark CH901
User Manual
Shark CH901
User Manual
-
 Shark CH951
User Manual
Shark CH951
User Manual
-
 Shark CZ2001
User Manual
Shark CZ2001
User Manual
-
 Shark CZ351
User Manual
Shark CZ351
User Manual
-
 Shark HV301
User Manual
Shark HV301
User Manual
-
Shark HV301
Manual
-
 Shark HV380
User Manual
Shark HV380
User Manual
-
Shark HV380
Manual
-
 Shark HZ3002
User Manual
Shark HZ3002
User Manual
-
 Shark ICZ362H
User Manual
Shark ICZ362H
User Manual
-
Shark ICZ362H
Manual
-
 Shark IF250
User Manual
Shark IF250
User Manual
-
 Shark IW1111
User Manual
Shark IW1111
User Manual
-
 Shark IW3511
User Manual
Shark IW3511
User Manual
-
 Shark IX141
User Manual
Shark IX141
User Manual
-
 Shark IZ142
User Manual
Shark IZ142
User Manual