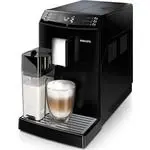
Philips HD8916 Saeco Incanto - Manuals
Philips HD8916 Saeco Incanto Coffee Machine – User Manual in PDF format online.
Manuals:
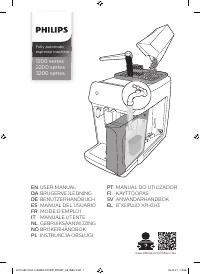
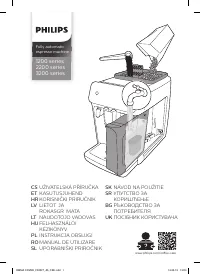
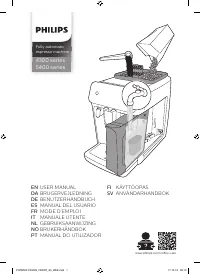
User Manual Philips HD8916 Saeco Incanto
1
2

3

4

5
6
7
8
9
10
11
12
13
14
15
16
17
18
19
20
21
22
23
24
25
26

27
28
29
30
31
32
33
34
35
36
37
38
39
40
41
42
43
44
45
46
47
48
49
50
51
52
53
54
55
56
57
58
59

60
61
62
63
64
65
66
67
68
69
70
71
72
73
74

75

76

77

78

79

80
Summary
Page 3 - English 5; Русский
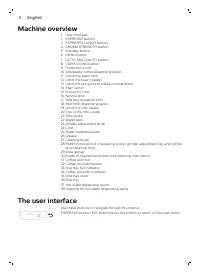
Page 6 - Contents; English
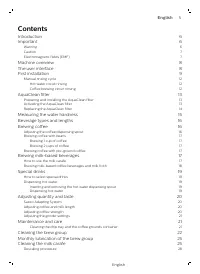
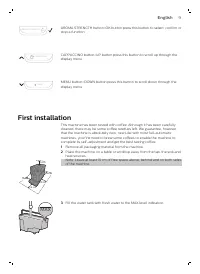
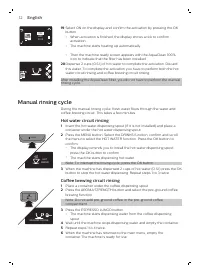
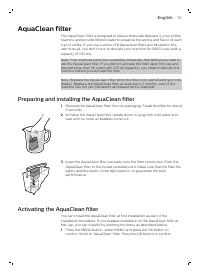
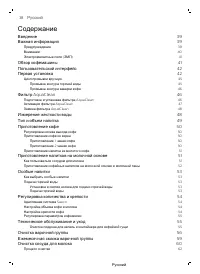
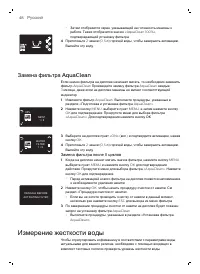
English Contents Introduction 6 Important 6 Warning 6 Caution 7 Electromagnetic fields (EMF) 7 Machine overview 8 The user interface 8 First installation 9 Manual rinsing cycle 12 Hot water circuit rinsing 12 Coffee brewing circuit rinsing 12 AquaClean filter 13 Preparing and installing the AquaClea...
Page 7 - Warning
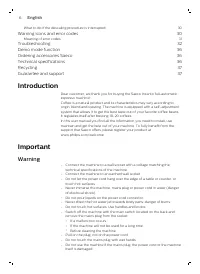
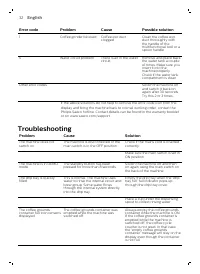
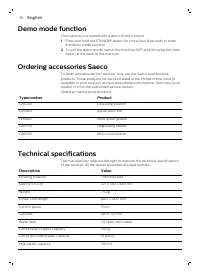
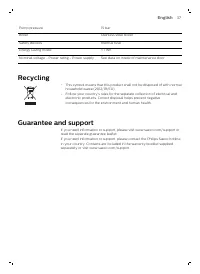
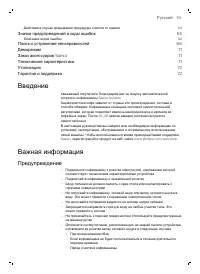
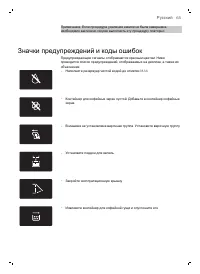
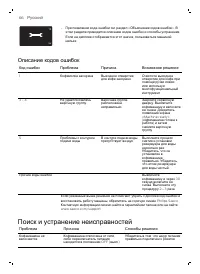
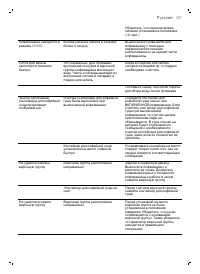
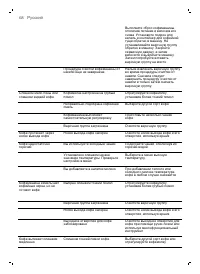
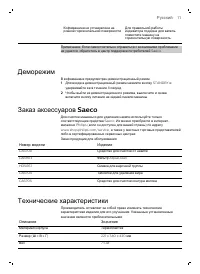
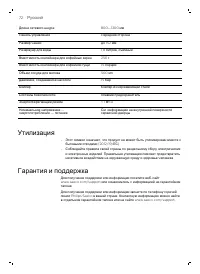
What to do if the descaling procedure is interrupted 30 Warning icons and error codes 30 Meaning of error codes 31 Troubleshooting 32 Demo mode function 36 Ordering accessories Saeco 36 Technical specifications 36 Recycling 37 Guarantee and support 37 Introduction Dear customer, we thank you for buy...
Philips Coffee Machines Manuals
-
 Philips 5000 EP5310/20
User Manual
Philips 5000 EP5310/20
User Manual
-
Philips 5000 EP5365/10
User Manual
-
 Philips 5000 HD5120/00
User Manual
Philips 5000 HD5120/00
User Manual
-
 Philips CA6700/10
User Manual
Philips CA6700/10
User Manual
-
 Philips EP1220/00
User Manual
Philips EP1220/00
User Manual
-
Philips EP1224/00
User Manual
-
Philips EP2224/40
User Manual
-
Philips EP2231/40
User Manual
-
 Philips EP2236/40
User Manual
Philips EP2236/40
User Manual
-
 Philips EP3558/00
User Manual
Philips EP3558/00
User Manual
-
 Philips EP4341/50
User Manual
Philips EP4341/50
User Manual
-
 Philips EP5060/10 5000 Series
User Manual
Philips EP5060/10 5000 Series
User Manual
-
 Philips EP5065/10 series 5000
User Manual
Philips EP5065/10 series 5000
User Manual
-
 Philips EP5331/10
Quick Guide
Philips EP5331/10
Quick Guide
-
 Philips EP5334/10
Quick Guide
Philips EP5334/10
Quick Guide
-
 Philips EP5441/50
User Manual
Philips EP5441/50
User Manual
-
 Philips HD5120/00
User Manual
Philips HD5120/00
User Manual
-
 Philips HD5410
User Manual
Philips HD5410
User Manual
-
 Philips HD7140
User Manual
Philips HD7140
User Manual
-
 Philips HD7400
User Manual
Philips HD7400
User Manual