Husqvarna TC 138L - Manuals
Husqvarna TC 138L – User Manual, Installation Manual in PDF format online.
Manuals:
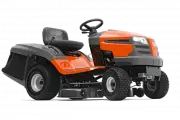
User Manual Husqvarna TC 138L


Summary
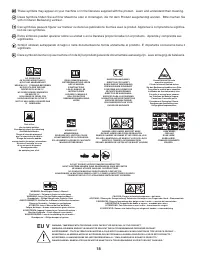
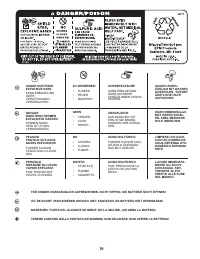
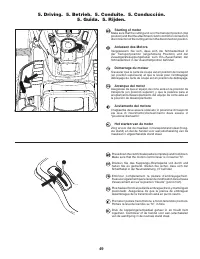
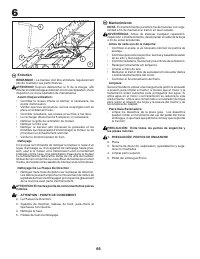
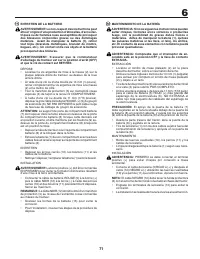
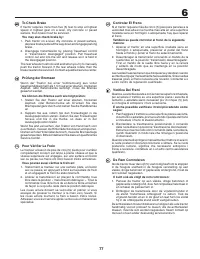
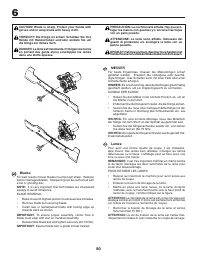
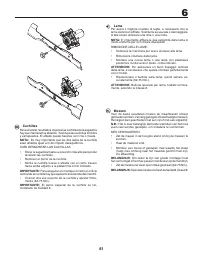
3 1. Safety Rules Safe Operation Practices for Ride-On Mowers IMPORTANT: THIS CUTTING MACHINE IS CAPABLE OF AMPUTATING HANDS AND FEET AND THROWING OBJECTS. FAILURE TO OBSERVE THE FOLLOWING SAFETY INSTRUCTIONS COULD RESULT IN SERIOUS INJURY OR DEATH. I. TRAINING • Read the instructions carefully. Be ...
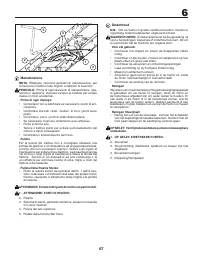
4 WARNING: CHILDREN CAN BE INJURED BY THIS EQUIPMENT. The American Academy of Pediatrics recommends that children be a minimum of 12 year of age before operating a pedestrian controlled lawn mower and a minimum of 16 years of age before operating a riding lawn mower. • When loading or unloading this...
5 1. Sicherheitshinweise Hinweise zur sicheren Bedienung von Aufsitzmähern WICHTIG: DIESE MÄHMASCHINE KANN HÄNDE ODER FÜSSE ABTRENNEN UND GEGENSTÄNDE DURCH DIE LUFT SCHLEUDERN. BEI MISSACHTUNG DER FOLGENDEN SICHERHEITSHINWEISE BESTEHT DIE GEFAHR SCHWERER VERLETZUNGEN ODER TÖDLICHER UNFÄLLE. I. SCHUL...
Installation Manual Husqvarna TC 138L


Summary
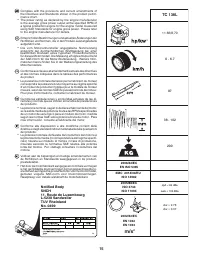
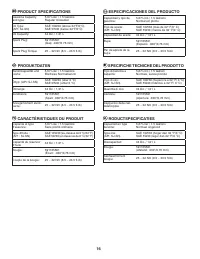
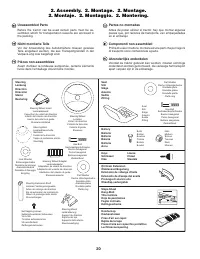
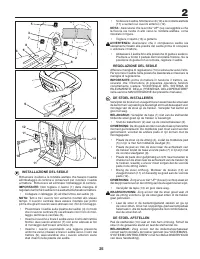
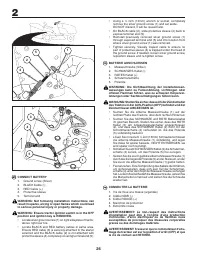
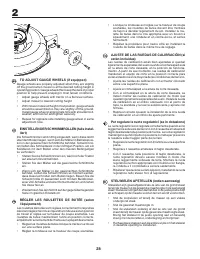
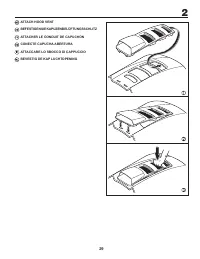
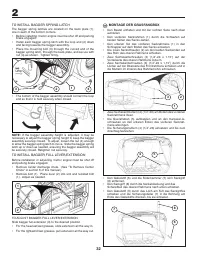
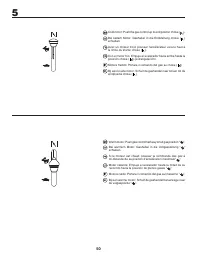
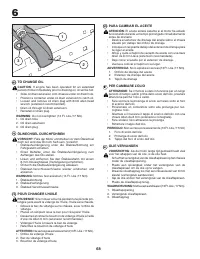
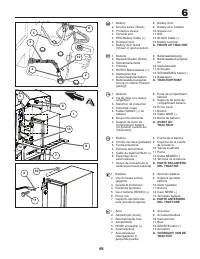
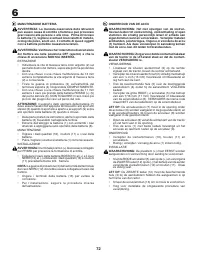
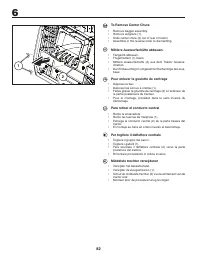
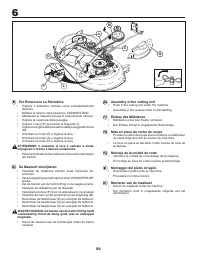
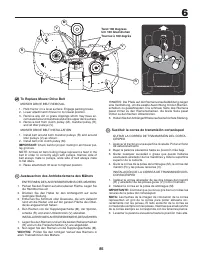
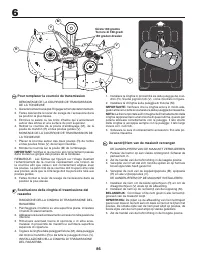
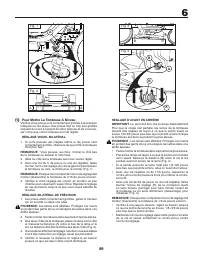
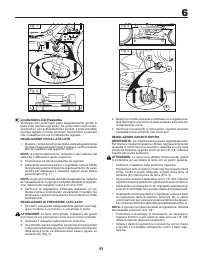
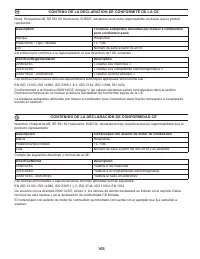
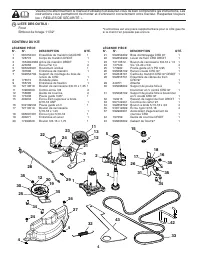
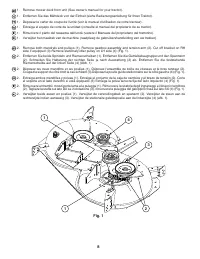
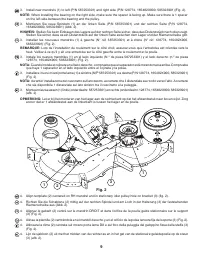
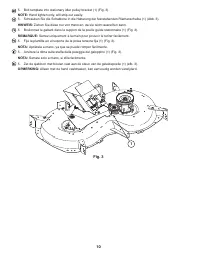
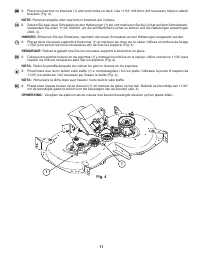
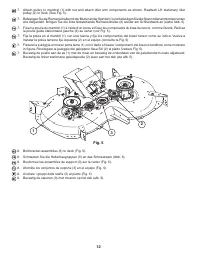
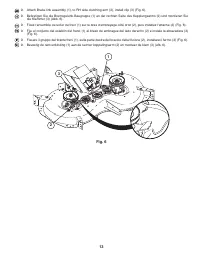
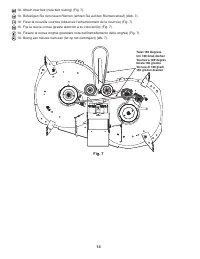
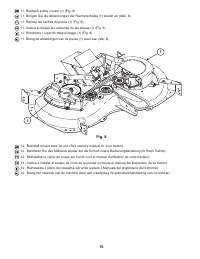
2 Please read the operator’s manual carefully and ensure you understand the instructions. The instructions will enable you to assemble and maintain your tractor properly. Always observe the “SAFETY RULES”. KIT CONTENTS: KEY PART NO. NO. DESCRIPTION QTY. KEY PART NO. NO. DESCRIPTION QTY. 1 587253301 ...
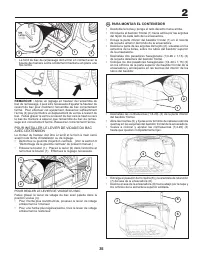
3 Lesen Sie die Bedienungsanleitung sorgfältig durch und stellen Sie sicher, dass Sie die Anweisungen verstanden haben. Mithilfe der Anweisungen können Sie Ihr Gerät ordnungsgemäß montieren und Warten. Beachten Sie stets die „SICHERHEITSHINWEISE“. INHALT DES KITS: KENN TEILE NR. NR. BESCHREIBUNG MEN...
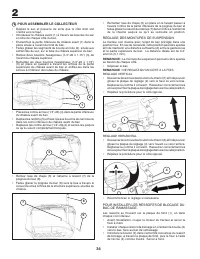
4 Veuillez lire attentivement le manuel d'utilisation et assurez-vous de bien comprendre les instructions. Les instructions vous permettront de monter et d'entretenir correctement votre tracteur. Respectez toujours les « RÈGLES DE SÉCURITÉ ». CONTENU DU KIT: LÉGENDE PIÈCE N°. N°. DESCRIPTION QTÉ. LÉ...
Husqvarna Manuals
-
 Husqvarna 115iHD55
User Manual
Husqvarna 115iHD55
User Manual
-
 Husqvarna 115iL
User Manual
Husqvarna 115iL
User Manual
-
 Husqvarna 115iPT4
User Manual
Husqvarna 115iPT4
User Manual
-
 Husqvarna 120
User Manual
Husqvarna 120
User Manual
-
 Husqvarna 120iTK4-P
User Manual
Husqvarna 120iTK4-P
User Manual
-
 Husqvarna 120 Mark II
User Manual
Husqvarna 120 Mark II
User Manual
-
 Husqvarna 122C
User Manual
Husqvarna 122C
User Manual
-
 Husqvarna 122HD45
User Manual
Husqvarna 122HD45
User Manual
-
 Husqvarna 122L
Quick Guide
Husqvarna 122L
Quick Guide
-
Husqvarna 122L
User Manual
-
 Husqvarna 122LK
User Manual
Husqvarna 122LK
User Manual
-
 Husqvarna 122LKE
Quick Guide
Husqvarna 122LKE
Quick Guide
-
 Husqvarna 122LKH
Quick Guide
Husqvarna 122LKH
Quick Guide
-
Husqvarna 122LKH
User Manual
-
 Husqvarna 122LKP
Quick Guide
Husqvarna 122LKP
Quick Guide
-
Husqvarna 122LKP
User Manual
-
 Husqvarna 122RJ
Quick Guide
Husqvarna 122RJ
Quick Guide
-
Husqvarna 122RJ
User Manual
-
 Husqvarna 125B
User Manual
Husqvarna 125B
User Manual
-
Husqvarna 125B
Manual