Grizzly Industrial G0716 - Manuals
User Manual Grizzly Industrial G0716


Summary
Table of Contents INTRODUCTION ............................................... 2 Manual Accuracy ........................................... 2Contact Info.................................................... 2Machine Description ...................................... 2Identification ....................
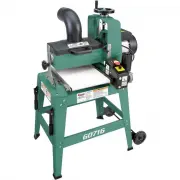
-2- Model G0716 (Mfg. Since 2/18) INTRODUCTION The Model G0716 drum sander features a vari-able speed conveyor belt that feeds the workpiece into the rotating sanding drum. The amount of material removal (depth of cut) is controlled by the elevation handwheel with the aid of the elevation pointer an...
Model G0716 (Mfg. Since 2/18) -3- Identification To reduce the risk of serious injury when using this machine, read and understand this entire manual before beginning any operations. Figure 1. Model G0716 identification. Sanding Motor Conveyor Motor Wheel Assembly Stand Lifting Handle Elevation Lock...
Grizzly Industrial Grinding Machines Manuals
-
 Grizzly Industrial G0450
User Manual
Grizzly Industrial G0450
User Manual
-
Grizzly Industrial G0450
Manual
-
 Grizzly Industrial G0459
User Manual
Grizzly Industrial G0459
User Manual
-
Grizzly Industrial G0459
Manual
-
 Grizzly Industrial G0489
User Manual
Grizzly Industrial G0489
User Manual
-
Grizzly Industrial G0489
Manual
-
 Grizzly Industrial G0529
User Manual
Grizzly Industrial G0529
User Manual
-
Grizzly Industrial G0529
Manual
-
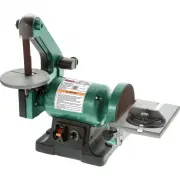
 Grizzly Industrial G0538
User Manual
Grizzly Industrial G0538
User Manual
-
Grizzly Industrial G0538
Manual
-
 Grizzly Industrial G0582
User Manual
Grizzly Industrial G0582
User Manual
-
Grizzly Industrial G0582
Manual
-
 Grizzly Industrial G0723
User Manual
Grizzly Industrial G0723
User Manual
-
Grizzly Industrial G0723
Manual
-
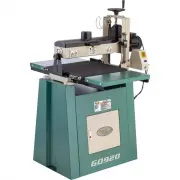
 Grizzly Industrial G0739
User Manual
Grizzly Industrial G0739
User Manual
-
 Grizzly Industrial G0787
User Manual
Grizzly Industrial G0787
User Manual
-
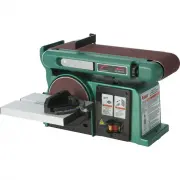
 Grizzly Industrial G0839P
User Manual
Grizzly Industrial G0839P
User Manual
-
 Grizzly Industrial G0864
User Manual
Grizzly Industrial G0864
User Manual
-
 Grizzly Industrial G0897
User Manual
Grizzly Industrial G0897
User Manual
-
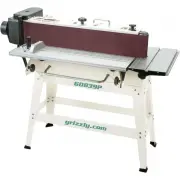
 Grizzly Industrial G0920
User Manual
Grizzly Industrial G0920
User Manual