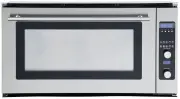
DeLonghi DE608M - Manuals
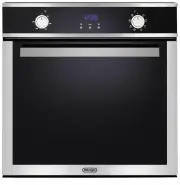
User Manual DeLonghi DE608M


Summary
2 Dear Customer, Thank you for having purchased and given your preferen- ce to our product. The safety precautions and recommendations reported below are for your own safety and that of others. They will also provide a means by which to make full use of the fea-tures offered by your appliance. Pleas...
3 Important: This appliance is designed and manufactured solely for the coo-king of domestic (household) food and is not suitable for any non domestic application and therefore should not be used in a com-mercial environment. The appliance guarantee will be void if the appliance is used within a non...
4 IMPORTANT PRECAUTIONS AND RECOMMENDATIONS After having unpacked the appliance, check to ensure that it is not damaged and that the oven door closes correctly. In case of doubt, technician.Packing elements (i.e. plastic bags, polystyrene foam, nails, packing straps, etc.) should not be left around ...
DeLonghi Ovens Manuals
-
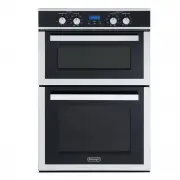 DeLonghi DE6038MD
User Manual
DeLonghi DE6038MD
User Manual
-
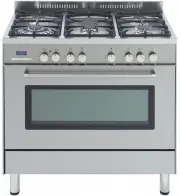
 DeLonghi DE62MPB
User Manual
DeLonghi DE62MPB
User Manual
-
 DeLonghi DE906GWF
User Manual
DeLonghi DE906GWF
User Manual
-
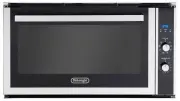 DeLonghi DE908M
User Manual
DeLonghi DE908M
User Manual
-
 DeLonghi DE91PYROS
User Manual
DeLonghi DE91PYROS
User Manual
-
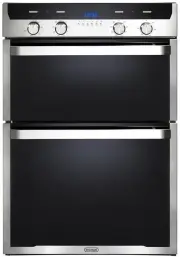
 DeLonghi DEF1407A
User Manual
DeLonghi DEF1407A
User Manual
-
 DeLonghi DEF1407S
User Manual
DeLonghi DEF1407S
User Manual
-
 DeLonghi DEF605E
User Manual
DeLonghi DEF605E
User Manual
-
 DeLonghi DEF605GW
User Manual
DeLonghi DEF605GW
User Manual
-
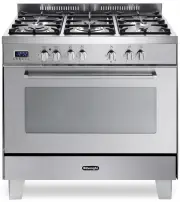
 DeLonghi DEF905EX1
User Manual
DeLonghi DEF905EX1
User Manual
-
 DeLonghi DEF905GW1X1
User Manual
DeLonghi DEF905GW1X1
User Manual
-
 DeLonghi DEF908S
User Manual
DeLonghi DEF908S
User Manual
-
 DeLonghi DEFL605E
User Manual
DeLonghi DEFL605E
User Manual
-
 DeLonghi DEFL605G
User Manual
DeLonghi DEFL605G
User Manual
-
 DeLonghi DEFP907S
User Manual
DeLonghi DEFP907S
User Manual
-
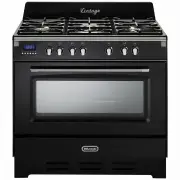 DeLonghi DEFV908BK
User Manual
DeLonghi DEFV908BK
User Manual
-
 DeLonghi DEFV908CR
User Manual
DeLonghi DEFV908CR
User Manual
-
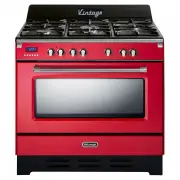 DeLonghi DEFV908R
User Manual
DeLonghi DEFV908R
User Manual
-
 DeLonghi DEL6038D
User Manual
DeLonghi DEL6038D
User Manual
-
 DeLonghi DEL604M
User Manual
DeLonghi DEL604M
User Manual