Clatronic AKS 826 - User Manual
Clatronic AKS 826 Vacuum – User Manual, read for free online in PDF format. We hope this helps you resolve any issues you may have. If you have further questions, please contact us through the contact form.
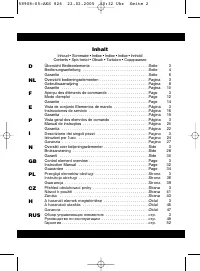
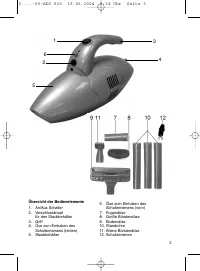
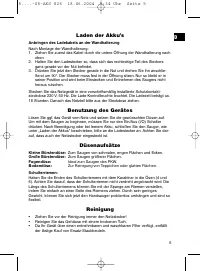
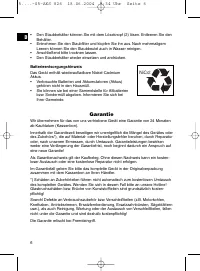
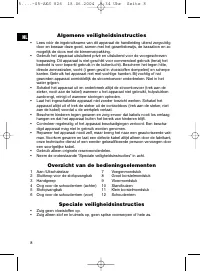
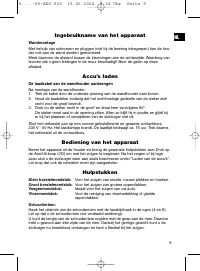
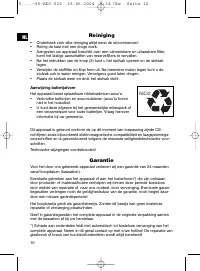
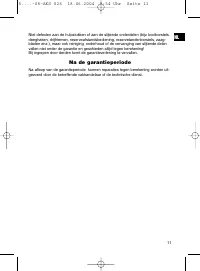
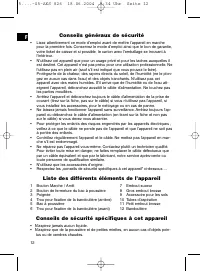
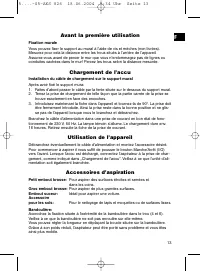
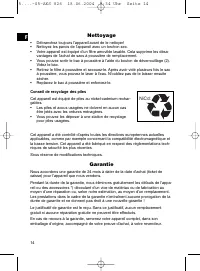
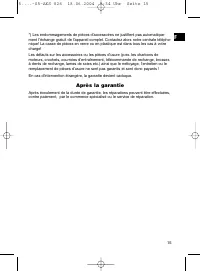
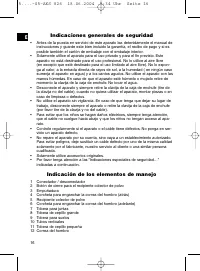
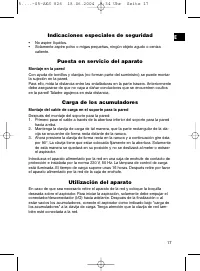
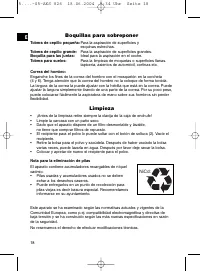
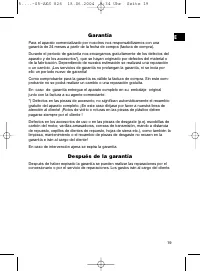
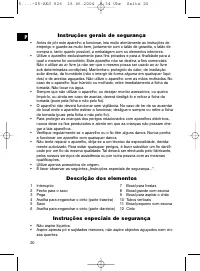
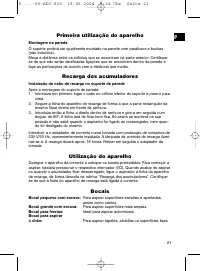
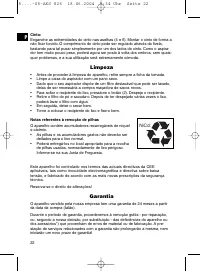
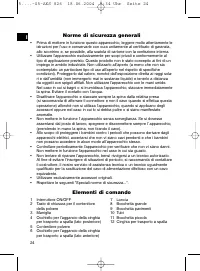
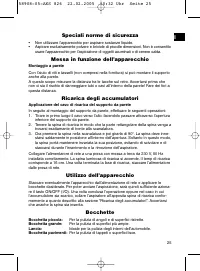
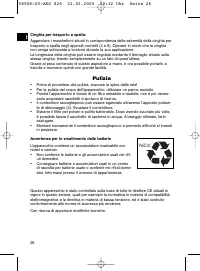

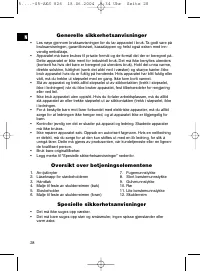
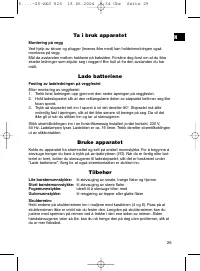
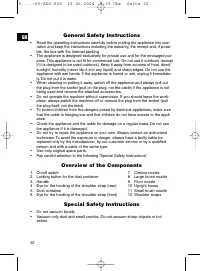
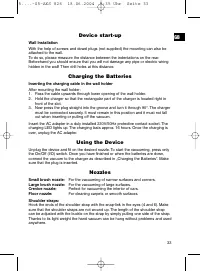

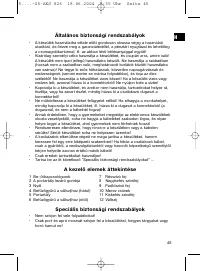

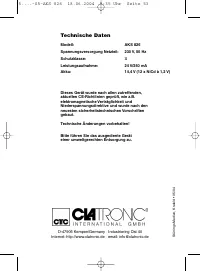
Table of Contents:
- Page 2 – Inhalt; Inhoud • Sommaire • Indice • Índice • Indice • Innhold; RUS; Обзор управляющих элементов
- Page 3 – Übersicht der Bedienelemente; für den Staubbehälter
- Page 4 – Saugen Sie keine Flüssigkeiten auf.; Inbetriebnahme des Gerätes; Wandmontage
- Page 5 – Laden der Akku’s; Anbringen des Ladekabels an der Wandhalterung; ganz gerade vor der Nut befindet.; Benutzung des Gerätes; Ideal zum Saugen des PKW.; Reinigung; Ziehen Sie vor der Reinigung immer den Netzstecker!
- Page 6 – Batterieentsorgungshinweis; Garantie; Die Garantie erlischt bei Fremdeingriff.
- Page 9 – Ingebruikname van het apparaat; Accu’s laden; De laadkabel aan de wandhouder aanbrengen; recht voor de groef bevindt.; Bediening van het apparaat; Ideaal voor het zuigen van uw auto.
- Page 10 – Reiniging; Onderbeek vóór elke reiniging altijd eerst de stroomtoevoer!; Aanwijzing batterijafvoer; Technische wijzigingen voorbehouden!
- Page 11 – Na de garantieperiode
- Page 13 – Avant la première utilisation; Fixation murale; Chargement de l’accu; Installation du câble de chargement sur le support mural; trouve exactement en face des encoches.; Utilisation de l’appareil; Idéal pour aspirer une voiture.
- Page 14 – Nettoyage; Débranchez toujours l’appareil avant de le nettoyer!; Conseil de recyclage des piles; Sous réserve de modifications techniques.
- Page 15 – En cas d’intervention étrangère, la garantie devient caduque.; Après la garantie
- Page 17 – Montaje en la pared; Carga de los acumuladores; Montaje del cable de carga en el soporte para la pared; vija se encuentre de forma recta delante de la ranura.; Utilización del aparato
- Page 18 – Boquillas para sobreponer; Tobera de cepillo pequeña: Para la aspiración de superficies y; Ideal para la aspiración en el coche.; Limpieza; Limpie la carcasa con un paño seco.; Nota para la eliminación de pilas; No reservamos el derecho de efectuar modificaciones técnicas.
- Page 19 – Garantía; En caso de intervención ajena se expira la garantía.; Después de la garantía
- Page 21 – Primeira utilização do aparelho; Montagem na parede; Recarga dos acumuladores; Instalação do cabo de recarga no suporte de parede; mesma fique direita em frente da ranhura.; Utilização do aparelho; Bocal grande com escova:; Para aspirar superfícies mais amplas.
- Page 22 – Limpeza; Limpe a caixa do aspirador com um pano seco.; Notas referentes à remoção de pilhas; Garantia
- Page 23 – Após a garantia
- Page 24 – Lancia
- Page 25 – Speciali norme di sicurezza; Non utilizzare l’apparecchio per aspirare sostanze liquide.; Messa in funzione dell’apparecchio; Montaggio a parete; Ricarica degli accumulatori; Applicazione del cavo di ricarica del supporto da parete; inferiore del supporto da parete.; Utilizzo dell’apparecchio; Bocchetta grande: Per la pulizia di superfici più ampie; Ideale per la pulizia degli interni dell’automobile.; Bocchetta pavimenti: Per la pulizia di tappeti o superfici lisce.
- Page 26 – Cinghia per trasporto a spalla:; Pulizia; Prima di procedere alla pulizia, staccare la spina dalla rete!; Avvertenza per lo smaltimento delle batterie; Con riserva di apportare modifiche tecniche.
- Page 27 – Garanzia; La garanzia si annulla nel caso di intervento da parte di terzi.; Dopo la garanzia
- Page 29 – Ta i bruk apparatet; Montering på vegg; Lade batteriene; Festing av ladeledningen på veggfestet; Bruke apparatet; Lite børstemunnstykke:; til støvsuging av smale, trange flater og hjørner
- Page 30 – Rengjøring; Trekk alltid ut støpselet før rengjøring!; Anvisning for kasting av batterier; Med forbehold om tekniske endringer!; Garanti
- Page 31 – Garantien utgår ved inngrep utenfra.; Etter garantien
- Page 33 – Wall Installation; Charging the Batteries; Inserting the charging cable in the wall holder; Using the Device; For the vacuuming of narrow surfaces and corners.
- Page 34 – Cleaning; Always unplug the device before cleaning!; Battery Disposal; Subject to technical changes without prior notice!; Guarantee
- Page 35 – The guarantee lapses in case of unauthorized tampering.; After the expiry of the guarantee
- Page 37 – Specjalne zalecenia bezpieczeństwa; Nie zbierać żadnych cieczy.; Uruchamianie urządzenia; Montaż na ścianie; Ładowanie akumulatora; Podłączenie przewodu ładującego do mocowania naściennego; znalazła się dokładnie naprzeciw wpustu.; Korzystanie z urządzenia
- Page 38 – Wskazówka odnośnie pozbywania się baterii; Do urzadzen wyposazonych w akumulatorki
- Page 39 – Zastrzega się prawo do zmian technicznych!; WARUNKI GWARANCJI
- Page 42 – Uvedení přístroje do provozu; Možná na zeď; Nabíjení akumulátorů; Umístění nabíjecího kabelu na stěnový držák; Použití přístroje; Ideální pro vysávání v automobilu.; Podlahová hubice; K čištění koberců nebo hladkých ploch.
- Page 43 – Čištění; Před čištěním vždy vytáhněte zástrčku ze sítě!; Pokyny pro likvidaci baterií; Vyhrazujeme si technické změny!; Záruka
- Page 44 – Záruka zaniká v případě, že dojde k zásahu neautorizovanou osobou.; Po uplynutí záruky
- Page 46 – A készülék használatba vétele; Falra szerelés; Az akku feltöltése; A töltőkábel elhelyezése a fali tartón; sen egyenesen legyen a horony előtt!; A készülék használata; Keskeny, szűk felületek és sarkok porszívózására.
- Page 47 – Tisztítás; A motorházat száraz ruhával törölje le!; Elem-eltávolítási tájékoztató; háztartási hulladékba valók.; Garancia
- Page 48 – Illetéktelen beavatkozás a garancia megszűnését eredményezi.; A garanciális idő után
- Page 50 – Специальные указания по технике безопасности; Ни в коем случае не пылесосьте жидкости.; Подготовка прибора к эксплуатации; Настенный монтаж; Подзарядка аккумуляторов; настенного держателя.; Порядок работы с прибором
- Page 51 – Примечание по утилизации аккумуляторов
- Page 52 – Гарантийное обязательство; Гарантия теряется при вскрытии изделия посторонними лицами.; После гарантии
- Page 53 – Technische Daten; Spannungsversorgung Netzteil:; ΙΙ; Technische Änderungen vorbehalten!
Bedienungsanleitung/Garantie
Gebruiksaanwijzing/Garantie • Mode d’emploi/Garantie
Instrucciones de servicio/Garantía • Manual de instruções/Garantia
Istruzioni per l’uso/Garanzia • Bruksanvisning/Garanti
Instruction Manual/Guarantee
•
Instrukcja obsługi/Gwarancja
Návod k použití/Záruka
•
A használati utasítás/Garancia
Руководство по эксплуатации/Гарантия
AKS 826
Akkusauger
Accu-stofzuiger • Aspirateur à accus
Aspirador de baterías • Aspirador de acumuladores
Aspirator ricaricabile • Batteridrevet støvsuger
Battery Vacuum •
Odkurzacz z akumulatorem
Akumulátorový vysavač
• Akkumulátoros porszívó
Аккумуляторный пылесос
5....-05-AKS 826 18.06.2004 9:34 Uhr Seite 1
"Loading the manual" means you need to wait until the file loads and becomes available for online reading. Some manuals are very large, and the time they take to appear depends on your internet speed.
Summary
Inhalt Inhoud • Sommaire • Indice • Índice • Indice • Innhold Contents • Spis treści • Obsah • Tartalom • Содержание D Übersicht Bedienelemente . . . . . . . . . . . . . . . . . . . . . . . . . . . .Seite 3 Bedienungsanleitung . . . . . . . . . . . . . . . . . . . . . . . . . . . . . . . .Seite 4 Ga...
3 3 1 2 5 6 4 Übersicht der Bedienelemente 1. An/Aus Schalter2. Verschlussknopf für den Staubbehälter 3. Griff 4. Öse zum Einhaken des Schulterriemens (hinten) 5. Staubbehälter 6. Öse zum Einhaken des Schulterriemens (vorn) 7. Fugendüse8. Große Bürstendüse9. Bodendüse10. Standrohre11. Kleine Bürsten...
Allgemeine Sicherheitshinweise • Lesen Sie vor Inbetriebnahme dieses Gerätes die Bedienungsanleitung sehrsorgfältig durch und bewahren Sie diese inkl. Garantieschein, Kassenbon undnach Möglichkeit den Karton mit Innenverpackung gut auf. • Benutzen Sie das Gerät ausschließlich für den privaten und de...