Philips DVP2320BU/51 - Manuals
Philips DVP2320BU/51 Player – Manual in PDF format online.
Manuals:
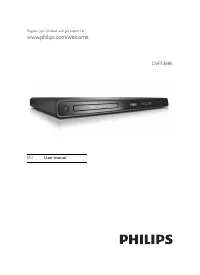
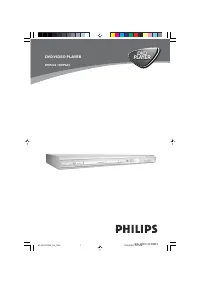
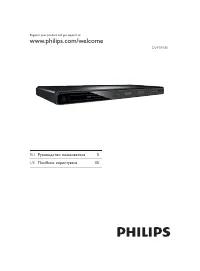
Manual Philips DVP2320BU/51


Summary
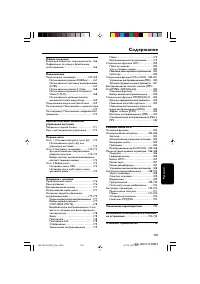
3 English EN 7 Additional information 17 Update software 17 CareSpecifications 18 8 Troubleshooting 18 9 Glossary 19 Contents 1 Important 4 Safety and impor tant notice 4 Trademark notice 4 2 Your product 5 Feature highlights 5 Product over view 5 3 Connect 7 Connect video cables 8 Connect audio cabl...
4 Cor rec t disposal of your old produc t helps to prevent potential negative consequences for the environment and human health. Your produc t contains bat teries covered by the European Direc tive 20 06/66/EC , which cannot be disposed with nor mal household waste.Please infor m your self about the...
5 Remote control a Tur n on this produc t or switch to • standby mode. b Switch to the USB mode. • c DISC MENU Access or exit the disc menu. • Switch to the disc mode. • For VCD and SVCD, tur n on or of f PBC • (playback control). d Navigate the menus • Search fast-for ward ( • ) or fast-back ward (...
Philips Players Manuals
-
 Philips BDP1200
User Manual
Philips BDP1200
User Manual
-
 Philips BDP2800/12
User Manual
Philips BDP2800/12
User Manual
-
 Philips BDP3200/51
User Manual
Philips BDP3200/51
User Manual
-
 Philips BDP7200/12
User Manual
Philips BDP7200/12
User Manual
-
Philips BDP7200/12
Quick Guide
-
 Philips BDP9100/12
Quick Guide
Philips BDP9100/12
Quick Guide
-
 Philips DVP2880
User Manual
Philips DVP2880
User Manual
-
Philips DVP2880
Manual
-
 Philips DVP5388K/51
User Manual
Philips DVP5388K/51
User Manual
-
Philips DVP5388K/51
Manual
-
 Philips DVP630
Manual
Philips DVP630
Manual
-
 Philips DVP632
Manual
Philips DVP632
Manual
-
 Philips PD9030
User Manual
Philips PD9030
User Manual
-
Philips PD9030
Manual
-
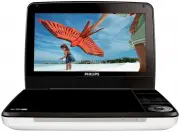
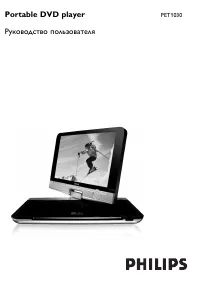 Philips PET1030/58
Manual
Philips PET1030/58
Manual
-
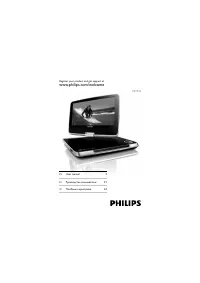 Philips PET944/58
User Manual
Philips PET944/58
User Manual
-
Philips PET944/58
Manual
-
 Philips DVDR75/021
Manual
Philips DVDR75/021
Manual
-
 Philips DVP5998K/51
Manual
Philips DVP5998K/51
Manual
-
 Philips DVP3360K/51
Manual
Philips DVP3360K/51
Manual