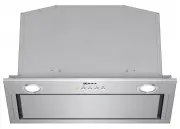
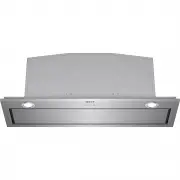
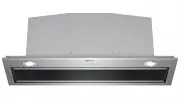
Neff D79MH52N1 - Manuals
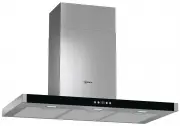
User Manual Neff D79MH52N1


Summary
2 Ú Table of contents [en]Instructions for installation and use INSTRUCTION MANUAL ............................................................ 2 Important safety information................................................ 2Environmental protection ......................................................
4 Risk of burns! The accessible parts become very hot when in operation. Never touch hot parts. Keep children at a safe distance. Risk of injury! ■ Components inside the appliance may have sharp edges. Wear protective gloves. Risk of injury! ■ Items placed on the appliance may fall down. Do not plac...
5 Environmental protection Unpack the appliance and dispose of the packaging in an environmentally-responsible manner. Environmental protection Operating modes This appliance can be used in exhaust-air mode or circulating- air mode. Exhaust air mode Note: The exhaust air must not be conveyed into a ...
Neff Range Hoods Manuals
-
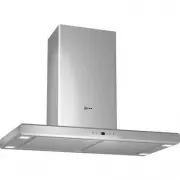
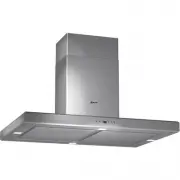
 Neff D46BR22N1A
User Manual
Neff D46BR22N1A
User Manual
-
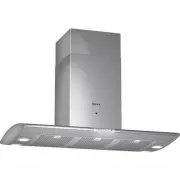
 Neff D46BR22X0
User Manual
Neff D46BR22X0
User Manual
-
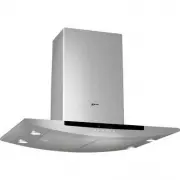
 Neff D46ED52X0
User Manual
Neff D46ED52X0
User Manual
-
 Neff D55MH56N0A
User Manual
Neff D55MH56N0A
User Manual
-
 Neff D55MH56N0B
User Manual
Neff D55MH56N0B
User Manual
-
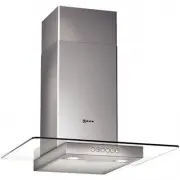
 Neff D57ML67N1A
User Manual
Neff D57ML67N1A
User Manual
-
 Neff D57ML67N1B
User Manual
Neff D57ML67N1B
User Manual
-
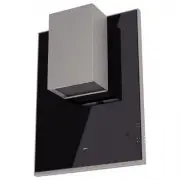
 Neff D58ML66N1
User Manual
Neff D58ML66N1
User Manual
-
 Neff D58ML66N1A
User Manual
Neff D58ML66N1A
User Manual
-
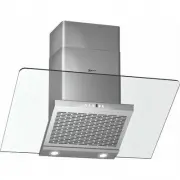
 Neff D58ML67N0
User Manual
Neff D58ML67N0
User Manual
-
 Neff D76F35N0
User Manual
Neff D76F35N0
User Manual
-
 Neff D76M35N0
User Manual
Neff D76M35N0
User Manual
-
 Neff D79F58N0
User Manual
Neff D79F58N0
User Manual
-
 Neff D86E34N0
User Manual
Neff D86E34N0
User Manual
-
 Neff D96BMU5N0A
User Manual
Neff D96BMU5N0A
User Manual
-
 Neff D99L11N0
User Manual
Neff D99L11N0
User Manual
-
 Neff D99W45N1
User Manual
Neff D99W45N1
User Manual
-
 Neff I71F57N0
User Manual
Neff I71F57N0
User Manual
-
 Neff I79T67N0
User Manual
Neff I79T67N0
User Manual
-
 Neff I91T58N0
User Manual
Neff I91T58N0
User Manual