Neff I71F57N0 - User Manual
Neff I71F57N0 Range Hood – User Manual, read for free online in PDF format. We hope this helps you resolve any issues you may have. If you have further questions, please contact us through the contact form.


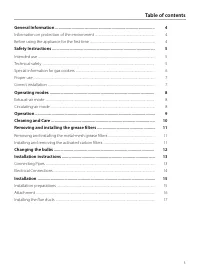
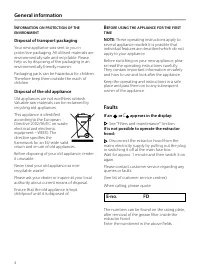
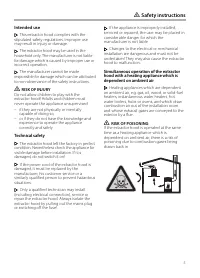
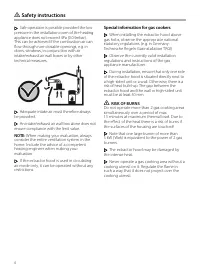
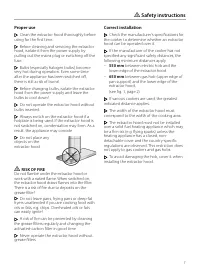

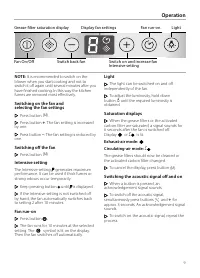
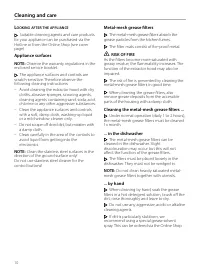
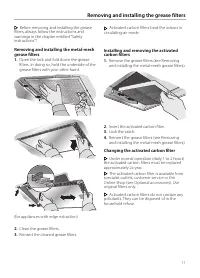
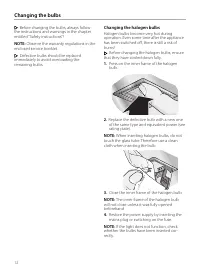
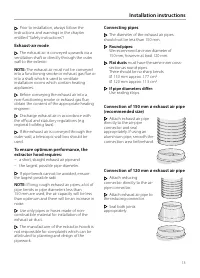
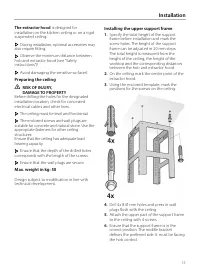
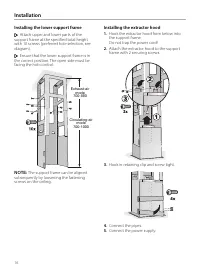


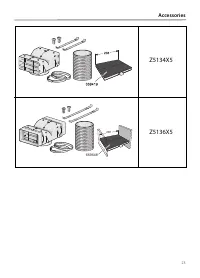

Table of Contents:
- Page 2 – ELECTRO
- Page 3 – Table of contents
- Page 4 – These operating instructions apply to; Disposal of transport packaging; General information; FD; Faults; If an; Disconnect the extractor hood from the
- Page 5 – Intended use; RISK OF INJURY; Technical safety; Safety instructions; RISK OF POISONING
- Page 6 – Special information for gas cookers; RISK OF BURNS
- Page 7 – Proper use; RISK OF FIRE; Correct installation
- Page 8 – Operating modes; Appliance dimensions Circulating air; and
- Page 9 – Operation; Light; Switching off the fan
- Page 10 – Cleaning and care; Appliance surfaces
- Page 11 – Removing and installing the grease filters; Changing the activated carbon filter
- Page 12 – Changing the bulbs; Changing the halogen bulbs
- Page 13 – Connecting pipes; Flat ducts; Connection of 120 mm ø exhaust air pipe; Installation instructions
- Page 15 – Installation; The extractor hood; Preparing the ceiling
- Page 16 – Installing the lower support frame; Attach upper and lower parts of the; Installing the extractor hood; Hook in retaining clip and screw tight.
- Page 17 – Installing the flue ducts; Protect the extractor hood from damage.
- Page 18 – Notes
- Page 23 – Accessories
Installation instructions and
how to use and look after your
built-in cooker hoods
NEFF (UK) Ltd
"Loading the manual" means you need to wait until the file loads and becomes available for online reading. Some manuals are very large, and the time they take to appear depends on your internet speed.
Summary
3 Table of contents General Information ............................................................................................ 4 Information on protection of the environment ............................................................................... 4 Before using the appliance for the fir...
4 B EFORE USING THE APPLIANCE FOR THE FIRST TIME NOTE: These operating instructions apply to several appliance models It is possible thatindividual features are described which do notapply to your appliance. Before switching on your new appliance, plea-se read the operating instructions carefully.Th...