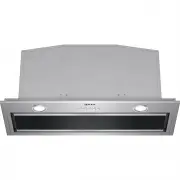
Neff D55MH56N0A - Manuals

User Manual Neff D55MH56N0A


Summary
en Safety 2 Table of contents INFORMATION FOR USE 1 Safety ................................................................... 2 2 Avoiding material damage.................................. 4 3 Environmental protection and saving en- ergy .............................................................
Safety en 3 WARNING ‒ Risk of poisoning! Risk of poisoning from flue gases being drawn back in. Room-air-dependent heat-pro- ducing appliances (e.g. gas, oil, wood or coal- operated heaters, continuous flow heaters or water heaters) obtain combustion air from the room in which they are installed an...
en Avoiding material damage 4 The filter cover may swing out. ▶ Open the filter cover slowly. ▶ Take hold of the filter cover after opening until it no longer swings out. ▶ Close the filter cover slowly. The light emitted by LED lights is very dazzling, and can damage the eyes (risk group 1). ▶ Do ...
Neff Range Hoods Manuals
-
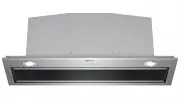
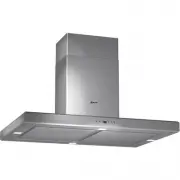
 Neff D46BR22N1A
User Manual
Neff D46BR22N1A
User Manual
-
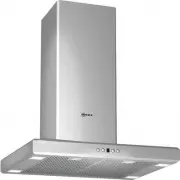
 Neff D46BR22X0
User Manual
Neff D46BR22X0
User Manual
-
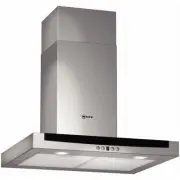
 Neff D46ED52X0
User Manual
Neff D46ED52X0
User Manual
-
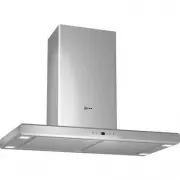
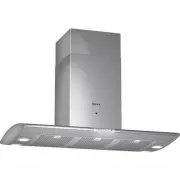
 Neff D55MH56N0B
User Manual
Neff D55MH56N0B
User Manual
-
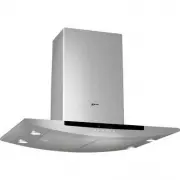
 Neff D57ML67N1A
User Manual
Neff D57ML67N1A
User Manual
-
 Neff D57ML67N1B
User Manual
Neff D57ML67N1B
User Manual
-
 Neff D58ML66N1
User Manual
Neff D58ML66N1
User Manual
-
 Neff D58ML66N1A
User Manual
Neff D58ML66N1A
User Manual
-
 Neff D58ML67N0
User Manual
Neff D58ML67N0
User Manual
-
 Neff D76F35N0
User Manual
Neff D76F35N0
User Manual
-
 Neff D76M35N0
User Manual
Neff D76M35N0
User Manual
-
 Neff D79F58N0
User Manual
Neff D79F58N0
User Manual
-
 Neff D79MH52N1
User Manual
Neff D79MH52N1
User Manual
-
 Neff D86E34N0
User Manual
Neff D86E34N0
User Manual
-
 Neff D96BMU5N0A
User Manual
Neff D96BMU5N0A
User Manual
-
 Neff D99L11N0
User Manual
Neff D99L11N0
User Manual
-
 Neff D99W45N1
User Manual
Neff D99W45N1
User Manual
-
 Neff I71F57N0
User Manual
Neff I71F57N0
User Manual
-
 Neff I79T67N0
User Manual
Neff I79T67N0
User Manual
-
 Neff I91T58N0
User Manual
Neff I91T58N0
User Manual