Electrolux EMS 2485 - Manuals
Electrolux EMS 2485 Microwave – Manual in PDF format online.
Manuals:
Manual Electrolux EMS 2485


Summary
For the user Before using your microwave oven 4 Maff rating 4 Safety Instructions 5 Utensil safety 5 Testing suitability of cookware 5 Foil containers 6 Food safety 6 Safety instructions when cooking by Grill 7 Oven utensils and accessories guide 8 Description of the microwave oven and accessories T...
3 E EM MS S 2 24 48 85 5 U UK K Read through the instruction manual carefully. The fol-lowing instructions have been prepared so that you canget the best from your new Electrolux microwave oven. It is important that this instruction book is retained withthe appliance for future reference. Should the...
4 E EM MS S 2 24 48 85 5 U UK K The built-in safety interlock switches prevent the microwave oven from operating when the dooris open. Do not tamper with them, or attempt to operate the oven with the door open as open door operation can resultin exposure to microwave energy. Do not allow food ...
Electrolux Microwaves Manuals
-
 Electrolux EMB2527BA
User Manual
Electrolux EMB2527BA
User Manual
-
 Electrolux EMC2867BI
User Manual
Electrolux EMC2867BI
User Manual
-
 Electrolux EMF2527BA
User Manual
Electrolux EMF2527BA
User Manual
-
 Electrolux EMF2529DSD
User Manual
Electrolux EMF2529DSD
User Manual
-
 Electrolux EMM 20000 OK
User Manual
Electrolux EMM 20000 OK
User Manual
-
 Electrolux EMM20000OC
User Manual
Electrolux EMM20000OC
User Manual
-
 Electrolux EMS 2105 S
User Manual
Electrolux EMS 2105 S
User Manual
-
 Electrolux EMS 26004
User Manual
Electrolux EMS 26004
User Manual
-
 Electrolux EMS 2840 S
User Manual
Electrolux EMS 2840 S
User Manual
-
 Electrolux EMS26004OW
User Manual
Electrolux EMS26004OW
User Manual
-
 Electrolux EMS30400OX
User Manual
Electrolux EMS30400OX
User Manual
-
 Electrolux EMS3067X
User Manual
Electrolux EMS3067X
User Manual
-
Electrolux EMS3067X
Manual
-
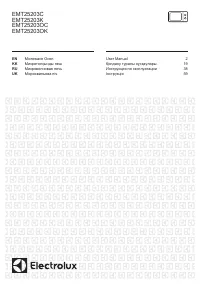 Electrolux EMT25203C
User Manual
Electrolux EMT25203C
User Manual
-
Electrolux EMT25203K
User Manual
-
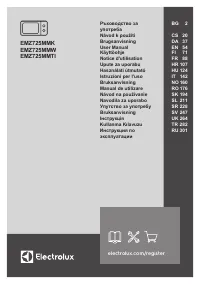 Electrolux EMZ725MMK
User Manual
Electrolux EMZ725MMK
User Manual
-
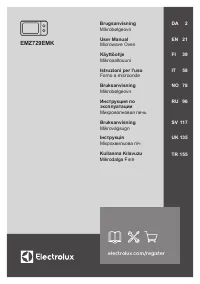 Electrolux EMZ729EMK
User Manual
Electrolux EMZ729EMK
User Manual
-
 Electrolux EOK76030X
User Manual
Electrolux EOK76030X
User Manual
-
 Electrolux EVEM677BA
User Manual
Electrolux EVEM677BA
User Manual