Bosch CCS180B - Manuals

User Manual Bosch CCS180B


Manual Bosch CCS180B


Summary
- 2- Work area safety Keep work area clean and well lit. Cluttered or dark areas invite accidents. Do not operate power tools in explosiveatmospheres, such as in the presence offlammable liquids, gases or dust. Power tools create sparks which may ignite the dustor fumes. Keep children and bystanders...
-3- Disconnect the plug from the power sourceand/or the battery pack from the power toolbefore making any adjustments, changingaccessories, or storing power tools. Such preventive safety measures reduce the risk ofstarting the power tool accidentally. Store idle power tools out of the reach ofchildr...
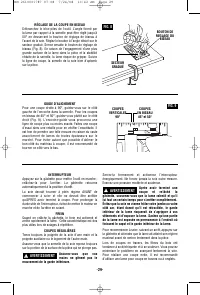
This product is intended to cut wood andwood-like products only . Dust build up around the lower guard and hub from othermaterials (plastic, masonry or metal) maydisable the lower guard operation. Inspect the condition and quality of thewood and remove all nails from lumberbefore cutting. Wet lumber...
Bosch Circular Saws Manuals
-
 Bosch CS10
User Manual
Bosch CS10
User Manual
-
Bosch CS10
Manual
-
 Bosch CS5
User Manual
Bosch CS5
User Manual
-
Bosch CS5
Manual
-
 Bosch CSW41
User Manual
Bosch CSW41
User Manual
-
Bosch CSW41
Manual
-
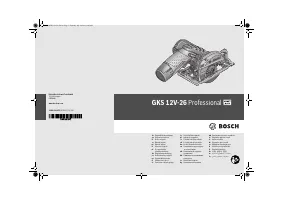 Bosch GKS 10,8 V-LI
User Manual
Bosch GKS 10,8 V-LI
User Manual
-
Bosch GKS 10,8 V-LI (06016A1000)
User Manual
-
 Bosch GKS 18V-57
User Manual
Bosch GKS 18V-57
User Manual
-
 Bosch GKS 18V-57 G
User Manual
Bosch GKS 18V-57 G
User Manual
-
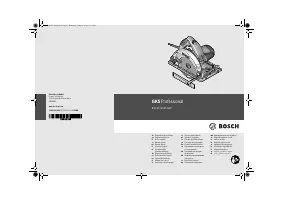
 Bosch GKS 235 Turbo Professional
User Manual
Bosch GKS 235 Turbo Professional
User Manual
-
 Bosch GKS 55+ GCE
User Manual
Bosch GKS 55+ GCE
User Manual
-
 Bosch GKS 600
User Manual
Bosch GKS 600
User Manual
-
 Bosch GKS 65 G
User Manual
Bosch GKS 65 G
User Manual
-
 Bosch GKT13-225L
User Manual
Bosch GKT13-225L
User Manual
-
 Bosch GTS 10 J
User Manual
Bosch GTS 10 J
User Manual
-
 Bosch PKS 55 A
Manual
Bosch PKS 55 A
Manual
-
 Bosch UniversalCirc 12
User Manual
Bosch UniversalCirc 12
User Manual