AEG MICROMAT 1231 E - User Manual

AEG MICROMAT 1231 E – User Manual, read for free online in PDF format. We hope this helps you resolve any issues you may have. If you have further questions, please contact us through the contact form.


Table of Contents:
- Page 3 – Contents; Important information
- Page 5 – Safety instructions
- Page 6 – risk of scalding; Make sure that a minimum tem-; Microwaves
- Page 7 – for handling hot dishes.; Do not use your microwave oven for the following :; there is danger
- Page 8 – General operating instructions; Suitable ovenware; Ovenware material
- Page 9 – Double the power = nearly double the time; Please refer to the cooking charts. To be on the safe side, always; Standing time; ” is referred to in the cooking charts. This is the; Installing and Connecting; Table top model
- Page 11 – Product Description; The appliance
- Page 12 – The control panel
- Page 13 – May be ordered either through your retailer or AEG Service Center.; Rack
- Page 14 – Before using the appliance; Setting the clock; A E; ton; rotary button
- Page 15 – «At a glance» operating instructions
- Page 17 – Set the required microwave; Rotary knob; Press the; START button; Maximum programme length is 60 minutes.; Microwaves only
- Page 18 – Notes on microwave power levels
- Page 19 – Automatic defrost; Automatic Programmes
- Page 20 – Modes of operation; Automatic cooking programmes
- Page 21 – How to use automatic programmes; Example : defrosting 1 kg chicken
- Page 22 – How to set; provides full microwave power for from 30
- Page 23 – . Set the required time with the; appears from the display and the required length of time appears.; Minute timer with alarm
- Page 24 – Cooking charts and tips; Defrosting
- Page 28 – Cooking of meat and poultry; Practical tips for use; General
- Page 29 – Tips on microwaving
- Page 30 – Test procedures
- Page 31 – Cleaning and care; The Appliance Exterior
- Page 33 – AEG Service; Keep these numbers handy by recording them here :; PNC
AUS ERF
AHRUNG GUT
Gebrauchsanweisung
Notice d’utilisation
Operating instructions
Gebruiksaanwijzing
Istruzioni per l’uso
Mikrowellengerät
D
Four à micro-ondes
F
Microwave oven
t
Magnetron
N
Apparecchio a microonde
I
MICROMAT 1231 E
AEG Hausgeräte GmbH
Postfach 1036
D-90327 Nürnberg
http: // www.aeg.hausgeraete.de
©Copyright by AEG
H 259 266 300 - 04/98 - 9851801
"Loading the manual" means you need to wait until the file loads and becomes available for online reading. Some manuals are very large, and the time they take to appear depends on your internet speed.
Was this manual helpful?
About this manual
- Brand
- AEG
- Model
- MICROMAT 1231 E
- Document type
- User Manual
- Language(s)
- English
- Pages
- 33
- File size
- 457.3 KB
- Format
Summary
Contents 71 t Important information Ecologically responsible disposal of packaging and old appliances . . . . . . . . . . . . . . . . . . . . . . . . . . . . . . . . . 72 Safety Instructions General . . . . . . . . . . . . . . . . . . . . . . . . . . . . . . . . . . . . . . . . . 73 For trouble free...
73 t General ·T he appliance should only be operated with the turntable and turn- table support inserted. · Only suitable microwave ovenware should be used. · To protect the appliance against corrosion from moisture (conden- sation) in the cavity or on the door, wipe these areas dry aftereach use. ·...
74 Safety instructions ·· Whenever heating liquid, pleasealso place a teaspoon in the con-tainer to avoid delayed boiling.During delayed boiling, the boilingtemperature is attained withoutthe typical steam bubbles rising.When the container is shaken,even but slightly, the liquid maythen suddenly vig...
Ask a question
Related manuals
Popular AEG Other
More AEG Other models
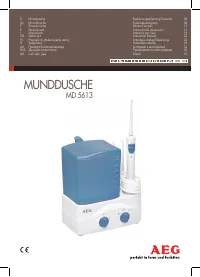 AEG MD 5613 User Manual
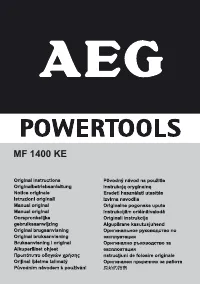 AEG MF 1400 KE User Manual
 AEG MFC3426D-S User Manual
 AEG MFD2025S-M User Manual
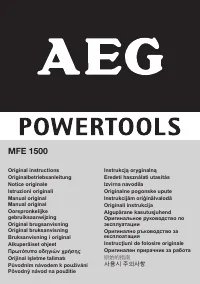 AEG MFE 1500 User Manual
 AEG Micromat 112Z User Manual
 AEG MICROMAT DUO 230 User Manual
 AEG MICROMAT KB9810E User Manual
 AEG MICROMAT_DUO 3534 E User Manual
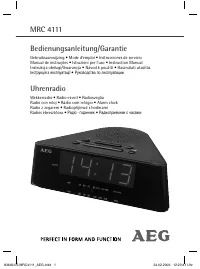 AEG MRC 4111 User Manual
 AEG MRC 4119 P User Manual
 AEG MRC 4121 User Manual