Smeg SHR900X - Manuals
User Manual Smeg SHR900X


Summary
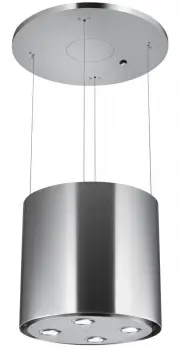
EN 2 2 RECOMMENDATIONS AND SUGGESTIONS The Instructions for Use apply to several versions of this appliance. Accordingly, you may find descriptions of individual features that do not apply to your specific appliance. INSTALLATION • The manufacturer will not be held liable for any damages resulting f...
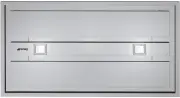
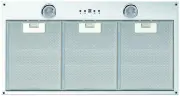
EN 1 CHARACTERISTICS Dimensions Components Ref. Q.ty Product components – 1 Hood Body complete with: Controls, Light, Suction Unit, Filters – 2 Reinforced ceiling Q.ty Documents 1 Instruction and maintenance 1 Installation instructions Warning : do not exceed a distance of 1600 mm between the cooker...
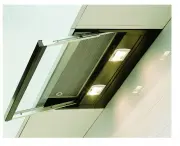
EN 1 INSTALLATION ELECTRICAL CONNECTION • Connect the hood to the mains through a two-pole switch hav- ing a contact gap of at least 3 mm. • Remove the grease filters (see paragraph Maintenance) being sure that the connector of the feeding cable is correctly inserted in the socket placed on the side...
Smeg Range Hoods Manuals
-
 Smeg 30403
User Manual
Smeg 30403
User Manual
-
 Smeg CI2000SS
User Manual
Smeg CI2000SS
User Manual
-
 Smeg CK2000LED
User Manual
Smeg CK2000LED
User Manual
-
 Smeg CK2000SS
User Manual
Smeg CK2000SS
User Manual
-
 Smeg CLASSIC591SS
User Manual
Smeg CLASSIC591SS
User Manual
-
 Smeg CLASSIC592SS
User Manual
Smeg CLASSIC592SS
User Manual
-
 Smeg CLASSIC791SS
User Manual
Smeg CLASSIC791SS
User Manual
-
 Smeg CLASSIC792SS
User Manual
Smeg CLASSIC792SS
User Manual
-
 Smeg CMVERTIGO
User Manual
Smeg CMVERTIGO
User Manual
-
 Smeg CMZOOM
User Manual
Smeg CMZOOM
User Manual
-
 Smeg IS7088D150SS
User Manual
Smeg IS7088D150SS
User Manual
-
 Smeg IS7088D180SS
User Manual
Smeg IS7088D180SS
User Manual
-
 Smeg IS7099X90
User Manual
Smeg IS7099X90
User Manual
-
 Smeg IS7599ENC-2
User Manual
Smeg IS7599ENC-2
User Manual
-
 Smeg K181X70
User Manual
Smeg K181X70
User Manual
-
 Smeg K7088D150SS
User Manual
Smeg K7088D150SS
User Manual
-
 Smeg K7088D180SS
User Manual
Smeg K7088D180SS
User Manual
-
 Smeg K90X
User Manual
Smeg K90X
User Manual
-
 Smeg KA1VA
User Manual
Smeg KA1VA
User Manual
-
 Smeg KA1VA2
User Manual
Smeg KA1VA2
User Manual