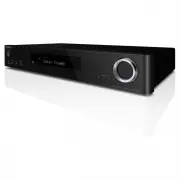
Onkyo TX-L20DB - Manuals
User Manual Onkyo TX-L20DB


Summary
> Before Start > Part Names > Install > Initial Setup > Playback Supplementary Information | Advanced Setup | Others 3 E N Par t Names Front Panel 1. Í ON/STANDBY button: Turns the unit on or into standby mode. 2. HYBRID STANDBY indicator: Lights if the unit enters standby mode when t...
4 > Before Start > Part Names > Install > Initial Setup > Playback Supplementary Information | Advanced Setup | Others E N Rear Panel 1. ANTENNA DAB/FM jack: Connect the supplied antenna.2. Wireless antenna: Raise for Wi-Fi connection or when using a BLUETOOTH enabled device. The diag...
> Before Start > Part Names > Install > Initial Setup > Playback Supplementary Information | Advanced Setup | Others 5 E N Remote Controller 1. Í button: Turns the unit on or into standby mode. 2. Input selector buttons: Switches the input to be played.3. Q (QUICK MENU) button: You ca...
Onkyo Home Theaters Manuals
-
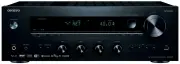
 Onkyo A-9030
User Manual
Onkyo A-9030
User Manual
-
 Onkyo A-9050
User Manual
Onkyo A-9050
User Manual
-
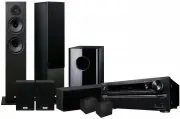
 Onkyo ATMOS-57PKB
User Manual
Onkyo ATMOS-57PKB
User Manual
-
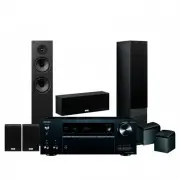
 Onkyo ATMOS-64PACKB
User Manual
Onkyo ATMOS-64PACKB
User Manual
-
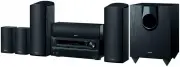
 Onkyo ATMOS-68PACKB
User Manual
Onkyo ATMOS-68PACKB
User Manual
-
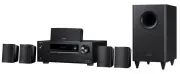 Onkyo HT-S3800B
User Manual
Onkyo HT-S3800B
User Manual
-
 Onkyo HT-S7705B
User Manual
Onkyo HT-S7705B
User Manual
-
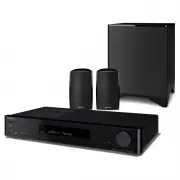 Onkyo LS-5200B
User Manual
Onkyo LS-5200B
User Manual
-
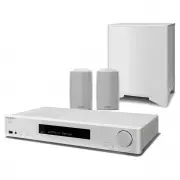 Onkyo LS-5200W
User Manual
Onkyo LS-5200W
User Manual
-
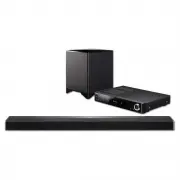 Onkyo LS-7200B
User Manual
Onkyo LS-7200B
User Manual
-
 Onkyo TX-8270B
User Manual
Onkyo TX-8270B
User Manual
-
 Onkyo TX-L50B
User Manual
Onkyo TX-L50B
User Manual
-
 Onkyo TX-NR575EB
User Manual
Onkyo TX-NR575EB
User Manual
-
 Onkyo TX-NR686B
User Manual
Onkyo TX-NR686B
User Manual
-
 Onkyo TX-SR343B
User Manual
Onkyo TX-SR343B
User Manual
-
 Onkyo TX-SR373B
User Manual
Onkyo TX-SR373B
User Manual
-
 Onkyo TX-SR494B
User Manual
Onkyo TX-SR494B
User Manual