Jet 723950 - Manuals
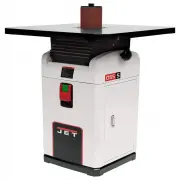
User Manual Jet 723950


Summary
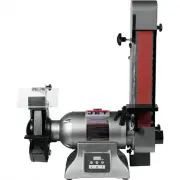
2 1.0 Warranty and service JET warrants every product it sells against manufacturers’ defects. If one of our tools needs service or repair, please contact Technical Service by calling 1-800-274-6846, 8AM to 5PM CST, Monday through Friday. Warranty Period The general warranty lasts for the time perio...
3 2.0 Table of contents Section Page 1.0 Warranty and service ..................................................................................................................................... 2 2.0 Table of contents ...................................................................................
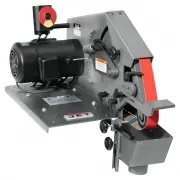
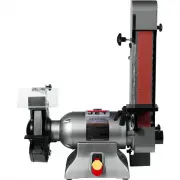
4 3.0 Safety warnings Wear eye protection. Always keep guards in place and in proper operating condition. This sander is intended to be used with wood and wood products only. Use of this sander and a dust collector with metal products is a potential fire hazard. Support the workpiece adequately at a...
Jet Grinding Machines Manuals
-
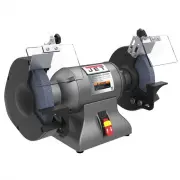
 Jet 414551
User Manual
Jet 414551
User Manual
-
 Jet 414600
User Manual
Jet 414600
User Manual
-
 Jet 414610
User Manual
Jet 414610
User Manual
-
 Jet 577003
User Manual
Jet 577003
User Manual
-
 Jet 577004
User Manual
Jet 577004
User Manual
-
 Jet 577101
User Manual
Jet 577101
User Manual
-
 Jet 577102
User Manual
Jet 577102
User Manual
-
 Jet 577103
User Manual
Jet 577103
User Manual
-
 Jet 577126
User Manual
Jet 577126
User Manual
-
 Jet 577128
User Manual
Jet 577128
User Manual
-
 Jet 577248
User Manual
Jet 577248
User Manual
-
 Jet 577400
User Manual
Jet 577400
User Manual
-
 Jet 577405
User Manual
Jet 577405
User Manual
-
 Jet 577408
User Manual
Jet 577408
User Manual
-
 Jet 577436
User Manual
Jet 577436
User Manual
-
 Jet 577634
User Manual
Jet 577634
User Manual
-
 Jet 578008
User Manual
Jet 578008
User Manual
-
 Jet 578010
User Manual
Jet 578010
User Manual
-
 Jet 578218
User Manual
Jet 578218
User Manual
-
 Jet 578248
User Manual
Jet 578248
User Manual