AEG NC4003000M - User Manual

AEG NC4003000M – User Manual, read for free online in PDF format. We hope this helps you resolve any issues you may have. If you have further questions, please contact us through the contact form.


Table of Contents:
- Page 2 – Visit our website for:; CUSTOMER CARE AND SERVICE
- Page 4 – SAFETY INSTRUCTIONS; Installation
- Page 6 – PRODUCT DESCRIPTION; General overview
- Page 7 – Oven accessories; Oven shelf; BEFORE FIRST USE; Initial Cleaning; DAILY USE; Cooling fan
- Page 9 – CLOCK FUNCTIONS; Electronic programmer
- Page 10 – Cancelling the clock; USING THE ACCESSORIES; Inserting the oven accessories
- Page 11 – HELPFUL HINTS AND TIPS; Top oven; General instructions
- Page 15 – Roasting; Roasting dishes; Main oven; Meat; Grilling
- Page 16 – Food; Defrosting; CARE AND CLEANING
- Page 17 – Catalytic walls
- Page 18 – Installing the shelf supports; Valid for telescopic runners:; Door and glass panels; Removing the door
- Page 19 – Oven lamp; Before you change the oven lamp:; Replacing the oven lamp; WHAT TO DO IF...; Problem; Activate the appliance.
- Page 20 – INSTALLATION
- Page 21 – Electrical installation
- Page 22 – Electrical Installation; HOUSE CIRCUIT
- Page 23 – CUSTOMER SERVICE; Standard guarantee; Service and Spare Parts.
- Page 24 – EUROPEAN GUARANTEE; Česká Republika
- Page 26 – ENVIRONMENT CONCERNS
NC4003000
EN User manual
"Loading the manual" means you need to wait until the file loads and becomes available for online reading. Some manuals are very large, and the time they take to appear depends on your internet speed.
Was this manual helpful?
About this manual
- Brand
- AEG
- Model
- NC4003000M
- Document type
- User Manual
- Language(s)
- English
- Pages
- 28
- File size
- 2.6 MB
- Format
Summary
CONTENTS 1. SAFETY INFORMATION . . . . . . . . . . . . . . . . . . . . . . . . . . . . . . . . . . . . . . . . . . . . . . . . . . . . . . 3 2. SAFETY INSTRUCTIONS . . . . . . . . . . . . . . . . . . . . . . . . . . . . . . . . . . . . . . . . . . . . . . . . . . . . . . 4 3. PRODUCT DESCRIPTION . ....
• Before maintenance cut the power supply.• Do not use harsh abrasive cleaners or sharp metal scrapers to clean the glass door since they canscratch the surface, which may result in shattering ofthe glass. • To remove the shelf supports first pull the front of the shelf support and then the rear end...
• Make sure the appliance is cold. There is the risk that the glass panels canbreak. • Replace immediately the door glass panels when they are damaged. Con-tact the Service. • Be careful when you remove the door from the appliance. The door is heavy! • Clean regularly the appliance to pre- vent the ...
Ask a question
Related manuals
Popular AEG Other
More AEG Other models
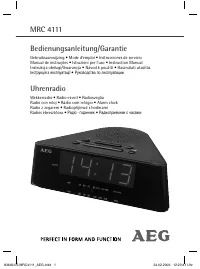 AEG MRC 4111 User Manual
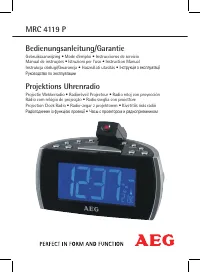 AEG MRC 4119 P User Manual
 AEG MRC 4121 User Manual
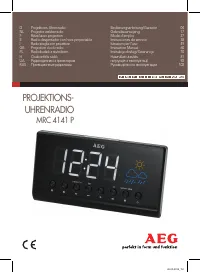 AEG MRC 4141 P User Manual
 AEG MSB2548C-M User Manual
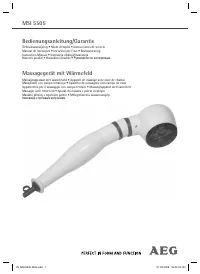 AEG MSI 5505 User Manual
 AEG NC7003000M User Manual
 AEG NE 5609 User Manual
 AEG NIK85M00AZ User Manual
 AEG OEKOLAVAMAT1271 User Manual
 AEG OEKOS.1650-6TKC User Manual
 AEG OEKOS2942-6I User Manual