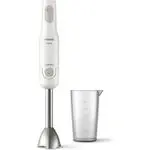
Philips HR2534/00 - User Manual
Philips HR2534/00 Blender – User Manual, read for free online in PDF format. We hope this helps you resolve any issues you may have. If you have further questions, please contact us through the contact form.


Table of Contents:
- Page 2 – ENGLISH; TABLE OF CONTENTS; Hand blender
- Page 3 – Important; Danger
- Page 4 – Children shall not play with the appliance.
- Page 5 – Caution
- Page 6 – Introduction
- Page 8 – Before first use; Preparing for use; Note; Using the appliance; The hand blender is intended for:
- Page 9 – Ingredients
- Page 11 – For easy cleaning, rinse the bar immediately after use with
- Page 12 – Chopping quantities and processing times; Put the blade unit in the chopper bowl.
- Page 13 – Put the plug in the wall outlet.
- Page 14 – Carefully remove the chopper lid and the blade unit; Tip; Whisking quantities and processing time.
- Page 15 – Put the ingredients in a bowl.
- Page 18 – Lower potato masher into a bowl with cooked potatoes.
- Page 19 – Cleaning; Unplug the appliance.
- Page 22 – Storage; Wind the power cord loosely around the heel of the motor; Recycling; Problem
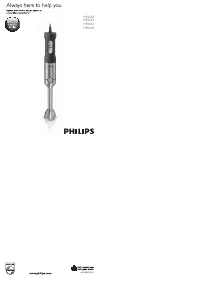
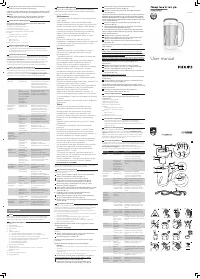
User manual
HR2531, HR2532
HR2533, HR2534
HR2535, HR2536
HR2537, HR2538
"Loading the manual" means you need to wait until the file loads and becomes available for online reading. Some manuals are very large, and the time they take to appear depends on your internet speed.
Was this manual helpful?
About this manual
- Brand
- Philips
- Model
- HR2534/00
- Document type
- User Manual
- Category
- Blender
- Language(s)
- English
- Pages
- 24
- File size
- 1.7 MB
- Format
Other Manuals for Philips HR2534/00
Summary
2 ENGLISH TABLE OF CONTENTS Important 3 Introduction 6 General description 6 Before first use 8 Preparing for use 8 Using the appliance 8 Hand blender 8 XL chopper ( HR2537 only) Compact chopper (HR2532, HR2533, HR2535, HR2536, HR2537, HR2538 only) 12 Whisk (HR2533, HR2536, HR2537, HR2538 only ) 15 ...
3 ENGLISH Important Read this user manual carefully before you use the appliance and save it for future reference. Danger - Never immerse the motor unit in water or any other liquid, nor rinse it under the tap. Only use a moist cloth to clean the motor unit. Warning - Check if the voltage indicated ...
4 ENGLISH - Be careful when you pour hot liquid into the beaker, as hot liquid and steam may cause scalding. - This appliance is intended for normal household use only. It is not intended for use in environments such as staff kitchens of shops, offices, farms or other work environments. Nor is it in...
Ask a question
Related manuals
More Philips Blenders models
 Philips HR1661 User Manual
- Philips HR1669 User Manual
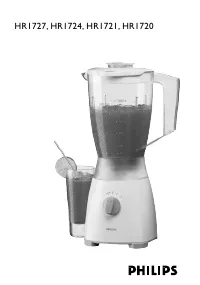 Philips HR1724 User Manual
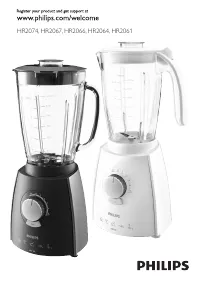 Philips HR2061 User Manual
- Philips HR2104 User Manual
 Philips HR2200 User Manual
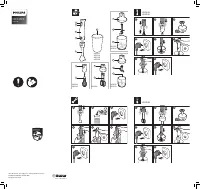 Philips HR2543/90 User Manual
- Philips HR2546/00 User Manual
 Philips HR3652/00 User Manual
 Philips HR3752/00 User Manual
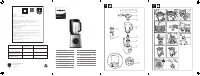 Philips HR3756 User Manual
- Philips HR3756/00 User Manual
 Philips HR3760/00 User Manual
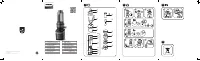 Philips HR3770/00 User Manual
 Philips HR1341 User Manual
 Philips HR1350 User Manual
 Philips HR1370 User Manual
- Philips HR1371 User Manual
- Philips HR1372 User Manual
 Philips HR1378 User Manual