Sharp AR-151 - Manuals
Sharp AR-151 Photocopier – Manual in PDF format online.
Manuals:
Manual Sharp AR-151


Summary
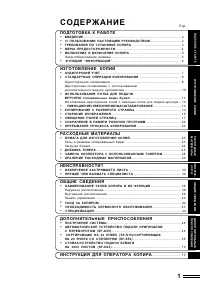
1 CONTENTS 1 GETTING STARTED INTRODUCTION 3 CAUTIONS 4 MAIN FEATURES 5 PART NAMES 6 OPERATION PANEL 7 COPIER INSTALLATION 8 CAUTIONS ON HANDLING 9 LOADING COPY PAPER 10 2 MAKING COPIES NORMAL COPYING 12 – Setting a large original 14 EXPOSURE ADJUSTMENT/PHOTO COPYING 14 REDUCTION/ENLARGEMENT/ZOOM 15 ...
3 1 Getting started GETTING STARTED This chapter provides basic information for using the copier. INTRODUCTION This copier has been designed to provide intuitive operating ease while requiring a minimumamount of space. To get full use of all copier features, be sure to familiarize yourself with this...
4 1 Getting started CAUTIONS Follow the cautions below when using this copier. ● The fusing area is hot. Exercise care in this area when removing misfedpaper. ● Do not look directly at the light source. Doing so may damage your eyes. ● Do not switch the copier rapidly on and off. After turning the c...
Sharp Photocopiers Manuals
-
 Sharp AR-156
Manual
Sharp AR-156
Manual
-
 Sharp AR-201
User Manual
Sharp AR-201
User Manual
-
Sharp AR-201
Manual
-
 Sharp AR-206
User Manual
Sharp AR-206
User Manual
-
 Sharp AR-235
Manual
Sharp AR-235
Manual
-
 Sharp AR-5015N
User Manual
Sharp AR-5015N
User Manual
-
 Sharp AR-5120
User Manual
Sharp AR-5120
User Manual
-
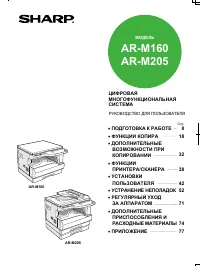 Sharp AR-M160
User Manual
Sharp AR-M160
User Manual
-
Sharp AR-M160
Manual
-
 Sharp SF-2530
User Manual
Sharp SF-2530
User Manual
-
 Sharp SF-2040
User Manual
Sharp SF-2040
User Manual
-
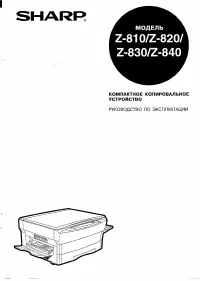 Sharp Z-810
User Manual
Sharp Z-810
User Manual
-
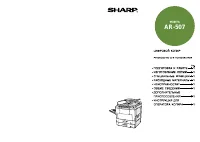 Sharp AR-507
Manual
Sharp AR-507
Manual
-
Sharp AR-507
User Manual
-
 Sharp AR-505
User Manual
Sharp AR-505
User Manual
-
 Sharp AR-5015
User Manual
Sharp AR-5015
User Manual
-
 Sharp AR-405
User Manual
Sharp AR-405
User Manual
-
 Sharp AR-287
Manual
Sharp AR-287
Manual
-
Sharp AR-287
User Manual
-
 Sharp AR-275-2
User Manual
Sharp AR-275-2
User Manual