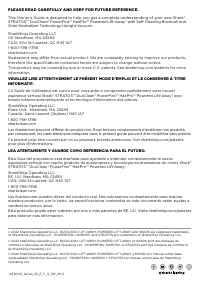
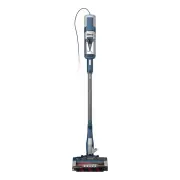
Shark AZ3002 - Manuals

User Manual Shark AZ3002
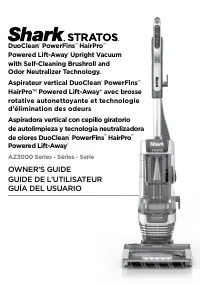


Summary
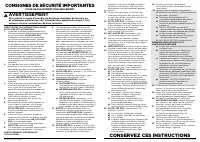
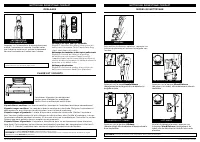
s h a r k c l e a n . c o m s h a r k c l e a n . c o m READ ALL INSTRUCTIONS BEFORE USING THIS VACUUM 1. Inspect power cord and plug for any damage before use. DO NOT use vacuum cleaner with a damaged cord or plug. Turn off all controls before plugging in or unplugging the vacuum cleaner. Store you...
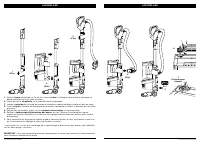
s h a r k c l e a n . c o m s h a r k c l e a n . c o m ASSEMBLY 1. Place motorized Nozzle on floor and insert Wand , pressing it in until it clicks securely into place. 2. Place Pod onto wand and slide down to connect. 3. Insert Handle into wand, pressing it in until it clicks securely into place. ...
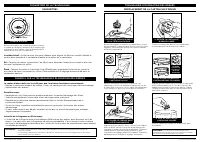
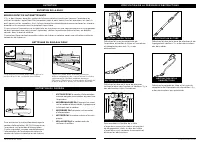
s h a r k c l e a n . c o m s h a r k c l e a n . c o m ODOR NEUTRALIZER TECHNOLOGY ODOR CARTRIDGE REPL ACEMENT TECHNOLOGY SETTINGS ODOR NEUTRALIZER TECHNOLOGY TIPS SETTINGS Flip up the dial handle and rotate the odor dial to adjust odor neutralizer technology intensity or to unlock the dial for car...
Shark Vacuums Manuals
-
 Shark AZ1002
User Manual
Shark AZ1002
User Manual
-
 Shark AZ2002
User Manual
Shark AZ2002
User Manual
-
Shark AZ2002
Manual
-
 Shark CH901
User Manual
Shark CH901
User Manual
-
 Shark CH951
User Manual
Shark CH951
User Manual
-
 Shark CZ2001
User Manual
Shark CZ2001
User Manual
-
 Shark CZ351
User Manual
Shark CZ351
User Manual
-
 Shark HV301
User Manual
Shark HV301
User Manual
-
Shark HV301
Manual
-
 Shark HV380
User Manual
Shark HV380
User Manual
-
Shark HV380
Manual
-
 Shark HZ3002
User Manual
Shark HZ3002
User Manual
-
 Shark ICZ362H
User Manual
Shark ICZ362H
User Manual
-
Shark ICZ362H
Manual
-
 Shark IF250
User Manual
Shark IF250
User Manual
-
 Shark IW1111
User Manual
Shark IW1111
User Manual
-
 Shark IW3511
User Manual
Shark IW3511
User Manual
-
 Shark IX141
User Manual
Shark IX141
User Manual
-
 Shark IZ142
User Manual
Shark IZ142
User Manual
-
 Shark IZ142HD
User Manual
Shark IZ142HD
User Manual