Makita XSR01PT-XSF03Z - Manuals

User Manual Makita XSR01PT-XSF03Z


Summary
2 ENGLISH ENGLISH (Original instructions) SPECIFICATIONS Model: XSR01 Blade diameter 185 mm (7-1/4″) Max. Cutting depth at 0° 65 mm (2-9/16″) at 45° bevel 45 mm (1-3/4″) at 53° bevel 38 mm (1-1/2″) No load speed 5,100 /min Overall length 446 mm (17-1/2″) Rated voltage D.C. 36 V Battery cartridge BL1...
3 ENGLISH 5. Do not overreach. Keep proper footing and balance at all times. This enables better control of the power tool in unexpected situations. 6. Dress properly. Do not wear loose clothing or jewellery. Keep your hair, clothing, and gloves away from moving parts. Loose clothes, jewel - lery or...
5 ENGLISH 22. To check lower guard, open lower guard by hand, then release and watch guard closure. Also check to see that retracting handle does not touch tool housing. Leaving blade exposed is VERY DANGEROUS and can lead to serious personal injury. Additional safety warnings 23. Intended use This ...
Makita Circular Saws Manuals
-
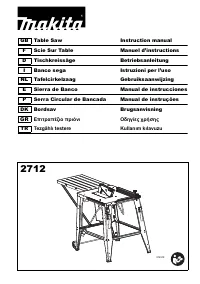 Makita 2712
User Manual
Makita 2712
User Manual
-
 Makita 4131
User Manual
Makita 4131
User Manual
-
Makita 4131
Manual
-
 Makita 5104
User Manual
Makita 5104
User Manual
-
Makita 5104
Manual
-
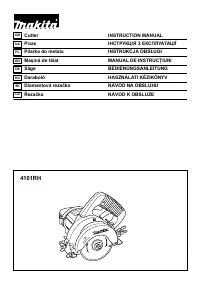 Makita 4101 RH
User Manual
Makita 4101 RH
User Manual
-
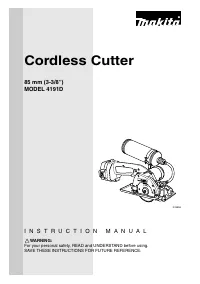 Makita 4191DWA
User Manual
Makita 4191DWA
User Manual
-
Makita 4191DWA
Manual
-
 Makita 5007F
User Manual
Makita 5007F
User Manual
-
Makita 5007F
Manual
-
 Makita 5007FA
User Manual
Makita 5007FA
User Manual
-
Makita 5007FA
Manual
-
 Makita 5007MG
User Manual
Makita 5007MG
User Manual
-
Makita 5007MG
Manual
-
 Makita 5007NK
User Manual
Makita 5007NK
User Manual
-
 Makita 5008MGA
User Manual
Makita 5008MGA
User Manual
-
Makita 5008MGA
Manual
-
 Makita 5057KB
User Manual
Makita 5057KB
User Manual
-
Makita 5057KB
Manual
-
 Makita 5143R
User Manual
Makita 5143R
User Manual