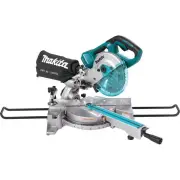
Makita LS1221 - Manuals

User Manual Makita LS1221


Summary
2 SPECIFICATIONS Blade diameter : ............................................................................................. 305 mm (12”) Hole diameter : ................................................................................................ 25.4 mm (1”) Max. Miter angle : .................
4 VOLTAGE WARNING: Before connecting the tool to a power source (receptacle, outlet, etc.) be sure the voltage supplied is the same as that specified on the nameplate of the tool.A power source with voltage greater than that specified for the tool can result in SERIOUSINJURY to the user - as well as...
6 SAVE THESE INSTRUCTIONS WARNING: MISUSE or failure to follow the safety rules stated in thisinstruction manual may cause serious personal injury.
Manual Makita LS1221


Summary
2 SPECIFICATIONS Blade diameter : ............................................................................................. 305 mm (12”) Hole diameter : ................................................................................................ 25.4 mm (1”) Max. Miter angle : .................
4 VOLTAGE WARNING: Before connecting the tool to a power source (receptacle, outlet, etc.) be sure the voltage supplied is the same as that specified on the nameplate of the tool.A power source with voltage greater than that specified for the tool can result in SERIOUSINJURY to the user - as well as...
6 SAVE THESE INSTRUCTIONS WARNING: MISUSE or failure to follow the safety rules stated in thisinstruction manual may cause serious personal injury.
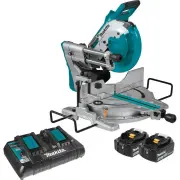
Makita Miter Saws Manuals
-
 Makita GSL02Z
User Manual
Makita GSL02Z
User Manual
-
 Makita GSL03Z
User Manual
Makita GSL03Z
User Manual
-
 Makita GSL04M1
User Manual
Makita GSL04M1
User Manual
-
 Makita LH1040
User Manual
Makita LH1040
User Manual
-
 Makita LH1040F
User Manual
Makita LH1040F
User Manual
-
 Makita LS0815F
User Manual
Makita LS0815F
User Manual
-
 Makita LS1018
User Manual
Makita LS1018
User Manual
-
 Makita LS1018A-93681
User Manual
Makita LS1018A-93681
User Manual
-
 Makita LS1019L
User Manual
Makita LS1019L
User Manual
-
 Makita LS1019LX
User Manual
Makita LS1019LX
User Manual
-
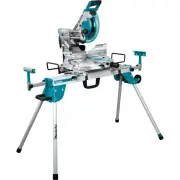
 Makita LS1040
User Manual
Makita LS1040
User Manual
-
Makita LS1040
Manual
-
 Makita LS1219L
User Manual
Makita LS1219L
User Manual
-
 Makita LS1219LX
User Manual
Makita LS1219LX
User Manual
-
 Makita MLS100
User Manual
Makita MLS100
User Manual
-
Makita MLS100
Manual
-
 Makita XSL02Z
User Manual
Makita XSL02Z
User Manual
-
 Makita XSL05Z
User Manual
Makita XSL05Z
User Manual
-
 Makita XSL06PT
User Manual
Makita XSL06PT
User Manual
-
 Makita XSL06Z
User Manual
Makita XSL06Z
User Manual