Makita 4191DWA - Manuals
Makita 4191DWA Circular Saw – User Manual, Manual in PDF format online.
Manuals:
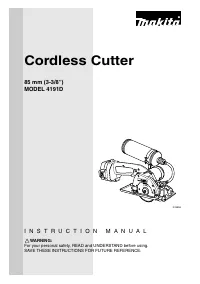
User Manual Makita 4191DWA

Summary
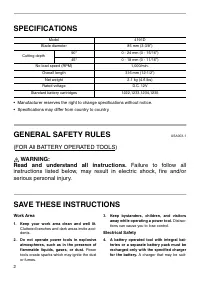
2 SPECIFICATIONS • Manufacturer reserves the right to change specifications without notice. • Specifications may differ from country to country. GENERAL SAFETY RULES USA003-1 (FOR All BATTERY OPERATED TOOLS) WARNING: Read and understand all instructions. Failure to follow all instructions listed bel...
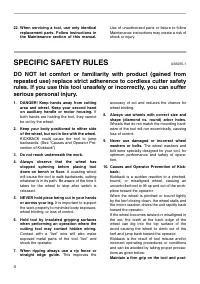
4 22. When servicing a tool, use only identicalreplacement parts. Follow instructions inthe Maintenance section of this manual. Use of unauthorized parts or failure to followMaintenance instructions may create a risk ofshock or injury. SPECIFIC SAFETY RULES USB070-1 DO NOT let comfort or familiarity...
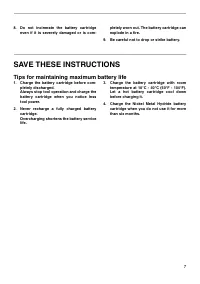
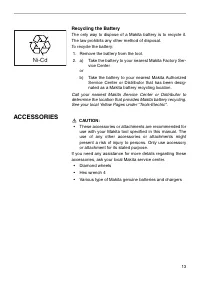
7 8. Do not incinerate the battery cartridgeeven if it is severely damaged or is com- pletely worn out. The battery cartridge canexplode in a fire. 9. Be careful not to drop or strike battery. SAVE THESE INSTRUCTIONS Tips for maintaining maximum battery life 1. Charge the battery cartridge before co...
Manual Makita 4191DWA


Makita Circular Saws Manuals
-
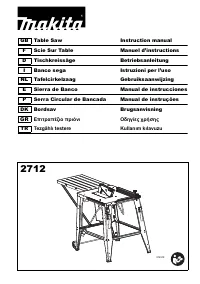 Makita 2712
User Manual
Makita 2712
User Manual
-
 Makita 4131
User Manual
Makita 4131
User Manual
-
Makita 4131
Manual
-
 Makita 5104
User Manual
Makita 5104
User Manual
-
Makita 5104
Manual
-
 Makita 4101 RH
User Manual
Makita 4101 RH
User Manual
-
 Makita 5007F
User Manual
Makita 5007F
User Manual
-
Makita 5007F
Manual
-
 Makita 5007FA
User Manual
Makita 5007FA
User Manual
-
Makita 5007FA
Manual
-
 Makita 5007MG
User Manual
Makita 5007MG
User Manual
-
Makita 5007MG
Manual
-
 Makita 5007NK
User Manual
Makita 5007NK
User Manual
-
 Makita 5008MGA
User Manual
Makita 5008MGA
User Manual
-
Makita 5008MGA
Manual
-
 Makita 5057KB
User Manual
Makita 5057KB
User Manual
-
Makita 5057KB
Manual
-
 Makita 5143R
User Manual
Makita 5143R
User Manual
-
Makita 5143R
Manual
-
 Makita 5377MG
User Manual
Makita 5377MG
User Manual