LG VS8402SCW - Manuals
User Manual LG VS8402SCW


Summary
2 Table of contents Important safety instructions ............................................................................ 3~5 Components and functions ..................................................................................... 6 How to use ................................................
3 Read and follow all instructions before using your vacuum cleaner to prevent the risk of fire, electrical shock, personal injury, or damage when using the vacuum cleaner. This guide does not cover all possible conditions that may occur. Always contact your service agent or manufacturer about probl...
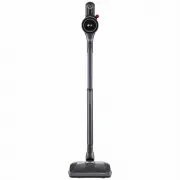
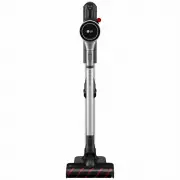
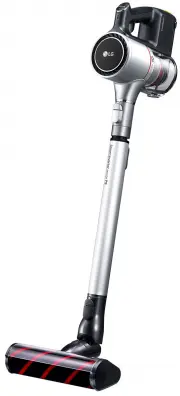
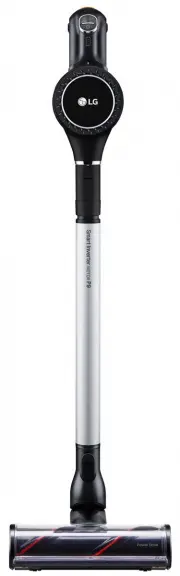
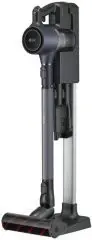
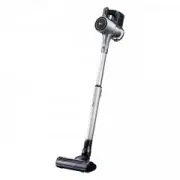
6 Components: Charger, Handle holding screw, Spare battery Power ON/OFF button Speed control button Main body Built-in brush Charging stand Charging indicator Handy release buttons Finger rest - Place your finger here for comfortable use. Handy power button Battery indicator Dust bin release button ...
LG Vacuums Manuals
-
 LG A931KWM
User Manual
LG A931KWM
User Manual
-
 LG A9ESSENTIAL
User Manual
LG A9ESSENTIAL
User Manual
-
 LG A9K-AQUA
User Manual
LG A9K-AQUA
User Manual
-
 LG A9K-EVOLVE
User Manual
LG A9K-EVOLVE
User Manual
-
 LG A9MASTER2X
User Manual
LG A9MASTER2X
User Manual
-
 LG A9MULTI2X CordZero
User Manual
LG A9MULTI2X CordZero
User Manual
-
 LG A9N-CORE
User Manual
LG A9N-CORE
User Manual
-
 LG A9NEOMAX
User Manual
LG A9NEOMAX
User Manual
-
 LG A9N-MULTI
User Manual
LG A9N-MULTI
User Manual
-
 LG A9PETNBED2X
User Manual
LG A9PETNBED2X
User Manual
-
 LG CordZero A9ESSENTIAL
User Manual
LG CordZero A9ESSENTIAL
User Manual
-
 LG CordZero A9-LITE
User Manual
LG CordZero A9-LITE
User Manual
-
 LG CordZero A9MASTER2X
User Manual
LG CordZero A9MASTER2X
User Manual
-
 LG CordZero A9MULTICARE
User Manual
LG CordZero A9MULTICARE
User Manual
-
 LG CordZero A9N-Core
User Manual
LG CordZero A9N-Core
User Manual
-
 LG FVD3700
User Manual
LG FVD3700
User Manual
-
 LG Kompressor Plus VK8828HQ
User Manual
LG Kompressor Plus VK8828HQ
User Manual
-
 LG Kompressor VC83209UHAV
User Manual
LG Kompressor VC83209UHAV
User Manual
-
 LG KV-PRO
User Manual
LG KV-PRO
User Manual
-
 LG MVK71187HU
User Manual
LG MVK71187HU
User Manual