Honeywell RTH8560D1002 - Manuals
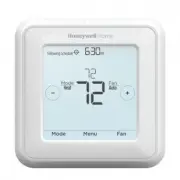
User Manual Honeywell RTH8560D1002


Summary
2 Quick Installation Guide Removing your old thermostat 2 Check that your system is off. Change the temperature on your old thermostat. If you don’t hear the system turn on within 5 minutes, the power is off. Note: If you have a digital thermostat that has a blank display, skip this step 1 Turn powe...
4 Quick Installation Guide 8 Disconnect the wires and remove the old wall plate. Use a screwdriver to release wires from terminals. Then, use a wire label to identify each wire as it’s disconnected. The letter on the wire label should match the letter on the terminal. Tip: To prevent wires from fall...
5 RTH8500 Series 10 Insert the wall anchors. It is recommended that you use the wall anchors included in the box to mount your thermostat. You can use the UWP to mark where you want to place the wall anchors. a) Level the wall plate.b) Mark the location of the wall anchors using a pencil. c) Drill t...
Honeywell Thermostats Manuals
-
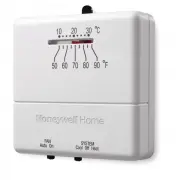 Honeywell CT31A
User Manual
Honeywell CT31A
User Manual
-
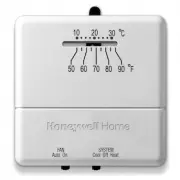
Honeywell CT31A
Installation Manual
-
 Honeywell CT31A1003/E1
Manual
Honeywell CT31A1003/E1
Manual
-
 Honeywell CT33A
User Manual
Honeywell CT33A
User Manual
-
 Honeywell CT410B
User Manual
Honeywell CT410B
User Manual
-
Honeywell CT410B
Installation Manual
-
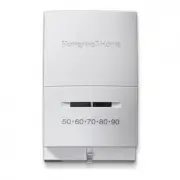 Honeywell CT50K1002
User Manual
Honeywell CT50K1002
User Manual
-
 Honeywell CT50K1028
User Manual
Honeywell CT50K1028
User Manual
-
 Honeywell CT53K
User Manual
Honeywell CT53K
User Manual
-
 Honeywell CT87K
User Manual
Honeywell CT87K
User Manual
-
Honeywell CT87K
Manual
-
 Honeywell CT87K1004/E1
User Manual
Honeywell CT87K1004/E1
User Manual
-
 Honeywell CT87N
User Manual
Honeywell CT87N
User Manual
-
Honeywell CT87N
Installation Manual
-
Honeywell CT87N
Manual
-
 Honeywell RCHTSENSOR-2PK/E
Installation Manual
Honeywell RCHTSENSOR-2PK/E
Installation Manual
-
 Honeywell RLV4305A
User Manual
Honeywell RLV4305A
User Manual
-
 Honeywell RTH111B
User Manual
Honeywell RTH111B
User Manual
-
Honeywell RTH111B
Installation Manual
-
Honeywell RTH111B
Manual