DeLonghi ETAM29660SB - Manuals
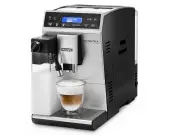
User Manual DeLonghi ETAM29660SB


Summary
6 CONTENTS FUNDAMENTAL SAFET Y WARNINGS .................... 7 IMPORTANT SAFEGUARDS ................................. 8 Symbols used in these instructions ..........................8Designated use ........................................................8Instruction for Use..............................
7 FUNDAMENTAL SAFET Y WARNINGS • This appliance can be used by persons with reduced physical, sensory or mental ca-pabilities or lack of experience and knowledge if they have been given supervision or instruction concerning use of the appliance in a safe way and understand the hazards involved. • Ch...
8 IMPORTANT SAFEGUARDSSymbols used in these instructions Important warnings are identified by these symbols. It is vital to respect these warnings. Danger! Failure to observe the warning may result in life threatening injury by electric shock. Important! Failure to observe the warning could result i...
DeLonghi Coffee Machines Manuals
-
 DeLonghi CAM51025MB
User Manual
DeLonghi CAM51025MB
User Manual
-
 DeLonghi COM530M
User Manual
DeLonghi COM530M
User Manual
-
 DeLonghi EC230
User Manual
DeLonghi EC230
User Manual
-
 DeLonghi EC260BK
User Manual
DeLonghi EC260BK
User Manual
-
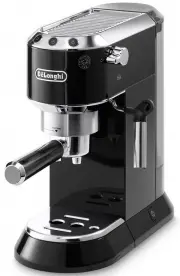 DeLonghi EC680BK
User Manual
DeLonghi EC680BK
User Manual
-
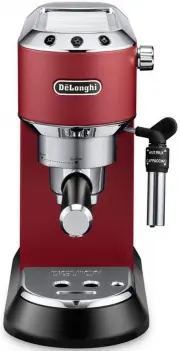
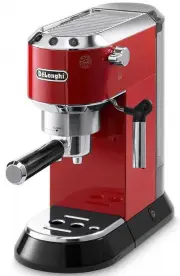 DeLonghi EC680R
User Manual
DeLonghi EC680R
User Manual
-
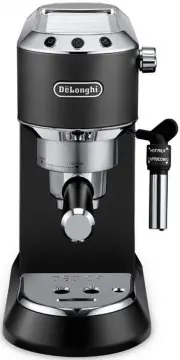 DeLonghi EC685BK
User Manual
DeLonghi EC685BK
User Manual
-
 DeLonghi EC685M
User Manual
DeLonghi EC685M
User Manual
-
 DeLonghi EC685R
User Manual
DeLonghi EC685R
User Manual
-
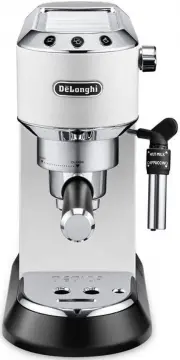 DeLonghi EC685W
User Manual
DeLonghi EC685W
User Manual
-
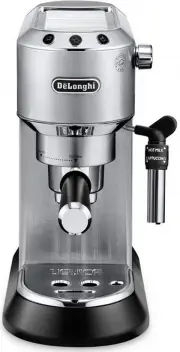
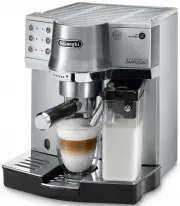 DeLonghi EC860M
User Manual
DeLonghi EC860M
User Manual
-
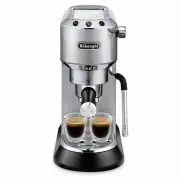 DeLonghi EC885M
User Manual
DeLonghi EC885M
User Manual
-
 DeLonghi EC9155GR
User Manual
DeLonghi EC9155GR
User Manual
-
 DeLonghi EC9155GRPKK
User Manual
DeLonghi EC9155GRPKK
User Manual
-
 DeLonghi EC9155MB
User Manual
DeLonghi EC9155MB
User Manual
-
 DeLonghi EC9155MBPK
User Manual
DeLonghi EC9155MBPK
User Manual
-
 DeLonghi EC9155W
User Manual
DeLonghi EC9155W
User Manual
-
 DeLonghi EC9155WPKK
User Manual
DeLonghi EC9155WPKK
User Manual
-
 DeLonghi EC9255M
User Manual
DeLonghi EC9255M
User Manual
-
 DeLonghi EC9335BM
User Manual
DeLonghi EC9335BM
User Manual