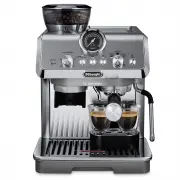
DeLonghi ECAM22031SB - Manuals
User Manual DeLonghi ECAM22031SB


Summary
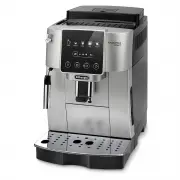
4 Before using the appliance for the first time, be sure to read the safety warnings. 1. INTRODUCTION Take a few minutes to read these Instructions for Use. This will avoid all risks and damage to the appliance. The LEDs and indicator lights on the panel will help you interact with the machine and u...
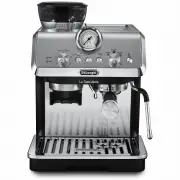
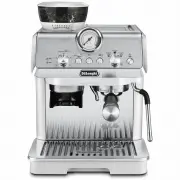
5 A9. Water tankA10. Coffee grounds containerA11. Drip trayA12. Drip tray water level indicatorA13. Cup grilleA14. Condensate trayA15. Coffee spouts (adjustable height)A16. Steam/hot water spout A17. Cappuccino maker (removable) A18. Steam/Hot water connection nozzle (removable) A19. Steam/Hot water...
6 6 1 2 3 4 5 7 The machine is now ready for use. Please note: • When using the machine for the first time, 4-5 coffees will need to be made before it starts giving satisfactory results. • When rinsing the steam circuit, it is best to release hot water for a few seconds by turning the steam/hot wate...
DeLonghi Coffee Machines Manuals
-
 DeLonghi CAM51025MB
User Manual
DeLonghi CAM51025MB
User Manual
-
 DeLonghi COM530M
User Manual
DeLonghi COM530M
User Manual
-
 DeLonghi EC230
User Manual
DeLonghi EC230
User Manual
-
 DeLonghi EC260BK
User Manual
DeLonghi EC260BK
User Manual
-
 DeLonghi EC680BK
User Manual
DeLonghi EC680BK
User Manual
-
 DeLonghi EC680R
User Manual
DeLonghi EC680R
User Manual
-
 DeLonghi EC685BK
User Manual
DeLonghi EC685BK
User Manual
-
 DeLonghi EC685M
User Manual
DeLonghi EC685M
User Manual
-
 DeLonghi EC685R
User Manual
DeLonghi EC685R
User Manual
-
 DeLonghi EC685W
User Manual
DeLonghi EC685W
User Manual
-
 DeLonghi EC860M
User Manual
DeLonghi EC860M
User Manual
-
 DeLonghi EC885M
User Manual
DeLonghi EC885M
User Manual
-
 DeLonghi EC9155GR
User Manual
DeLonghi EC9155GR
User Manual
-
 DeLonghi EC9155GRPKK
User Manual
DeLonghi EC9155GRPKK
User Manual
-
 DeLonghi EC9155MB
User Manual
DeLonghi EC9155MB
User Manual
-
 DeLonghi EC9155MBPK
User Manual
DeLonghi EC9155MBPK
User Manual
-
 DeLonghi EC9155W
User Manual
DeLonghi EC9155W
User Manual
-
 DeLonghi EC9155WPKK
User Manual
DeLonghi EC9155WPKK
User Manual
-
 DeLonghi EC9255M
User Manual
DeLonghi EC9255M
User Manual
-
 DeLonghi EC9335BM
User Manual
DeLonghi EC9335BM
User Manual