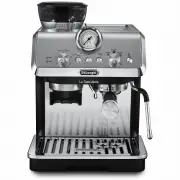
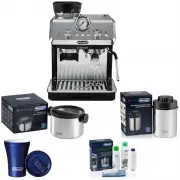
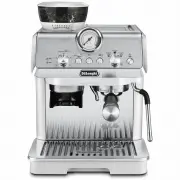
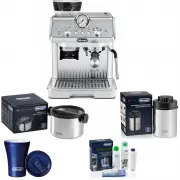
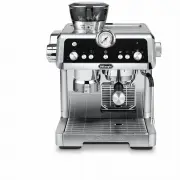
DeLonghi EC9255M - Manuals
User Manual DeLonghi EC9255M


Summary
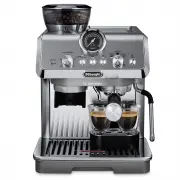
4 Before using the appliance, always read the safety warnings. This appliance shall not be used by children. Keep the appliance and its cord out of reach of children. 1. DESCRIPTION1.1 Description of appliance - A A1. Main switchA2. Grinding level selector (fine to coarse)A3. Beans containerA4. Bean...
5 LIGHTS EXPLANATION OF LIGHTS OPERATION + On (The indicator shows the current selection The machine is ready to deliver Cold Brew Prepare the machine and press OK to start delivery On Insufficient water in tank (A7) or water tank not inserted correctly Fill the tank or extract the tank and put it b...
6 + Press both buttons (B5) and (B7) for 3 seconds to enter setting menu Keep pressed steam but-ton (B9) for 3 seconds Enter the setting menu Reset to default values ➡ 9 minutes ➡ 1,5 hours ➡ 3 hours Auto off ➡ soft ➡ medium ➡ hard Water hardness ➡ No ➡ 1 sec ➡ 2 sec Pre-infusion delay For Servicing...
DeLonghi Coffee Machines Manuals
-
 DeLonghi CAM51025MB
User Manual
DeLonghi CAM51025MB
User Manual
-
 DeLonghi COM530M
User Manual
DeLonghi COM530M
User Manual
-
 DeLonghi EC230
User Manual
DeLonghi EC230
User Manual
-
 DeLonghi EC260BK
User Manual
DeLonghi EC260BK
User Manual
-
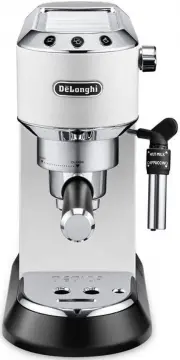
 DeLonghi EC680BK
User Manual
DeLonghi EC680BK
User Manual
-
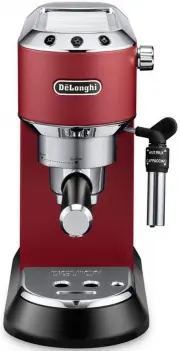
 DeLonghi EC680R
User Manual
DeLonghi EC680R
User Manual
-
 DeLonghi EC685BK
User Manual
DeLonghi EC685BK
User Manual
-
 DeLonghi EC685M
User Manual
DeLonghi EC685M
User Manual
-
 DeLonghi EC685R
User Manual
DeLonghi EC685R
User Manual
-
 DeLonghi EC685W
User Manual
DeLonghi EC685W
User Manual
-
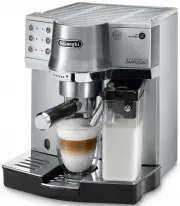 DeLonghi EC860M
User Manual
DeLonghi EC860M
User Manual
-
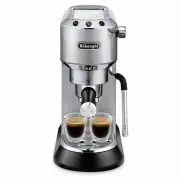 DeLonghi EC885M
User Manual
DeLonghi EC885M
User Manual
-
 DeLonghi EC9155GR
User Manual
DeLonghi EC9155GR
User Manual
-
 DeLonghi EC9155GRPKK
User Manual
DeLonghi EC9155GRPKK
User Manual
-
 DeLonghi EC9155MB
User Manual
DeLonghi EC9155MB
User Manual
-
 DeLonghi EC9155MBPK
User Manual
DeLonghi EC9155MBPK
User Manual
-
 DeLonghi EC9155W
User Manual
DeLonghi EC9155W
User Manual
-
 DeLonghi EC9155WPKK
User Manual
DeLonghi EC9155WPKK
User Manual
-
 DeLonghi EC9335BM
User Manual
DeLonghi EC9335BM
User Manual
-
 DeLonghi EC9335M
User Manual
DeLonghi EC9335M
User Manual