Canon IXUS 100 IS- Manuals
Canon IXUS 100 IS– User Manual in PDF format online.
Manuals:
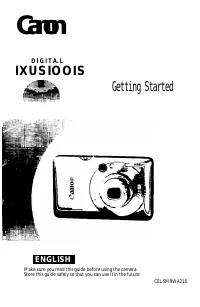
User Manual Canon IXUS 100 IS


Summary
Checking the Package Contents Check if the following items are included in your camera package. If anything Is missing, contact the retailer from which you purchased the camera Camera Battery Pack NB-4L (with Terminal Cover) Battery Charger CB>2LV/CB^2LVE Interface Cable IFC-400PCU Getting Starte...
Read This First Test Shots Take some initial test shots and play them back to make sure the images were recorded correctly. Please note that Canon Inc., its subsidiaries and affiliates, and its distributors are not liable for any consequential damages arising from any malfunction of a camera or acce...
Battery, Battery Charger Use only recommended batteries.Do not place the battery near or in direct flame.Do not let the battery come into contact with water (e.g. sea water) or other liquids. Do not attempt to disassemble, alter or apply heat to the battery. Avoid dropping or subjecting the battery ...
Canon Manuals
-
 Canon 6130280
User Manual
Canon 6130280
User Manual
-
 Canon imageCLASS MF284dw
User Manual
Canon imageCLASS MF284dw
User Manual
-
Canon imageCLASS MF289dw
User Manual
-
 Canon imageCLASS LBP172dw
User Manual
Canon imageCLASS LBP172dw
User Manual
-
 Canon 248
User Manual
Canon 248
User Manual
-
 Canon 323
User Manual
Canon 323
User Manual
-
Canon 323
Installation Manual
-
Canon 323
Manual
-
 Canon 250
User Manual
Canon 250
User Manual
-
 Canon 251
User Manual
Canon 251
User Manual
-
Canon 251
Manual
-
Canon 251
Troubleshooting Guide
-
 Canon 6710C002
User Manual
Canon 6710C002
User Manual
-
 Canon K10605
User Manual
Canon K10605
User Manual
-
 Canon K10613
User Manual
Canon K10613
User Manual
-
 Canon K10608
User Manual
Canon K10608
User Manual
-
 Canon K10609
User Manual
Canon K10609
User Manual
-
 Canon imageRUNNER C3326i
User Manual
Canon imageRUNNER C3326i
User Manual
-
 Canon imageCLASS MF465dw
User Manual
Canon imageCLASS MF465dw
User Manual
-
 Canon K10617
User Manual
Canon K10617
User Manual