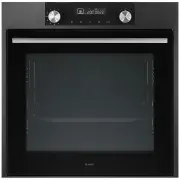
Asko OP8637A1 - Manuals
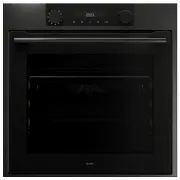
User Manual Asko OP8637A1


Summary
EN 3 CONTENTS Your oven Introduction 4Description 5Guide rails/Telescopic guide rails 5 Accessories 6Door 7 Cooling fan 7 Control panel 8 First use Before using the appliance for the first time 9 Use Switching on and settings 10 Oven settings 13 Choosing the settings 17 Selecting additional function...
EN 4 YOUR OVEN Introduction Congratulations on the purchase of this ASKO oven. This product is designed to offer optimum user-friendliness. The oven has a wide range of settings enabling you to select the correct cooking method every time. This manual shows how you can best use this oven. In additio...
EN 5 YOUR OVEN Description 1. Control panel 2. Rack levels 3. Oven door 4. Handle Guide rails/Telescopic guide rails • The oven has four or five guide rails (Level 1 to 4/5), depending on the model. Level 1 is mainly used in combination with bottom heat. The two upper levels are mainly used for the ...
Asko Ovens Manuals
-
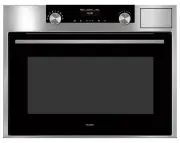
 Asko OCM8464B
User Manual
Asko OCM8464B
User Manual
-
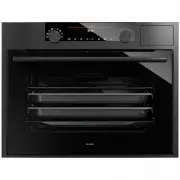
 Asko OCM8487A
User Manual
Asko OCM8487A
User Manual
-
 Asko OCM8487B
User Manual
Asko OCM8487B
User Manual
-
 Asko OCM8487S
User Manual
Asko OCM8487S
User Manual
-
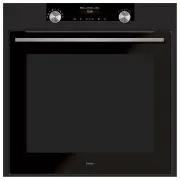
 Asko OCS8464B
User Manual
Asko OCS8464B
User Manual
-
 Asko OCS8464S
User Manual
Asko OCS8464S
User Manual
-
 Asko OCS8487A1
User Manual
Asko OCS8487A1
User Manual
-
 Asko OCS8487B
User Manual
Asko OCS8487B
User Manual
-
 Asko OCS8664A
User Manual
Asko OCS8664A
User Manual
-
 Asko OCS8664B
User Manual
Asko OCS8664B
User Manual
-
 Asko OCS8664S
User Manual
Asko OCS8664S
User Manual
-
 Asko OCS8687S
User Manual
Asko OCS8687S
User Manual
-
 Asko OP8611A
User Manual
Asko OP8611A
User Manual
-
 Asko OP8611SS
User Manual
Asko OP8611SS
User Manual
-
 Asko OP8621A
User Manual
Asko OP8621A
User Manual
-
Asko OP8621SS
User Manual
-
Asko OP8631A
User Manual
-
 Asko OP8631SS
User Manual
Asko OP8631SS
User Manual
-
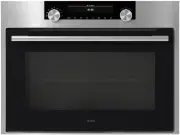
 Asko OP8637A
User Manual
Asko OP8637A
User Manual
-
 Asko OP8637S
User Manual
Asko OP8637S
User Manual