Biostar AN9830 - User Manual
Biostar AN9830 Motherboard – User Manual, read for free online in PDF format. We hope this helps you resolve any issues you may have. If you have further questions, please contact us through the contact form.
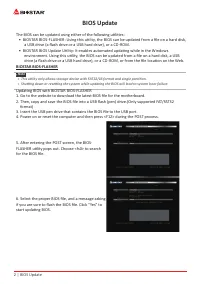
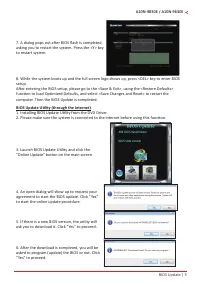
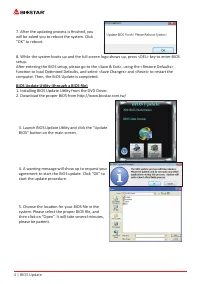
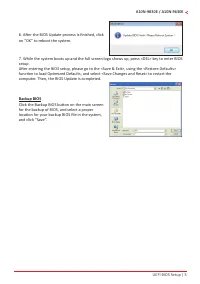
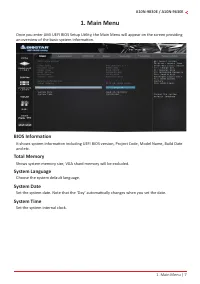
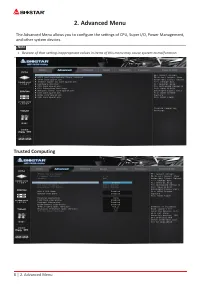
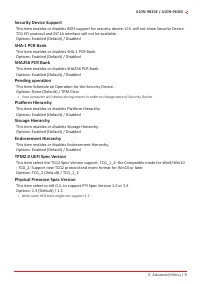
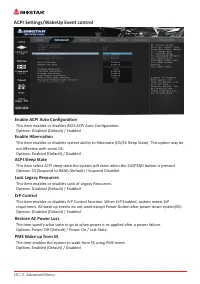
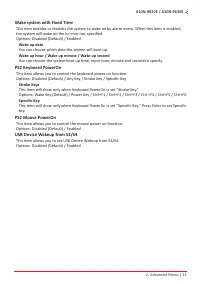
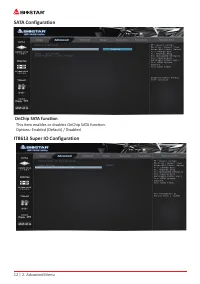
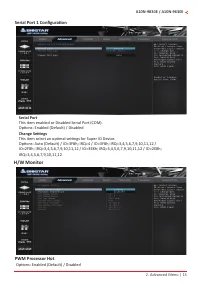
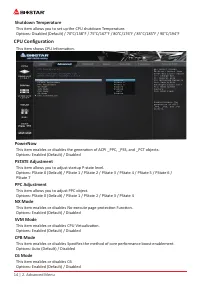

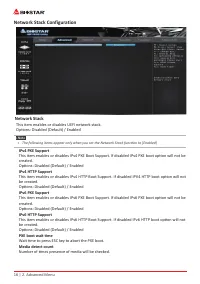
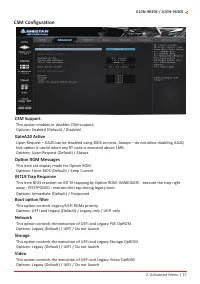
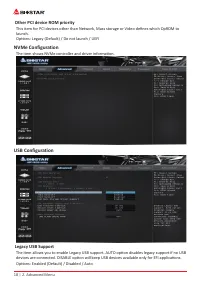
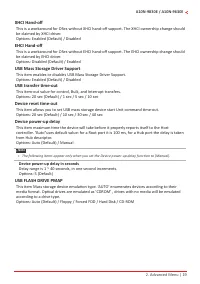
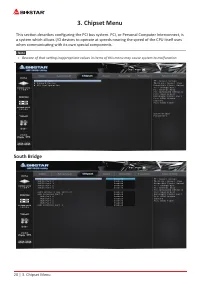
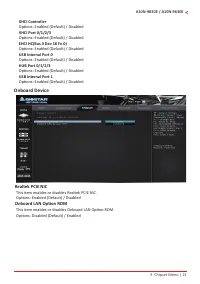
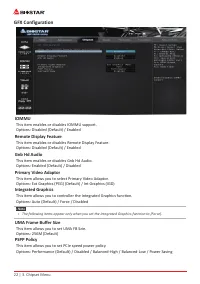

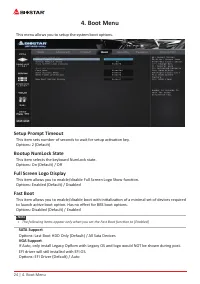
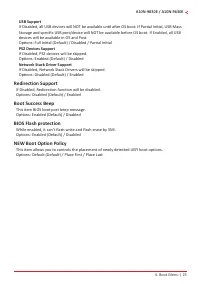
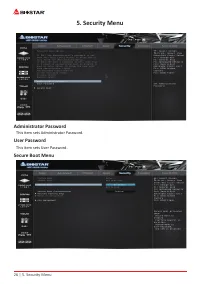
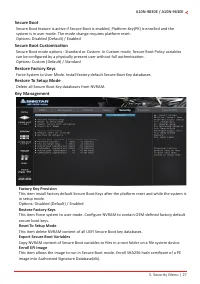
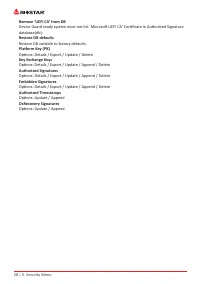
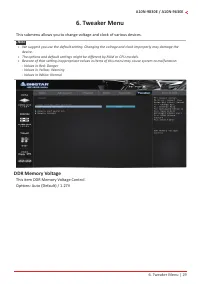
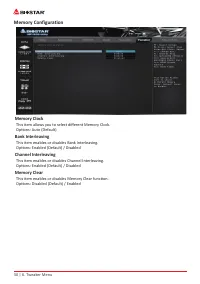
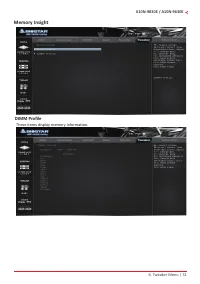
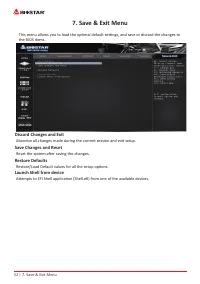
Table of Contents:
- Page 2 – BIOS Update; The BIOS can be updated using either of the following utilities:; Updating BIOS with BIOSTAR BIOS-FLASHER
- Page 3 – BIOS Update Utility (through the Internet)
- Page 4 – BIOS Update Utility (through a BIOS file)
- Page 5 – Backup BIOS; Click the Backup BIOS button on the main screen
- Page 6 – UEFI BIOS Setup; these settings to NVRAM.
- Page 7 – � Main Menu; an overview of the basic system information.; BIOS Information; Shows system memory size, VGA shard memory will be excluded.; System Language; Choose the system default language.; System Date; Set the system internal clock.
- Page 8 – � Advanced Menu; and other system devices.; Trusted Computing
- Page 10 – ACPI Settings/WakeUp Event control; This item enables or disables BIOS ACPI Auto Configuration.
- Page 11 – Wake system with Fixed Time; Wake up date; PS2 Keyboard PowerOn; This item allows you to control the keyboard power on function.; Stroke Keys; This item will show only when Keyboard PowerOn is set “Stroke Key.”; PS2 Mouse PowerOn; This item allows you to control the mouse power on function.; USB Device Wakeup from S3/S4; This item allows you to set USB Device Wakeup from S3/S4.
- Page 12 – SATA Configuration; OnChip SATA function; This item enables or disables OnChip SATA function.; IT8613 Super IO Configuration
- Page 13 – Serial Port 1 Configuration; Serial Port; This item select an optimal settings for Super IO Device.; PWM Processor Hot
- Page 14 – CPU Configuration
- Page 15 – PCI Subsystem Settings; ABove 4G Decoding; Virtualization Support.; BME DMA Mitigation
- Page 16 – Network Stack Configuration; Network Stack; This item enables or disables UEFI network stack.; IPv4 PXE Support; Number of times presence of media will be checked.
- Page 17 – CSM Configuration
- Page 18 – Other PCI device ROM priority; NVMe Configuration; The item shows NVMe controller and driver information.; USB Configuration; Legacy USB Support
- Page 19 – USB Mass Storage Driver Support; This item enables or disables USB Mass Storage Driver Support.; USB transfer time-out; Device power-up delay in seconds; USB FLASH DRIVE PMAP; according to a drive type.
- Page 20 – � Chipset Menu; when communicating with its own special components.; South Bridge
- Page 21 – XHCI Controller; Onboard Device; Realtek PCIE NIC; This item enables or disables Realtek PCIE NIC.; Onboard LAN Option ROM
- Page 22 – GFX Configuration
- Page 23 – Surround View; This item support multi-display function.
- Page 24 – � Boot Menu; This menu allows you to setup the system boot options.; Setup Prompt Timeout; This item sets number of seconds to wait for setup activation key.; Bootup NumLock State; This item selects the keyboard NumLock state.; Full Screen Logo Display; to launch active boot option. Has no effect for BBS boot options.; SATA Support; EFI driver will still installed with EFI OS.
- Page 25 – USB Support; Redirection Support
- Page 26 – � Security Menu; Administrator Password; This item sets Administrator Password.; User Password; This item sets User Password.; Secure Boot Menu
- Page 27 – Secure Boot; system is in user mode. The mode change requires platform reset.; Secure Boot Customization; Delete all Secure Boot Key databases from NVRAM.; Key Management; Factory Key Provision
- Page 28 – Remove ‘UEFI CA’ from DB
- Page 29 – � Tweaker Menu; DDR Memory Voltage; This item DDR Memory Voltage Control.
- Page 30 – Memory Configuration; Memory Clock; This item allows you to select different Memory Clock.; Bank Interleaving; This item enables or disables Bank Interleaving.; Channel Interleaving; This item enables or disables Channel Interleaving.; Memory Clear; This item enables or disables Memory Clear function.
- Page 31 – Memory Insight; DIMM Profile; These items display memory information.
- Page 32 – Reset the system after saving the changes.; Restore Defaults; Restore/Load Default values for all the setup options.; Launch Shell from device
BIOS Update ������������������������������������������������������������������������������������� 2
UEFI BIOS Setup �������������������������������������������������������������������������������� 6
1� Main Menu ����������������������������������������������������������������������������������� 7
2� Advanced Menu ���������������������������������������������������������������������������� 8
3� Chipset Menu �������������������������������������������������������������������������������20
4� Boot Menu �����������������������������������������������������������������������������������24
5� Security Menu ������������������������������������������������������������������������������26
6� Tweaker Menu �����������������������������������������������������������������������������29
7� Save & Exit Menu �������������������������������������������������������������������������32
BIOS User Guide
A10N-9830E / A10N-9630E
"Loading the manual" means you need to wait until the file loads and becomes available for online reading. Some manuals are very large, and the time they take to appear depends on your internet speed.
Summary
2 | BIOS Update BIOS Update The BIOS can be updated using either of the following utilities: • BIOSTAR BIOS-FLASHER: Using this utility, the BIOS can be updated from a file on a hard disk, a USB drive (a flash drive or a USB hard drive), or a CD-ROM. • BIOSTAR BIOS Update Utility: It enables autom...
BIOS Update | 3 A10N-9830E / A10N-9630E 7. A dialog pops out after BIOS flash is completed, asking you to restart the system. Press the <Y> key to restart system. 8. While the system boots up and the full screen logo shows up, press <DEL> key to enter BIOS setup. After entering the BIOS ...
4 | BIOS Update 7. After the updating process is finished, you will be asked you to reboot the system. Click “OK” to reboot. 8. While the system boots up and the full screen logo shows up, press <DEL> key to enter BIOS setup. After entering the BIOS setup, please go to the <Save & Exit&...