Ikea BITANDE- User Manual

Ikea BITANDE– User Manual, read for free online in PDF format. We hope this helps you resolve any issues you may have. If you have further questions, please contact us through the contact form.


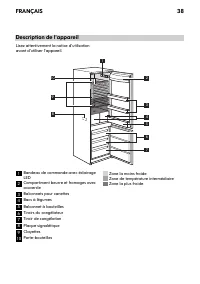
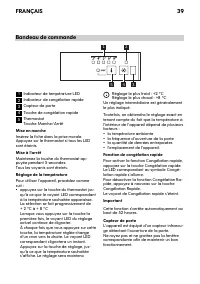
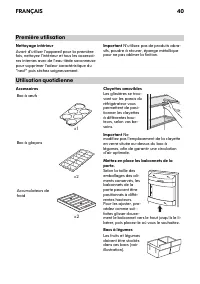
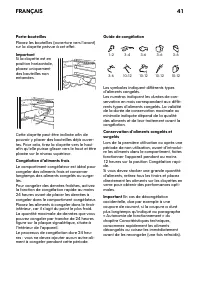

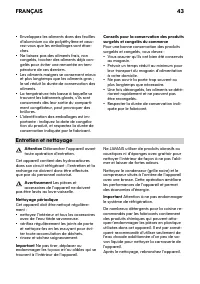
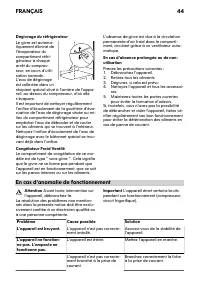
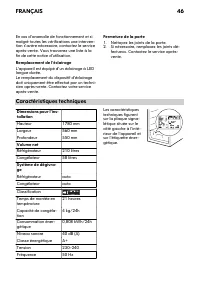
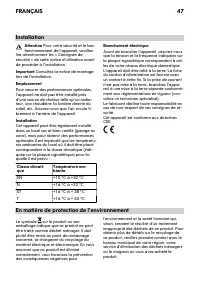
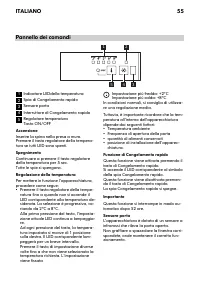
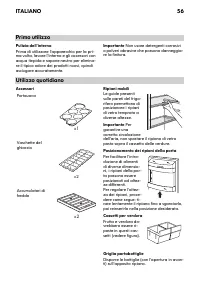
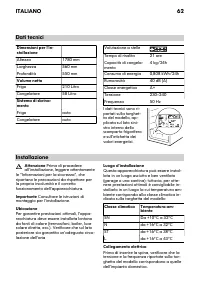


Table of Contents:
- Page 4 – Children and vulnerable people safety; ENGLISH
- Page 8 – Control panel; Switching on
- Page 11 – Freezer Blocks; Helpful hints and tips; Hints for energy saving
- Page 12 – Hints for storage of frozen food; Care and cleaning; Periodic cleaning
- Page 15 – Installation; Location; Environmental concerns
- Page 19 – Sicherheit von Kindern; DEUTSCH
- Page 20 – Täglicher Gebrauch
- Page 23 – Bedienfeld; Einschalten des Geräts
- Page 24 – Türsensor; Erste Inbetriebnahme; Reinigung des Innenraums; Zubehör
- Page 27 – Reinigung und Pflege
- Page 31 – Montage; Aufstellungsort
- Page 35 – Sécurité des enfants et des personnes; FRANÇAIS
- Page 39 – Bandeau de commande; Mise en marche
- Page 46 – Caractéristiques techniques; tallation
- Page 51 – Sicurezza dei bambini e delle persone; ITALIANO
- Page 63 – Considerazioni sull'ambiente; Dove portare gli apparecchi fuori; GARANZIA IKEA; Validità della garanzia
BITANDE
GB
DE
FR
IT
"Loading the manual" means you need to wait until the file loads and becomes available for online reading. Some manuals are very large, and the time they take to appear depends on your internet speed.
Summary
Contents Safety instructions 4 Product description 7 Control panel 8 First use 9 Daily use 9 Helpful hints and tips 11 Care and cleaning 12 What to do if… 13 Technical data 14 Installation 15 Environmental concerns 15 IKEA GUARANTEE 16 Subject to change without notice. Safety instructions In the int...
Control panel 1 2 3 4 5 1 Temperature indicator LED 2 Fast Freezing indicator 3 Door sensor 4 Fast Freezing button 5 Temperature regulator ON/OFF button Switching on Insert the plug into the wall socket. Touch the temperature regulator button if all LED are off. Switching off Keep touching the tempe...
Ice-cube production This appliance is equipped with two trays for the production of ice-cubes. 1. Fill the trays with water. 2. Put the trays in the freezer compart- ment Important! Do not use metallic instruments to remove the tray from the freezer. Freezer Blocks Two freezer blocks are supplied in...