Dell PowerEdge RAID Controller H800 - User Manual
Dell PowerEdge RAID Controller H800 – User Manual, read for free online in PDF format. We hope this helps you resolve any issues you may have. If you have further questions, please contact us through the contact form.






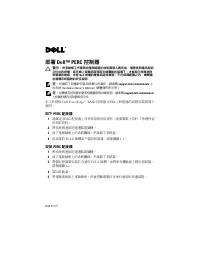
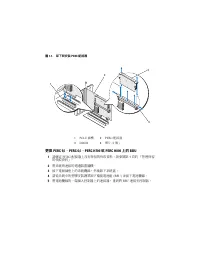
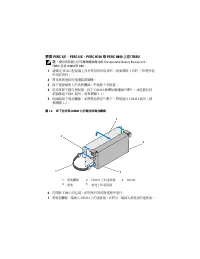
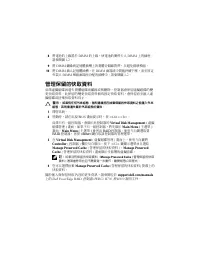

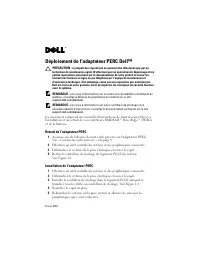
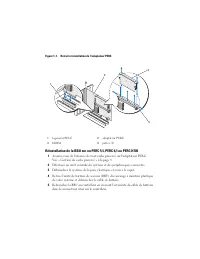
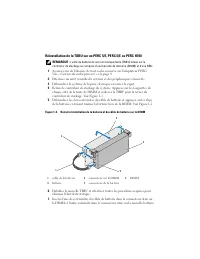
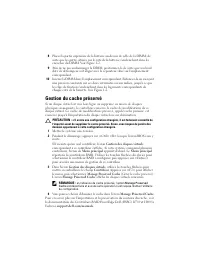







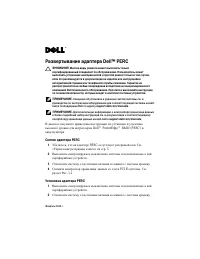
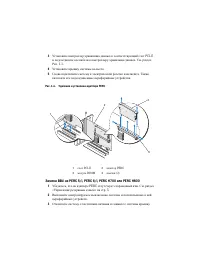
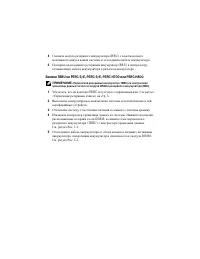
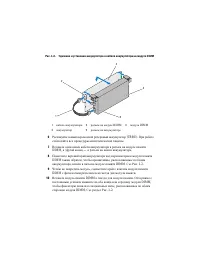




Table of Contents:
- Page 3 – Unpack the new TBBU and follow all antistatic procedures.; battery cable
- Page 4 – Managing Preserved Cache; If there is no preserved cache, the; Dell PowerEdge RAID Controller (PERC) H700 and H800
- Page 7 – 警告; 多数维修只能由经认证的维修技术人员进行。您只能根据产品说明文件; 此说明文件提供一组用于; 卸下; PERC; 安装
- Page 8 – 装回在; 插槽
- Page 9 – 存储控制器上的
- Page 10 – 管理保留的高速缓存; 如果存在任何外部配置,强烈建议您在放弃保留高速缓存之前导入外部; Virtual Disk Management; 如果没有保留的高速缓存,; Manage Preserved Cache
- Page 13 – 警示:; 許多維修工作僅限由獲得認證的技術服務人員完成。僅限依照產品說明; 本文件提供; 安裝
- Page 14 – 更換
- Page 15 – 儲存控制器上的可轉換備援電池組; 卸下並安裝; TBBU; 電池纜線
- Page 16 – 管理保留的快取資料; 如果有任何外來組態,強烈建議您在捨棄保留的快取資料之前匯入外來; RAID; 如果沒有保留的快取資料,; Dell PowerEdge RAID
- Page 19 – Déploiement de l'adaptateur PERC DellTM; la plupart des réparations ne peuvent être effectuées que par un; Retrait de l'adaptateur PERC; Installation de l'adaptateur PERC; Débranchez le système de la prise électrique et ouvrez le capot.
- Page 20 – Réinstallation de la BBU sur un PERC 5/i, PERC 6/i ou PERC H700; adaptateur PERC
- Page 21 – Réinstallation de la TBBU sur un PERC 5/E, PERC 6/E ou PERC H700; l'unité de batterie de secours transportable (TBBU) située sur le; câble de la batterie
- Page 22 – Gestion du cache préservé; Mettez le système sous tension.; Manage Preserved; Vous pouvez choisir d'éliminer le cache dans l'écran
- Page 25 – Bereitstellung des DellTM PERC-Adapters; Viele Reparaturarbeiten dürfen nur von qualifizierten Ser-; Entfernen des PERC-Adapters
- Page 26 – Installation des PERC-Adapters; Bringen Sie die Systemabdeckung wieder an.; DIMM
- Page 27 – besteht aus einem Speichermodul und einem BBU.
- Page 29 – Verwalten von beibehaltenem Cache; Falls Fremdkonfigurationen vorhanden sind, empfiehlt es; Dell PowerEdge RAID Controller (PERC) H700
- Page 31 – DellTM PERC; アダプタの導入; 注意; Dell PowerEdgeTM RAID Controllers; アダプタの取り外し; アダプタの取り付け
- Page 32 – 、または; BBU; の交換
- Page 33 – メモ
- Page 34 – 保持キャッシュの管理; 仮想ディスク管理
- Page 37 – 주의; 하드웨어; DellTM PowerEdgeTM RAID Controllers (PERC)
- Page 38 – 또는; 슬롯
- Page 43 – Развертывание адаптера DellTM PERC; Многие виды ремонта может выполнять только; Снятие адаптера PERC; Установка адаптера PERC
- Page 44 – слот
- Page 45 – Переносной резервный аккумулятор (TBBU) на контроллере
- Page 47 – Управление резервным кэшем; Если обнаружены внешние конфигурации, настоятельно; Manage preserved cache («; Если резервный кэш отсутствует, опция; Manage Preserved Cache.; Контроллер
- Page 49 – Utilización del Adaptador PERC DellTM; del sistema, consulte el; Extracción del adaptador PERC
- Page 50 – Vuelva a colocar la cubierta del sistema.; Extracción e instalación del adaptador PERC
- Page 52 – Administración de la caché conservada; si existe alguna configuración externa, es muy recomendable
- Page 53 – Puede elegir descartar la caché en la pantalla
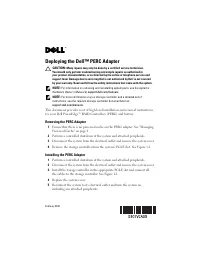
Deploying the Dell™ PERC Adapter
CAUTION:
Many repairs may only be done by a certified service technician.
You should only perform troubleshooting and simple repairs as authorized in
your product documentation, or as directed by the online or telephone service and
support team. Damage due to servicing that is not authorized by Dell is not covered
by your warranty. Read and follow the safety instructions that came with the system.
NOTE:
For information on removing and reinstalling system parts, see the system's
Hardware Owner's Manual
at
support.dell.com/manuals
.
NOTE:
For more information on your storage controller and a detailed set of
instructions, see the relevant storage controller documentation at
support.dell.com/manuals
.
This document provides a set of high level installation and removal instructions
for your Dell PowerEdge™ RAID Controllers (PERC) and battery.
Removing the PERC Adapter
1
Ensure that there is no preserved cache on the PERC adapter. See "Managing
Preserved Cache" on page 4.
2
Perform a controlled shutdown of the system and attached peripherals.
3
Disconnect the system from the electrical outlet and remove the system cover.
4
Remove the storage controller from the system's PCI-E slot. See Figure 1-1.
Installing the PERC Adapter
1
Perform a controlled shutdown of the system and attached peripherals.
2
Disconnect the system from the electrical outlet and remove the system cover.
3
Install the storage controller in the appropriate PCI-E slot and connect all
the cables to the storage controller. See Figure 1-1.
4
Replace the system cover.
5
Reconnect the system to its electrical outlet and turn the system on,
including any attached peripherals.
February 2010
"Loading the manual" means you need to wait until the file loads and becomes available for online reading. Some manuals are very large, and the time they take to appear depends on your internet speed.
Was this manual helpful?
About this manual
- Brand
- Dell
- Model
- PowerEdge RAID Controller H800
- Document type
- User Manual
- Language(s)
- German, English, Spanish, French, Russian
- Pages
- 56
- File size
- 2.4 MB
- Format
Summary
Replacing the TBBU on a PERC 5/E, PERC 6/E, PERC H700, or PERC H800 NOTE: The Transportable Battery Backup Unit (TBBU) on the storage controller consists of a DIMM and a BBU. 1 Ensure that there is no preserved cache on the PERC adapter. See "Managing Preserved Cache" on page 4. 2 Perform a ...
8 Place the top edge of the battery over the top edge of the DIMM so that the arms on the side of the battery fit into their sockets on the DIMM. See Figure 1-2. 9 Align the keyed edge of the DIMM to the physical divider on the memory socket to avoid damage to the module. 10 Insert the DIMM in the m...
部署 Dell™ PERC 适配器 警告 : 多数维修只能由经认证的维修技术人员进行。您只能根据产品说明文件 中的授权,或者在联机或电话服务和支持小组的指导下,进行故障排除和简单 的维修。未经 Dell 授权的维修所造成的损坏不在保修范围之内。请阅读并遵循 系统附带的安全说明。 注 : 有关卸除和重新安装系统部件的信息,请参阅系统的 Hardware Owner's Manual (硬件用户手册),它位于 support.dell.com/manuals 。 注 : 有关存储控制器的更多信息和详细的指令集,请参阅在 support.dell.com/manuals 上的相关存储控制器的说明文件...
Ask a question
Related manuals
Popular Dell Other


More Dell Other models
 Dell PowerEdge R810 Quick Guide
 Dell PowerEdge R815 Quick Guide
 Dell PowerEdge R820 User Manual
 Dell PowerEdge R900 User Manual
- Dell PowerEdge R910 User Manual
 Dell PowerEdge R920 User Manual
 Dell PowerEdge SC430 User Manual
 Dell PowerEdge SC1430 User Manual
- Dell PowerEdge T100 User Manual
 Dell PowerEdge T105 User Manual
 Dell PowerEdge T110 User Manual
- Dell PowerEdge T110 II User Manual