Yamaha CDC-685 - Manuals
Yamaha CDC-685 Player – Manual in PDF format online.
Manuals:
Manual Yamaha CDC-685


Summary
CAUTION • Explanation of Graphical Symbols The lightning flash with arrowhead symbol, withinan equilateral triangle, is intended to alert you tothe presence of uninsulated “dangerous voltage”within the product’s enclosure that may be ofsufficient magnitude to constitute a risk of electricshock to pe...
CAUTION FCC INFORMATION (for US customers only) 1. IMPORTANT NOTICE: DO NOT MODIFY THIS UNIT! This product, when installed as indicated in the instructions contained in this manual, meets FCCrequirements. Modifications not expressly approved byYamaha may void your authority, granted by the FCC, tous...
CAUTION Getting Started CAUTION: READ THIS BEFORE OPERATING YOUR UNIT. 1 To assure the finest performance, please read this manualcarefully. Keep it in a safe place for future reference. 2 Install this unit in a well ventilated, cool, dry, and clean placewith at least 5 cm above, behind and on the b...
Yamaha Players Manuals
-
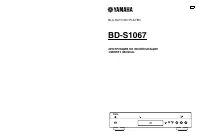 Yamaha BD-S1067
User Manual
Yamaha BD-S1067
User Manual
-
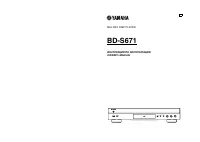 Yamaha BD-S671
User Manual
Yamaha BD-S671
User Manual
-
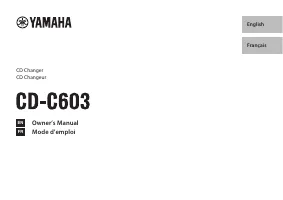 Yamaha CD-C603BL
User Manual
Yamaha CD-C603BL
User Manual
-
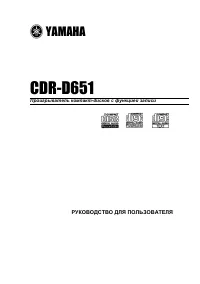 Yamaha CDR-D651
Manual
Yamaha CDR-D651
Manual
-
 Yamaha CDR-HD1300
Manual
Yamaha CDR-HD1300
Manual
-
 Yamaha CD-S300
User Manual
Yamaha CD-S300
User Manual
-
 Yamaha CD-S303BL
User Manual
Yamaha CD-S303BL
User Manual
-
 Yamaha CDX-397MK2
User Manual
Yamaha CDX-397MK2
User Manual
-
 Yamaha DVD-S1800
User Manual
Yamaha DVD-S1800
User Manual
-
Yamaha DVD-S1800
Manual
-
 Yamaha DVD-S530
Manual
Yamaha DVD-S530
Manual
-
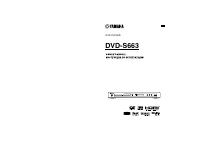 Yamaha DVD-S663
User Manual
Yamaha DVD-S663
User Manual
-
Yamaha DVD-S663
Manual
-
 Yamaha GT-5000
User Manual
Yamaha GT-5000
User Manual
-
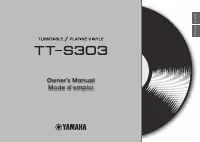 Yamaha TT-S303BL
User Manual
Yamaha TT-S303BL
User Manual
-
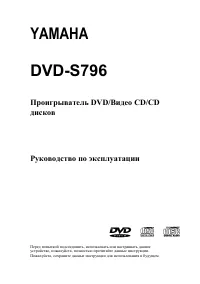 Yamaha DVD-S796
Manual
Yamaha DVD-S796
Manual
-
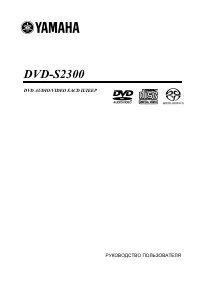 Yamaha DVD-S2300
Manual
Yamaha DVD-S2300
Manual
-
Yamaha DVD-S2300
User Manual