Whirlpool WET4124HW - Manuals
Whirlpool WET4124HW Washing Machine – User Manual, Manual, Troubleshooting Guide, Installation Manual in PDF format online.
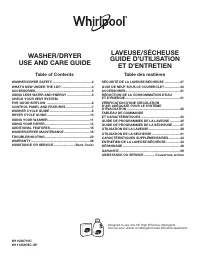
User Manual Whirlpool WET4124HW


Manual Whirlpool WET4124HW


Summary
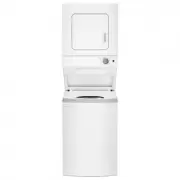
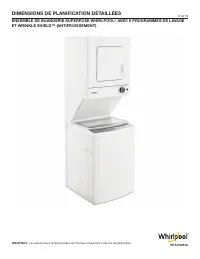
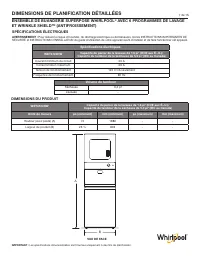
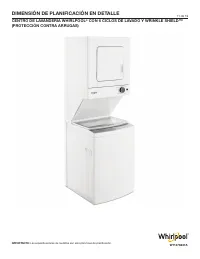
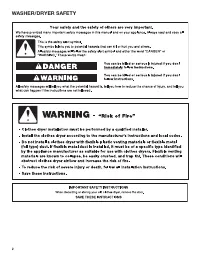
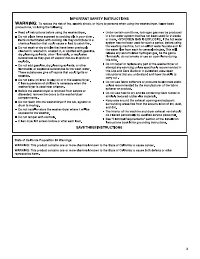
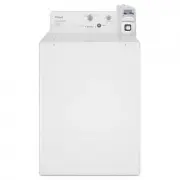
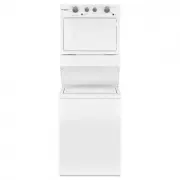
DETAILED PLANNING DIMENSION WHIRLPOOL ® STACKED LAUNDRY CENTER WITH 6 WASH CYCLES AND WRINKLE SHIELD™ IMPORTANT: Dimensional specifi cations are provided for planning purposes only. 2 of 15 WARNING: To reduce the risk of fi re, electric shock, or injury to persons, read the IMPORTANT SAFETY INSTRUCT...
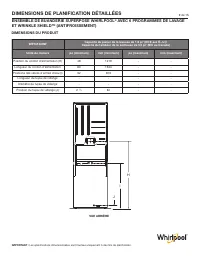
DETAILED PLANNING DIMENSION WHIRLPOOL ® STACKED LAUNDRY CENTER WITH 6 WASH CYCLES AND WRINKLE SHIELD™ IMPORTANT: Dimensional specifi cations are provided for planning purposes only. 3 of 15 PRODUCT DIMENSIONS WET4124HW 1.6 cu ft DOE (US) Washer Basket Capacity/ 5.0 cu ft IEC (CAN) Dryer Drum Capacit...
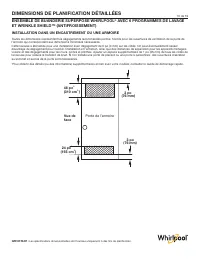
DETAILED PLANNING DIMENSION WHIRLPOOL ® STACKED LAUNDRY CENTER WITH 6 WASH CYCLES AND WRINKLE SHIELD™ IMPORTANT: Dimensional specifi cations are provided for planning purposes only. 4 of 15 PRODUCT DIMENSIONS WET4124HW 1.6 cu ft DOE (US) Washer Basket Capacity/ 5.0 cu ft IEC (CAN) Dryer Drum Capacit...
Troubleshooting Guide Whirlpool WET4124HW


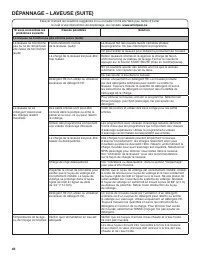
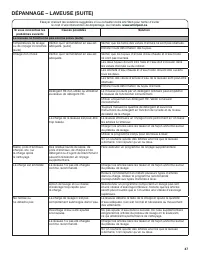
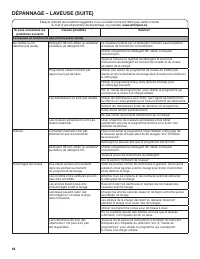
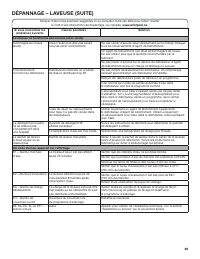
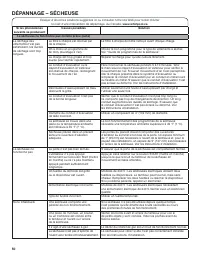


Summary
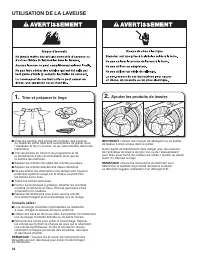
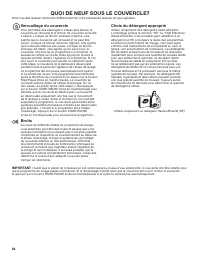
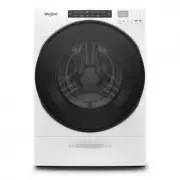
4 WHAT’S NEW UNDER THE LID? Your new washer will operate differently than your past agitator-style washer. Lid Lock To allow for higher spin speeds, the lid will lock and the Lid Lock light will turn on. When this light is lit, the lid is locked and cannot be opened. When this light is blinking, the...
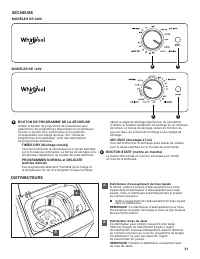
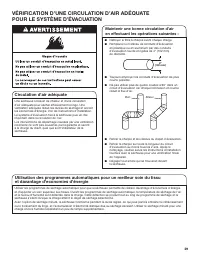
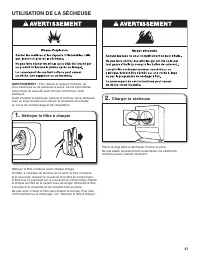
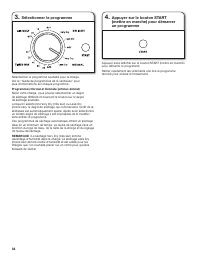
5 CHECK YOUR VENT SYSTEM FOR GOOD AIRFLOW Good airflow Along with heat, dryers require good airflow to efficiently dry laundry. Proper venting will reduce your drying times and improve your energy savings. See Installation Instructions.The venting system attached to the dryer plays a big role in goo...
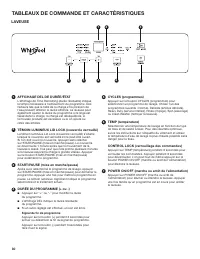
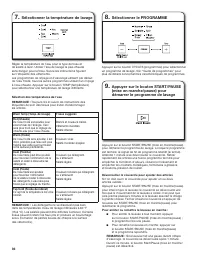
6 CONTROL PANELS AND FEATURES WASHER LED TIME/STATUS DISPLAY The Remaining Time display shows the time required for the cycle to complete. Factors such as load size and water pressure may affect the time shown in the display. Tightly packed loads, unbalanced loads, excessive suds, or adding or remov...
Installation Manual Whirlpool WET4124HW


Whirlpool Washing Machines Manuals
-
 Whirlpool AWG 263
User Manual
Whirlpool AWG 263
User Manual
-
 Whirlpool CAE2745FQ
User Manual
Whirlpool CAE2745FQ
User Manual
-
 Whirlpool CAE2795FQ
User Manual
Whirlpool CAE2795FQ
User Manual
-
 Whirlpool CHW9150GW
User Manual
Whirlpool CHW9150GW
User Manual
-
Whirlpool CHW9150GW
Manual
-
 Whirlpool CHW9160GW
User Manual
Whirlpool CHW9160GW
User Manual
-
 Whirlpool FDLR70210
User Manual
Whirlpool FDLR70210
User Manual
-
 Whirlpool FDLR80210
User Manual
Whirlpool FDLR80210
User Manual
-
 Whirlpool FDLR80250
User Manual
Whirlpool FDLR80250
User Manual
-
 Whirlpool FSCR12420
User Manual
Whirlpool FSCR12420
User Manual
-
 Whirlpool WB10037
User Manual
Whirlpool WB10037
User Manual
-
 Whirlpool WB70803
User Manual
Whirlpool WB70803
User Manual
-
 Whirlpool WET4024HW
User Manual
Whirlpool WET4024HW
User Manual
-
Whirlpool WET4024HW
Manual
-
 Whirlpool WET4027HW
User Manual
Whirlpool WET4027HW
User Manual
-
Whirlpool WET4027HW
Manual
-
Whirlpool WET4027HW
Installation Manual
-
Whirlpool WET4027HW
Troubleshooting Guide
-
 Whirlpool WETLV27HW
User Manual
Whirlpool WETLV27HW
User Manual
-
 Whirlpool WFC682CLW
User Manual
Whirlpool WFC682CLW
User Manual