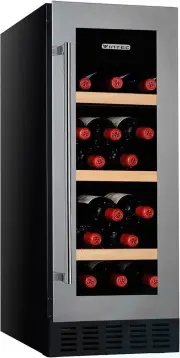
Vintec V190BVCBKLH - Manuals

User Manual Vintec V190BVCBKLH


Summary
3 • The room for installing the appliance must be at least 1 cubic metre per 8 grams of refrigerant. The refrigerant quantity contained in this appliance is listed above in grams; it is also noted on the Rating Plate of the appliance. It is hazardous for anyone other than an Authorised Service Perso...
4 Notes: - V30 models are for free standing ONLY: - V40 models are built-in type as per the drawings thereafter; - V50 models are partially built-in, MUST allow 1cm to, side & back clearance. The wine cellar should be placed where the ambient temperature is between 5ºC to 35ºC. If the ambient te...
5 Compressor run appliances require proper ventilation for proper and longer usage. Your Vintec wine cellar is supplied with a back spacer. Affixed the back spacer at the back of the cellar for air circulation and heat evacuation. IMPORTANT - THIS SPACER MUST BE ATTACHED TO THE UNIT BEFORE INSTALLAT...
Vintec Refrigerators Manuals
-
 Vintec AL-V30SGE
User Manual
Vintec AL-V30SGE
User Manual
-
 Vintec AL-V40DG2E
User Manual
Vintec AL-V40DG2E
User Manual
-
 Vintec V110SGES3
User Manual
Vintec V110SGES3
User Manual
-
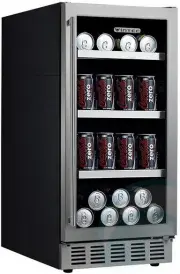
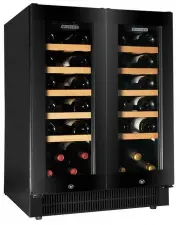
 Vintec V190BVCBK
User Manual
Vintec V190BVCBK
User Manual
-
 Vintec V190SG2E-AL
User Manual
Vintec V190SG2E-AL
User Manual
-
 Vintec V190SG2EBK
User Manual
Vintec V190SG2EBK
User Manual
-
 Vintec V190SG2EBKLH
User Manual
Vintec V190SG2EBKLH
User Manual
-
 Vintec V20BVCBK
User Manual
Vintec V20BVCBK
User Manual
-
 Vintec V20BVCS3
User Manual
Vintec V20BVCS3
User Manual
-
 Vintec V20SGEBK
User Manual
Vintec V20SGEBK
User Manual
-
 Vintec V20SGES3
User Manual
Vintec V20SGES3
User Manual
-
 Vintec V30SGMEBK
User Manual
Vintec V30SGMEBK
User Manual
-
 Vintec V40BVCBK
User Manual
Vintec V40BVCBK
User Manual
-
 Vintec V40BVCS3
User Manual
Vintec V40BVCS3
User Manual
-
 Vintec V40DG2EBK
User Manual
Vintec V40DG2EBK
User Manual
-
 Vintec V40SG2EBK
User Manual
Vintec V40SG2EBK
User Manual
-
 Vintec V40SG2ES3
User Manual
Vintec V40SG2ES3
User Manual
-
 Vintec V40SGEBK
User Manual
Vintec V40SGEBK
User Manual
-
 Vintec V40SGES3
User Manual
Vintec V40SGES3
User Manual
-
 Vintec VBS020SBA
User Manual
Vintec VBS020SBA
User Manual