Vintec AL-V30SGE - Manuals
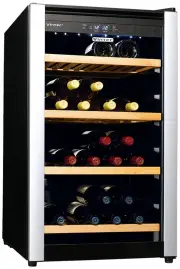
User Manual Vintec AL-V30SGE


Summary
code: VIM 201301/S/01 1 WARNING The information in this document is subject to modification without any prior notice . Some models are available in dedicated countries only. VINTEC offers no guarantee for our wine cellar if it is being used for any purpose other than that for which it was specifical...
code: VIM 201301/S/01 2 The room for installing the appliance must be at least 1 cubic metre per 8 grams of refrigerant. The refrigerant quantity contained in this appliance is listed above in grams; it is also noted on the Rating Plate of the appliance. It is hazardous for anyone other than an Au...
code: VIM 201301/S/01 3 Notes: - V30 models are for free standing ONLY. - V40 & V26 models are built-in type as per the drawings thereafter. The wine cellar should be placed where the ambient temperature is between 5ºC to 35ºC. If the ambient temperature is above or below this range, the perform...
Vintec Refrigerators Manuals
-
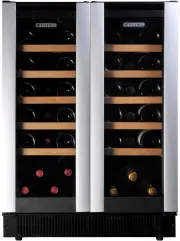 Vintec AL-V40DG2E
User Manual
Vintec AL-V40DG2E
User Manual
-
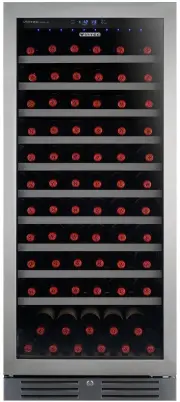 Vintec V110SGES3
User Manual
Vintec V110SGES3
User Manual
-
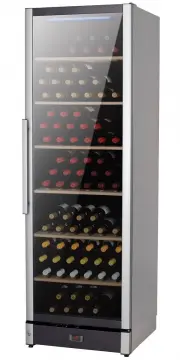
 Vintec V190BVCBK
User Manual
Vintec V190BVCBK
User Manual
-
 Vintec V190BVCBKLH
User Manual
Vintec V190BVCBKLH
User Manual
-
 Vintec V190SG2E-AL
User Manual
Vintec V190SG2E-AL
User Manual
-
 Vintec V190SG2EBK
User Manual
Vintec V190SG2EBK
User Manual
-
 Vintec V190SG2EBKLH
User Manual
Vintec V190SG2EBKLH
User Manual
-
 Vintec V20BVCBK
User Manual
Vintec V20BVCBK
User Manual
-
 Vintec V20BVCS3
User Manual
Vintec V20BVCS3
User Manual
-
 Vintec V20SGEBK
User Manual
Vintec V20SGEBK
User Manual
-
 Vintec V20SGES3
User Manual
Vintec V20SGES3
User Manual
-
 Vintec V30SGMEBK
User Manual
Vintec V30SGMEBK
User Manual
-
 Vintec V40BVCBK
User Manual
Vintec V40BVCBK
User Manual
-
 Vintec V40BVCS3
User Manual
Vintec V40BVCS3
User Manual
-
 Vintec V40DG2EBK
User Manual
Vintec V40DG2EBK
User Manual
-
 Vintec V40SG2EBK
User Manual
Vintec V40SG2EBK
User Manual
-
 Vintec V40SG2ES3
User Manual
Vintec V40SG2ES3
User Manual
-
 Vintec V40SGEBK
User Manual
Vintec V40SGEBK
User Manual
-
 Vintec V40SGES3
User Manual
Vintec V40SGES3
User Manual
-
 Vintec VBS020SBA
User Manual
Vintec VBS020SBA
User Manual