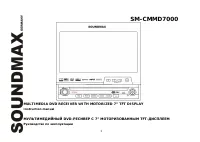
Soundmax SM-CMMD7000 - Manuals
Soundmax SM-CMMD7000 Car Radio – User Manual in PDF format online.
Manuals:
User Manual Soundmax SM-CMMD7000
1
2
3
4
5
6
7

8

9
10
11
12
13
14
15
16
17
18
19
20
21
22
23
24
25
26
27
28
29
30
31
32
33
34
35
36
37
38
39
40
41
42
43
44
45
46
47
48
49
50
51
52
53
54
55
56
57
58
59
60
61
62
63
64

65
66
67

68
69
70
71
72
73
74
75
76
77
78
79
80
81
82
83
84

Summary
Page 2 - Table of contents
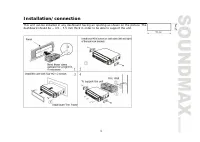
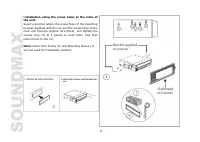
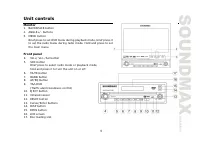
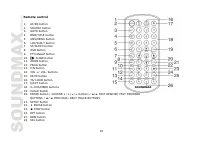
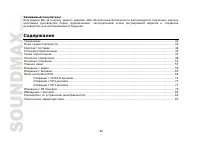
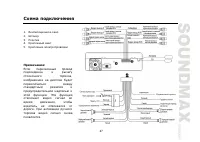
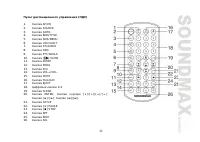
2 Dear customer! Thank you for purchasing our product. For safety, it is strongly recommended to read this manual carefully beforeconnecting, operating and/or adjusting the product and keep the manual for reference in the future. Table of contents Table of contents......................................
Page 3 - Important safeguards
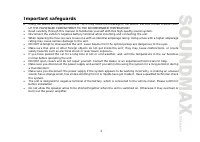
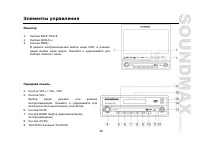
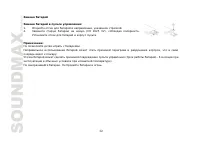
3 Important safeguards Using the device at temperature below -10º may cause the breakage of the device. BEFORE USING PLEASE HEATUP THE PASSENGER COMPARTMENT TO THE RECOMMENDED TEMPERATURE!Read carefully through this manual to familiarize yourself with this high-quality sound system.Disconnect the ve...
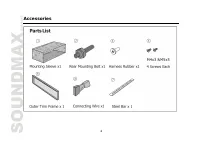
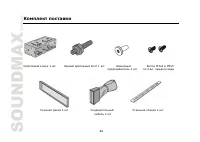
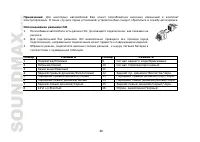
Page 4 - Accessories
Soundmax Car Radios Manuals
-
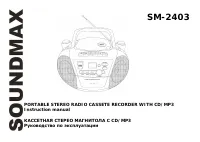 Soundmax SM-2403
User Manual
Soundmax SM-2403
User Manual
-
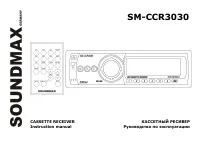 Soundmax SM-CCR3030
User Manual
Soundmax SM-CCR3030
User Manual
-
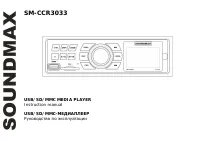 Soundmax SM-CCR3033
User Manual
Soundmax SM-CCR3033
User Manual
-
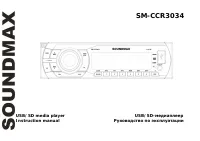 Soundmax SM-CCR3034
User Manual
Soundmax SM-CCR3034
User Manual
-
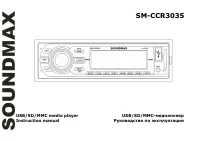 Soundmax SM-CCR3035
User Manual
Soundmax SM-CCR3035
User Manual
-
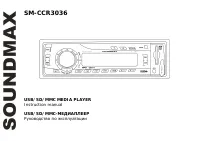 Soundmax SM-CCR3036
User Manual
Soundmax SM-CCR3036
User Manual
-
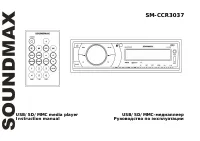 Soundmax SM-CCR3037
User Manual
Soundmax SM-CCR3037
User Manual
-
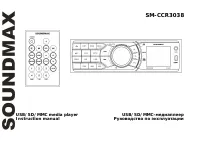 Soundmax SM-CCR3038
User Manual
Soundmax SM-CCR3038
User Manual
-
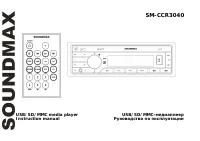 Soundmax SM-CCR3040
User Manual
Soundmax SM-CCR3040
User Manual
-
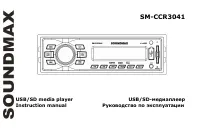 Soundmax SM-CCR3041
User Manual
Soundmax SM-CCR3041
User Manual
-
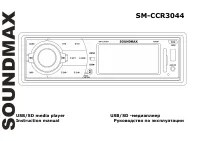 Soundmax SM-CCR3044
User Manual
Soundmax SM-CCR3044
User Manual
-
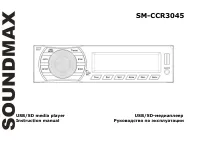 Soundmax SM-CCR3045
User Manual
Soundmax SM-CCR3045
User Manual
-
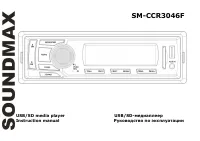 Soundmax SM-CCR3046F
User Manual
Soundmax SM-CCR3046F
User Manual
-
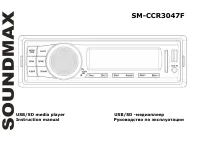 Soundmax SM-CCR3047F
User Manual
Soundmax SM-CCR3047F
User Manual
-
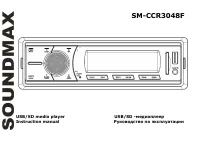 Soundmax SM-CCR3048F
User Manual
Soundmax SM-CCR3048F
User Manual
-
 Soundmax SM-CCR3049F
User Manual
Soundmax SM-CCR3049F
User Manual
-
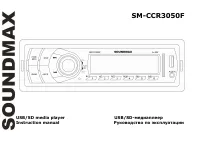 Soundmax SM-CCR3050F
User Manual
Soundmax SM-CCR3050F
User Manual
-
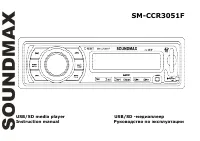 Soundmax SM-CCR3051F
User Manual
Soundmax SM-CCR3051F
User Manual
-
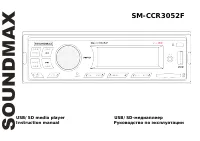 Soundmax SM-CCR3052F
User Manual
Soundmax SM-CCR3052F
User Manual
-
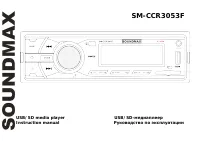 Soundmax SM-CCR3053F
User Manual
Soundmax SM-CCR3053F
User Manual