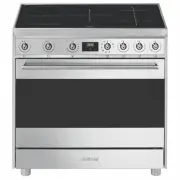
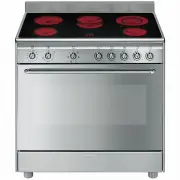
Smeg SFA6309X - Manuals
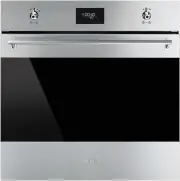
User Manual Smeg SFA6309X


Summary
Instructions 4 1 Instructions 1.1 General safety instructions Risk of personal injury • During use the appliance and its accessible parts become very hot. • Never touch the heating elements during use. • Keep children under eight years of age at a safe distance if they are not constantly supervised....
Instructions 5 EN • Use wooden or plastic utensils.• Do not seat on the appliance.• Do not use steam jets to clean the appliance. • Do not obstruct ventilation openings and heat dispersal slots. • Never leave the appliance unattended during cooking operations where fats or oils could be released. • ...
Instructions 6 Our appliances are packed in non-polluting and recyclable materials.• Deliver the packing materials to the appropriate recycling centre. 1.4 Identification plate The identification plate bears the technical data, serial number and brand name of the appliance. Do not remove the identif...
Smeg Ovens Manuals
-
 Smeg A1PYID-9
User Manual
Smeg A1PYID-9
User Manual
-
 Smeg ALFA625EHDS
User Manual
Smeg ALFA625EHDS
User Manual
-
 Smeg C6GMXA8
User Manual
Smeg C6GMXA8
User Manual
-
 Smeg C9GMX
User Manual
Smeg C9GMX
User Manual
-
 Smeg C9IMX2
User Manual
Smeg C9IMX2
User Manual
-
 Smeg C9IMX9-1
User Manual
Smeg C9IMX9-1
User Manual
-
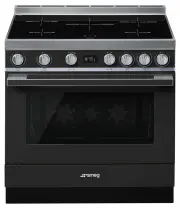 Smeg CPF9IPAN
User Manual
Smeg CPF9IPAN
User Manual
-
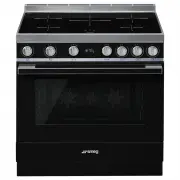 Smeg CPF9IPBL
User Manual
Smeg CPF9IPBL
User Manual
-
 Smeg CPF9IPOG
User Manual
Smeg CPF9IPOG
User Manual
-
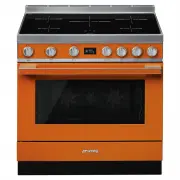 Smeg CPF9IPOR
User Manual
Smeg CPF9IPOR
User Manual
-
 Smeg CPF9IPWH
User Manual
Smeg CPF9IPWH
User Manual
-
 Smeg CPF9IPX
User Manual
Smeg CPF9IPX
User Manual
-
 Smeg CS6CMXA
User Manual
Smeg CS6CMXA
User Manual
-
 Smeg CS9GMXA
User Manual
Smeg CS9GMXA
User Manual
-
 Smeg CS9GMXA2
User Manual
Smeg CS9GMXA2
User Manual
-
 Smeg DOSPA38X
User Manual
Smeg DOSPA38X
User Manual
-
 Smeg DOSPA6395X
User Manual
Smeg DOSPA6395X
User Manual
-
 Smeg FS61XNG8
User Manual
Smeg FS61XNG8
User Manual
-
 Smeg FS9010CER-1
User Manual
Smeg FS9010CER-1
User Manual
-
 Smeg FS9606XS
User Manual
Smeg FS9606XS
User Manual