Panasonic SC-HT878 - Manuals
Panasonic SC-HT878 Home Theater – Manual in PDF format online.
Manuals:
Manual Panasonic SC-HT878


Summary
2 RQT7429 Dear customer Thank you for purchasing this product. For optimum performance and safety, please read these instructions carefully. [HT878] : indicates features applicable to SC-HT878 only. [HT870] : SC-HT870 only. [HT520] : SC-HT520 only. ≥ These operating instructions are applicable to mo...
3 RQT7429 Cau ti on f o r A C Mai n s L ead /Acc es sori es Caution for AC Mains Lead (For United Kingdom, Saudi Arabia and Kuwait) (“EB” and “GS” area code models only) For your safety, please read the following text carefully.This appliance is supplied with a moulded three pin mains plug for your ...
4 RQT7429 Fr ont a nd su rr o und spe a k e r as semb ly Simple setup Front and surround speaker assembly [Note] The front and surround speaker pairs as well as the pipe pairs are different.– Check the label on the rear of the speaker before attaching the pipe ( ‹ page 8). – The pipe with the shorte...
Panasonic Home Theaters Manuals
-
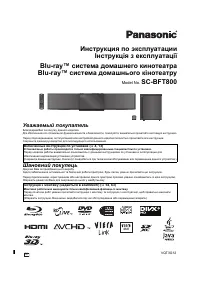 Panasonic SC-BFT800
User Manual
Panasonic SC-BFT800
User Manual
-
 Panasonic SC-BT230
User Manual
Panasonic SC-BT230
User Manual
-
Panasonic SC-BT230
Manual
-
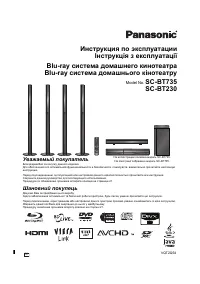 Panasonic SC-BT735
User Manual
Panasonic SC-BT735
User Manual
-
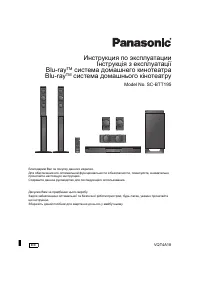 Panasonic SC-BTT195
User Manual
Panasonic SC-BTT195
User Manual
-
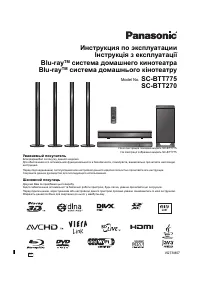 Panasonic SC-BTT270
User Manual
Panasonic SC-BTT270
User Manual
-
Panasonic SC-BTT270
Manual
-
 Panasonic SC-BTT775
User Manual
Panasonic SC-BTT775
User Manual
-
 Panasonic SC-BTT785GNK
User Manual
Panasonic SC-BTT785GNK
User Manual
-
 Panasonic SC-BTT790
User Manual
Panasonic SC-BTT790
User Manual
-
 Panasonic SC-HT15
User Manual
Panasonic SC-HT15
User Manual
-
Panasonic SC-HT15
Manual
-
Panasonic SC-HT17
User Manual
-
Panasonic SC-HT17
Manual
-
 Panasonic SC-HT335
User Manual
Panasonic SC-HT335
User Manual
-
 Panasonic SC-HT40
Manual
Panasonic SC-HT40
Manual
-
 Panasonic SC-HT60
Manual
Panasonic SC-HT60
Manual
-
 Panasonic SC-HT840
User Manual
Panasonic SC-HT840
User Manual
-
Panasonic SC-HT840
Manual
-
 Panasonic SC-HT880
User Manual
Panasonic SC-HT880
User Manual